
Add Payouts with a CSV Upload
Lumanu’s CSV upload functionality can be used to easily bulk create payouts for all of your vendors at once.
CSV Format Requirements
The Lumanu CSV upload requires the following column format/data in order to create a payout:
Lumanu ID | Description | Public notes | Due date | PO # | Amount (dollars) |
|---|
Depending on your custom payable or project attributes, there may be more columns listed. You also have the option to use line items, which is a separate template.
How to add bulk payouts via CSV upload to the Payouts tab:
Click Create
Click Bulk Create Payouts
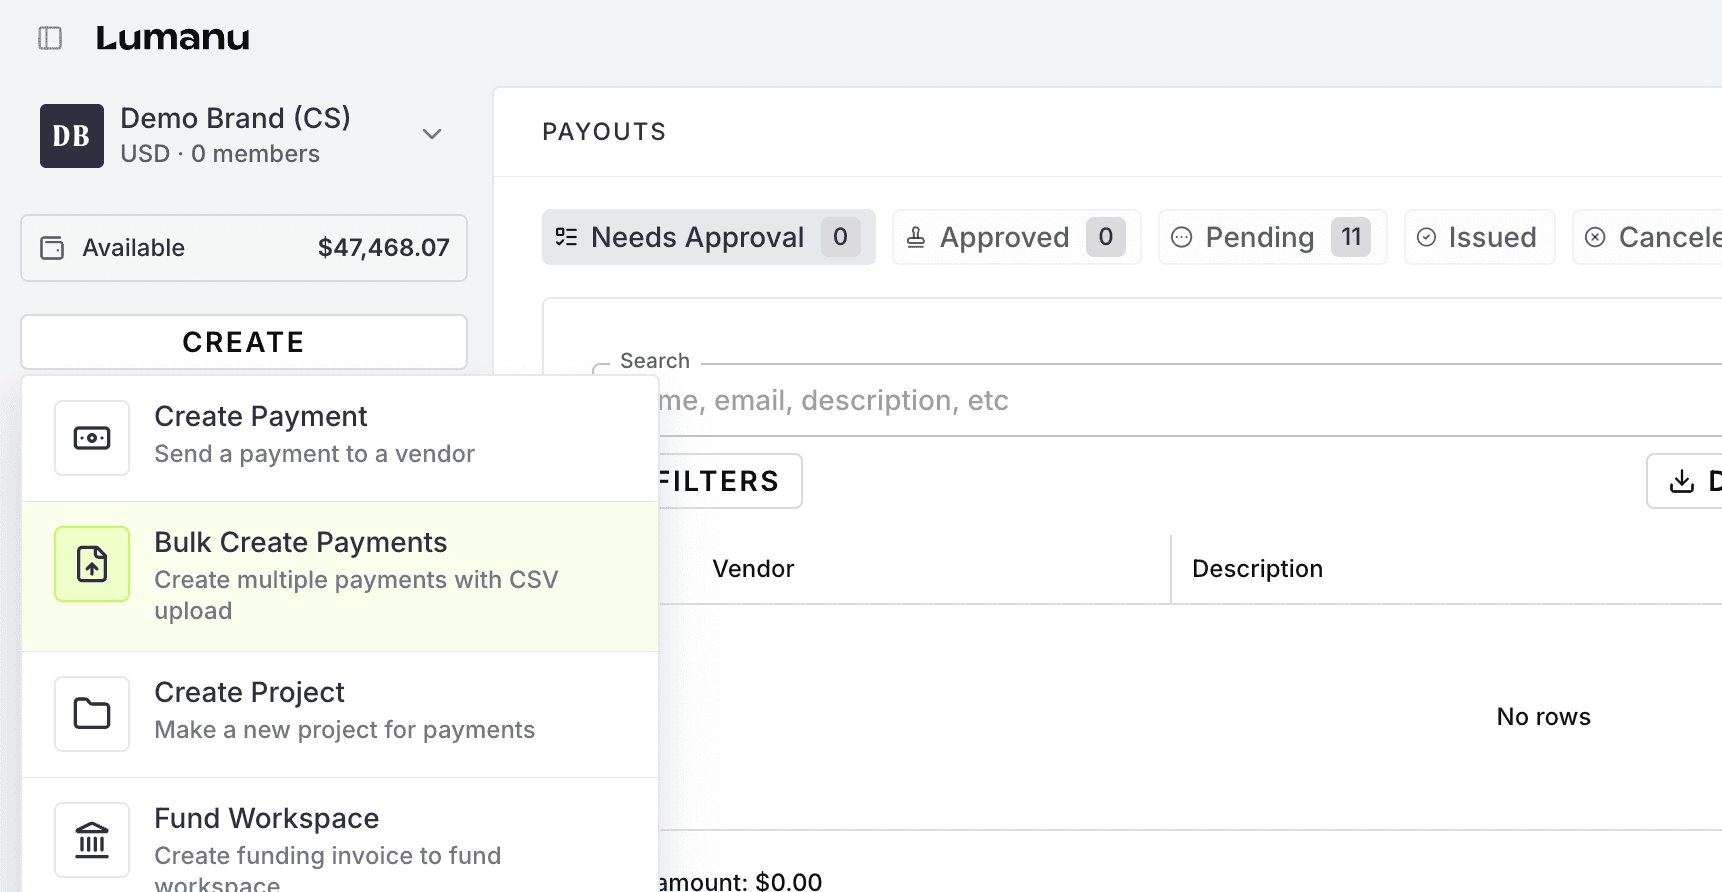
Upload your formatted CSV file and click Upload Bulk Payments
The payouts will appear in the 'Needs Approval' tab
How to add bulk payouts via CSV upload to a project:
Navigate under the appropriate Lumanu Project
Under the Needs Approval tab, click the Upload CSV button.
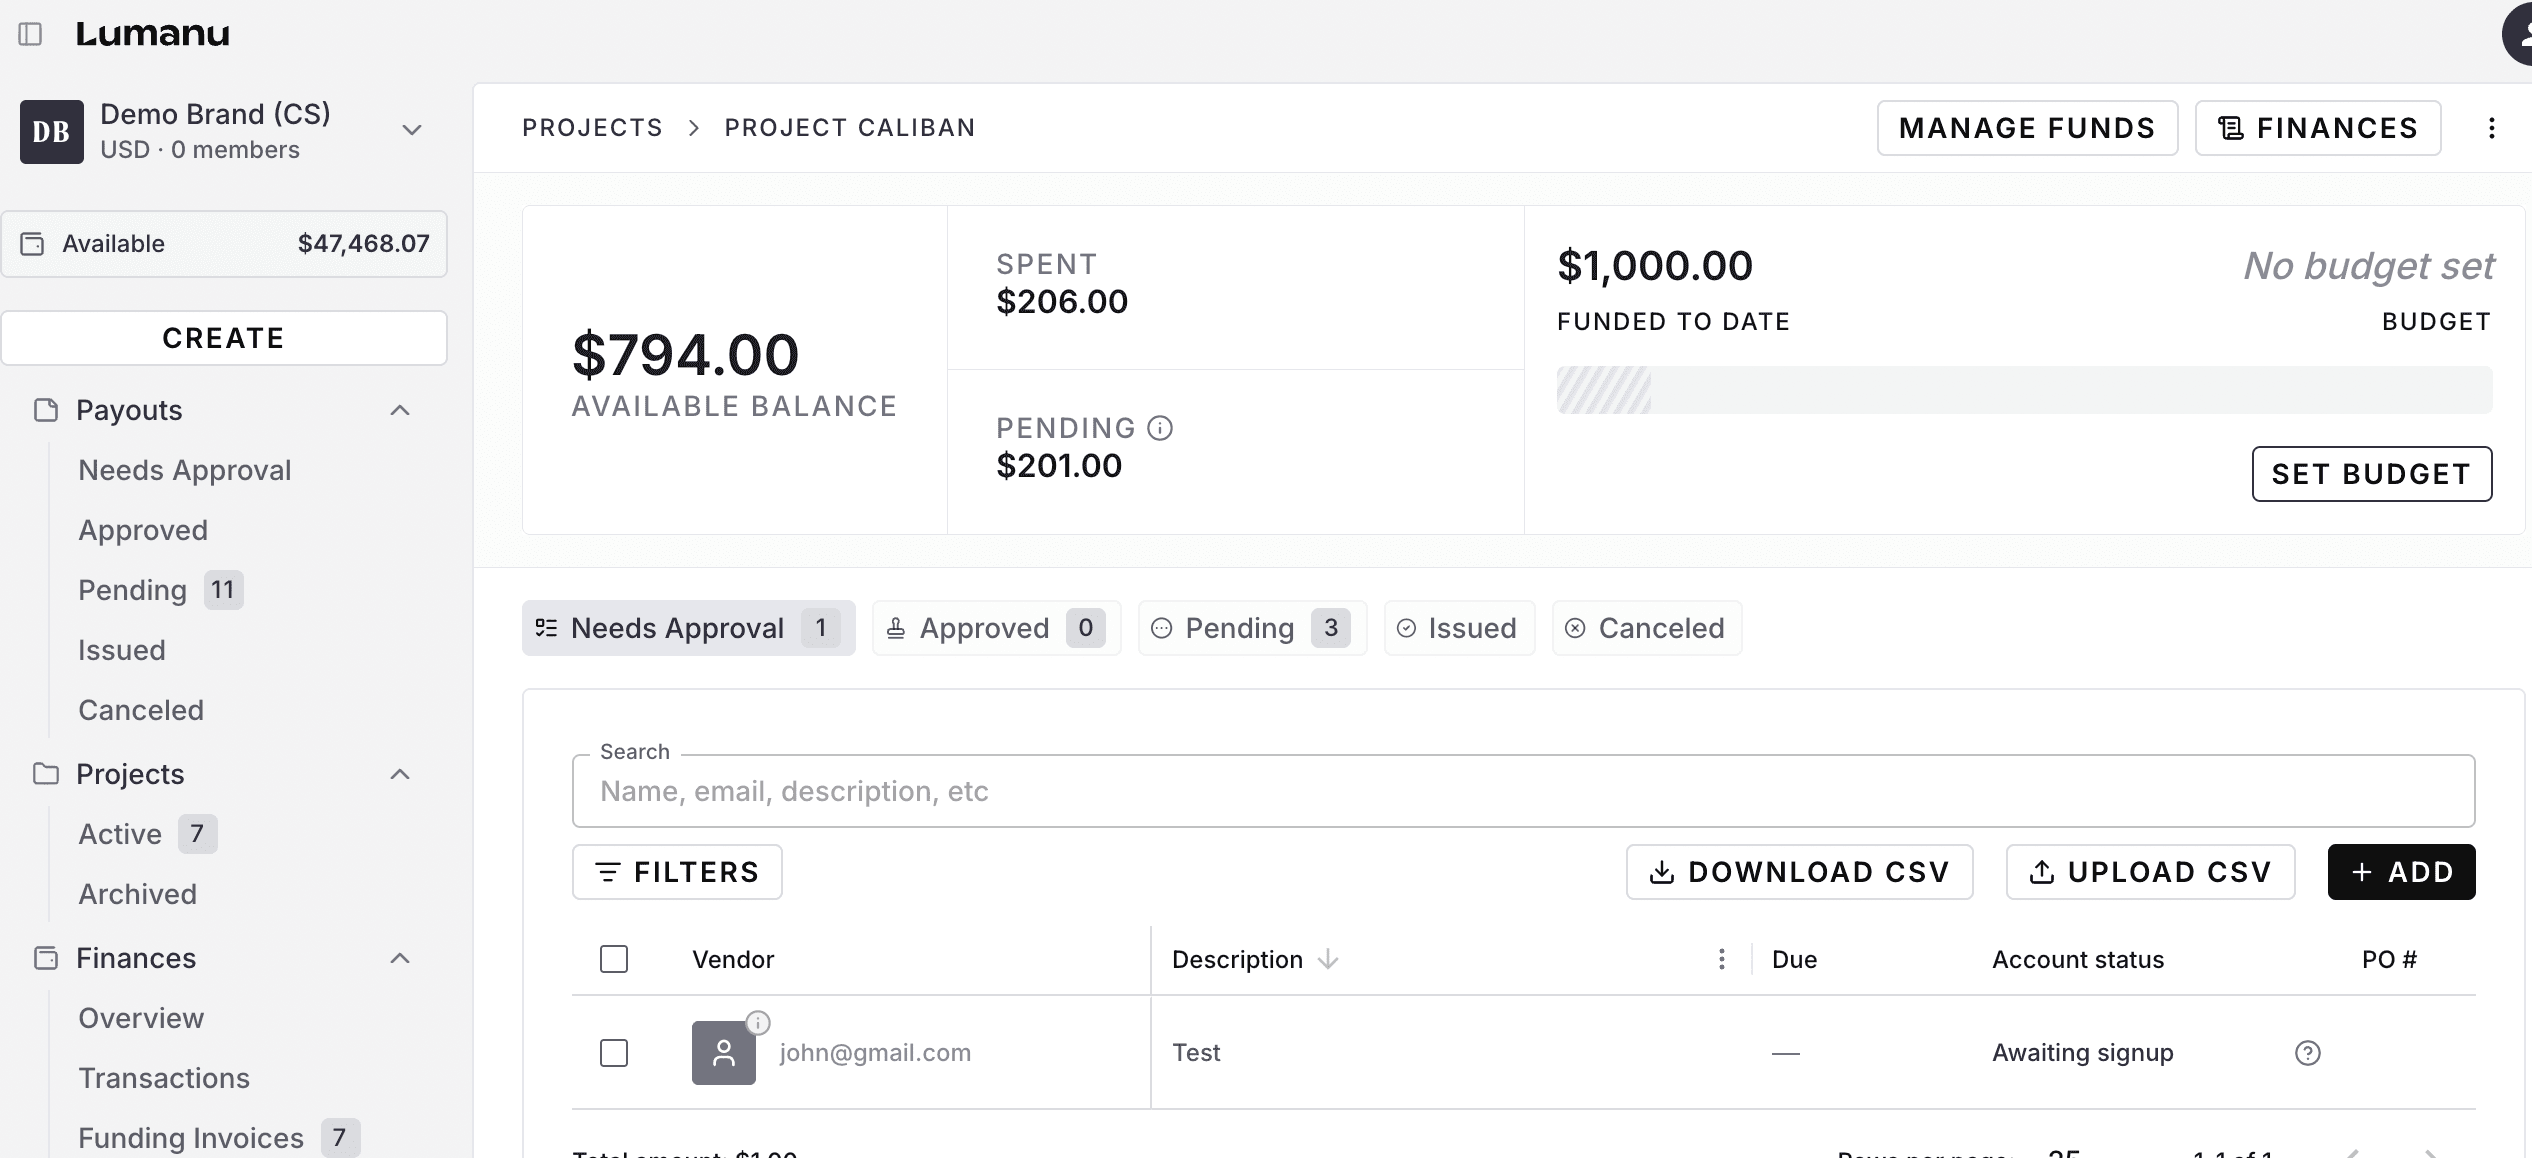
Upload your formatted CSV file.
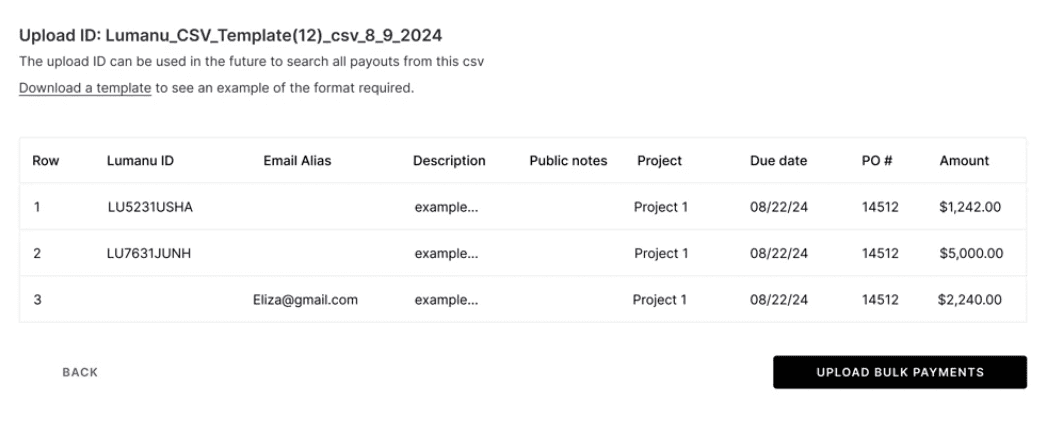
Lumanu ID (LUID): This field is not a requirement, it is either an email address OR a LUID. A LUID is a unique identifier that we assign to each vendor account once they have completed setup of their account and tax information. More info on that here.*
*Please note that the Lumanu ID column header must be included, but the cells can remain blank as long as there is an email alias provided. If both a Lumanu ID and an email alias are listed, the system will default to using the Lumanu ID.
ProjectID: This is created when you are setting up your Project, this column is used to route payments to a specific project when you are uploading payments across different campaigns/projects. If this field is left blank, the payments can be located in your 'Payouts' tab.**
**You must also include the Project ID column and this must have the project ID in all cells (when you're in a project you can download a new CSV template that has the Project ID column in the correct format).
PONumber: This is an internal field, if it is not a requirement for you to list which payments are part of which PO, it can be left blank.
Potential Errors:
If there’s an error found in your upload, you will see a ‘Failure’ status indicated next to the line item with the error. Correct the error in line OR re-upload the CSV with the corrections.
If a large batch (>1000 payouts) is uploaded at once, the system may take a few minutes to complete the upload. Once the upload is complete, the user who uploaded the .csv will receive an email letting them know.
4. Your new payments will appear under the Needs approval tab within the specific projects in which they are associated.