How to integrate Copper with Lumanu using Zapier
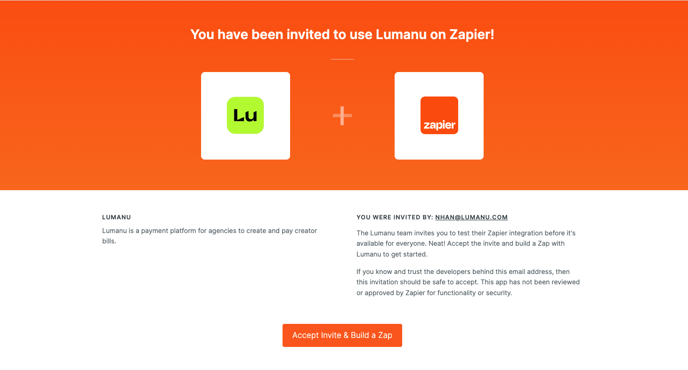
Lumanu's Zapier integration is invite only. To access the Lumanu app in Zapier, you must use the invite link below.
Lumanu's private Zapier invite link
https://zapier.com/developer/public-invite/168319/b4ade3a8766f4cab821ee648f9d396f0/
How to integrate Copper with Lumanu via Zapier
Click on your worskpace in the top left corner, then Settings.
Navigate under the Integrations tab.
Under the Zapier section, click enable.
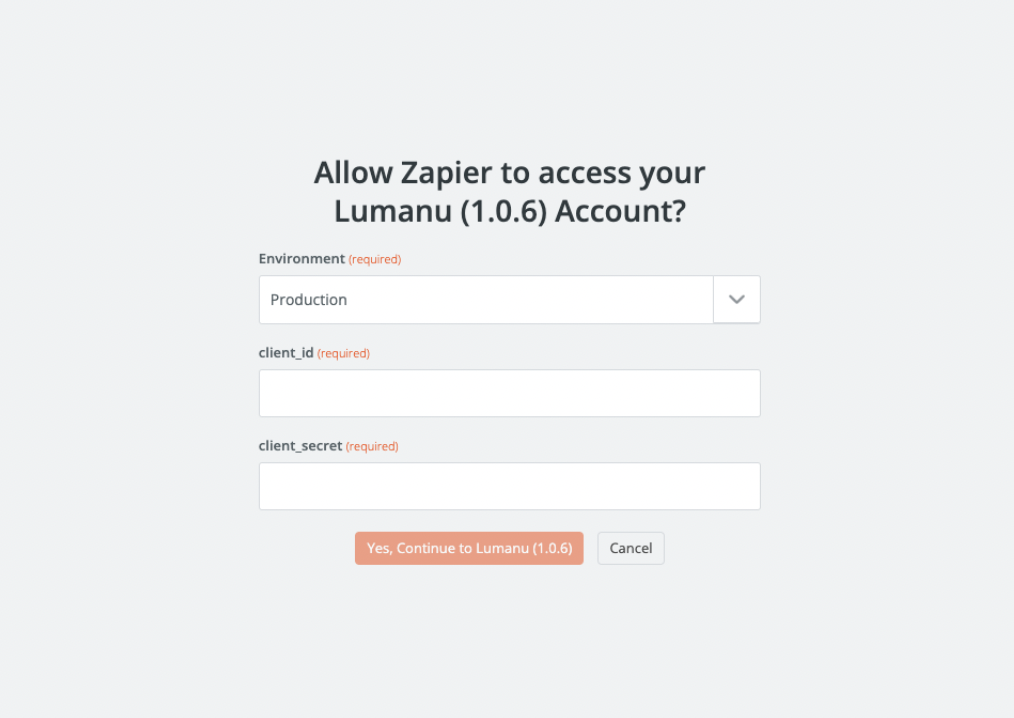
a. After doing so, a client ID and client secret ID will be generated and displayed within your settings.Click on the Zapier invite link to access Lumanu's private Zapier invite.
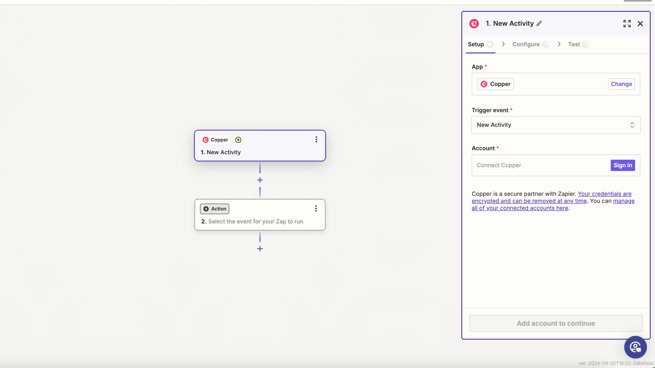
Create a new Zap. Under the trigger, search for the Copper app.
Within the right hand panel, select the event that you’d like to trigger an action.
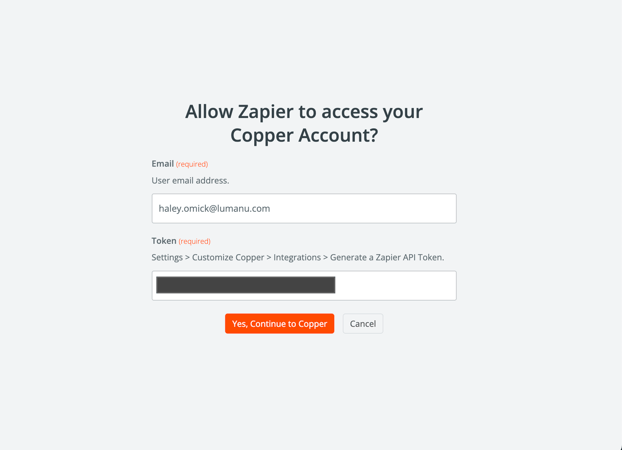
Sign into your Copper account. A separate window will open requesting your Copper account email & token.
After signing in successfully, configure the entities that will be used to trigger actions in Lumanu, if needed. If configuring is not needed, click Continue.
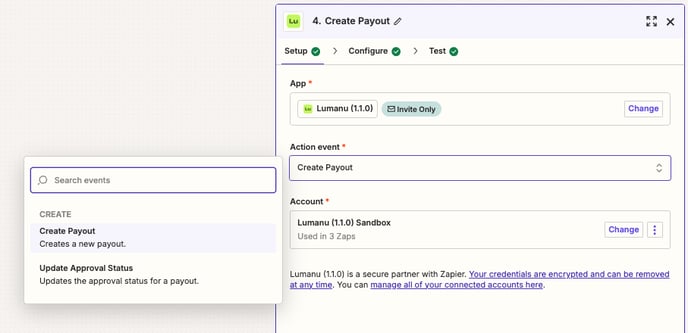
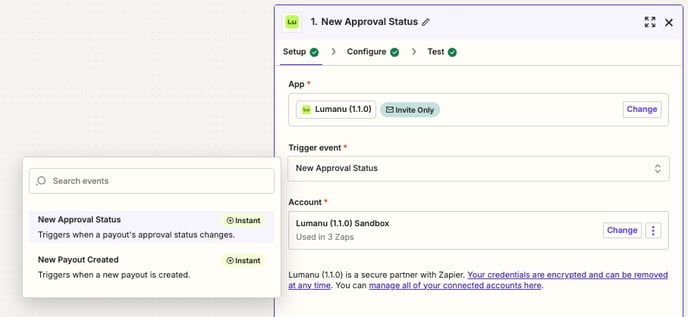
Under Action, search for and select Lumanu.
Choose an event you’d like to occur in or from the Lumanu app.
Actions/Triggers supported in Lumanu include:
Creating a payout
Approving a payout
Payment status changes
11. Connect to your Lumanu account. A second window will open where you’ll be prompted to input your client ID and client secret ID.
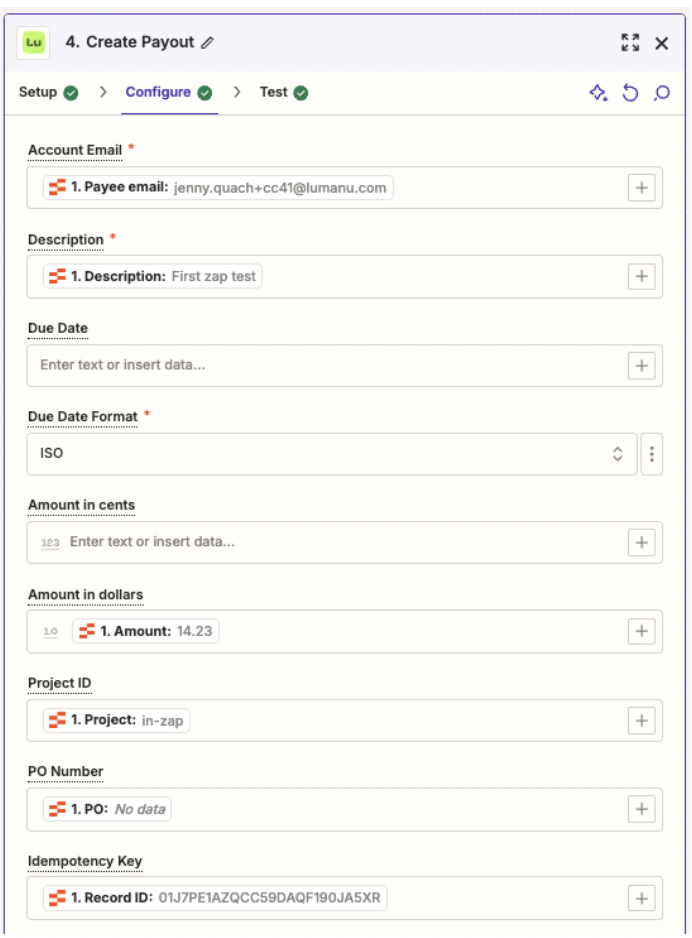
12. Set up the action you’d like to take place in or from Lumanu based on the item selected from your connected database.
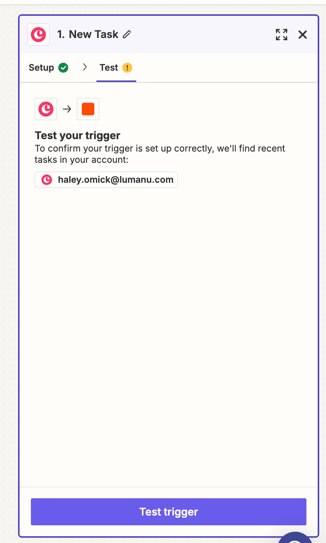
13. When ready, click the Test button to go live with your integration. You should see the database item selected reflected in the Lumanu app, or vice versa.
Note: Due date listed in your database must match the format selected in the Action window.


