
The vendor onboarding experience
Lumanu’s vendor onboarding experience personalizes to the vendor’s location and business entity type. The Lumanu app automatically customizes onboarding requirements based on the user’s legal business entities to ensure proper tax collection, global compliance, and top-tier app security.
The custom onboarding flow also ensures that the vendor is provided with proper onboarding guidance in-app, no matter where they’re located or their business registration status.
The vendor onboarding experience
Article overview:
Inviting a vendor
The account creation process
International tax and compliance
Business and identity verification (W9 collection for US-based users)
The invite flow
Your team invites a vendor to Lumanu by sharing your custom invite-link or creating an invoice under their email address.
Invite by email
Your team can invite a vendor to join Lumanu by creating an invoice under their email address. At the bottom of the invoice creation window, you’ll see the option to send an email invite to the email included on the invoice.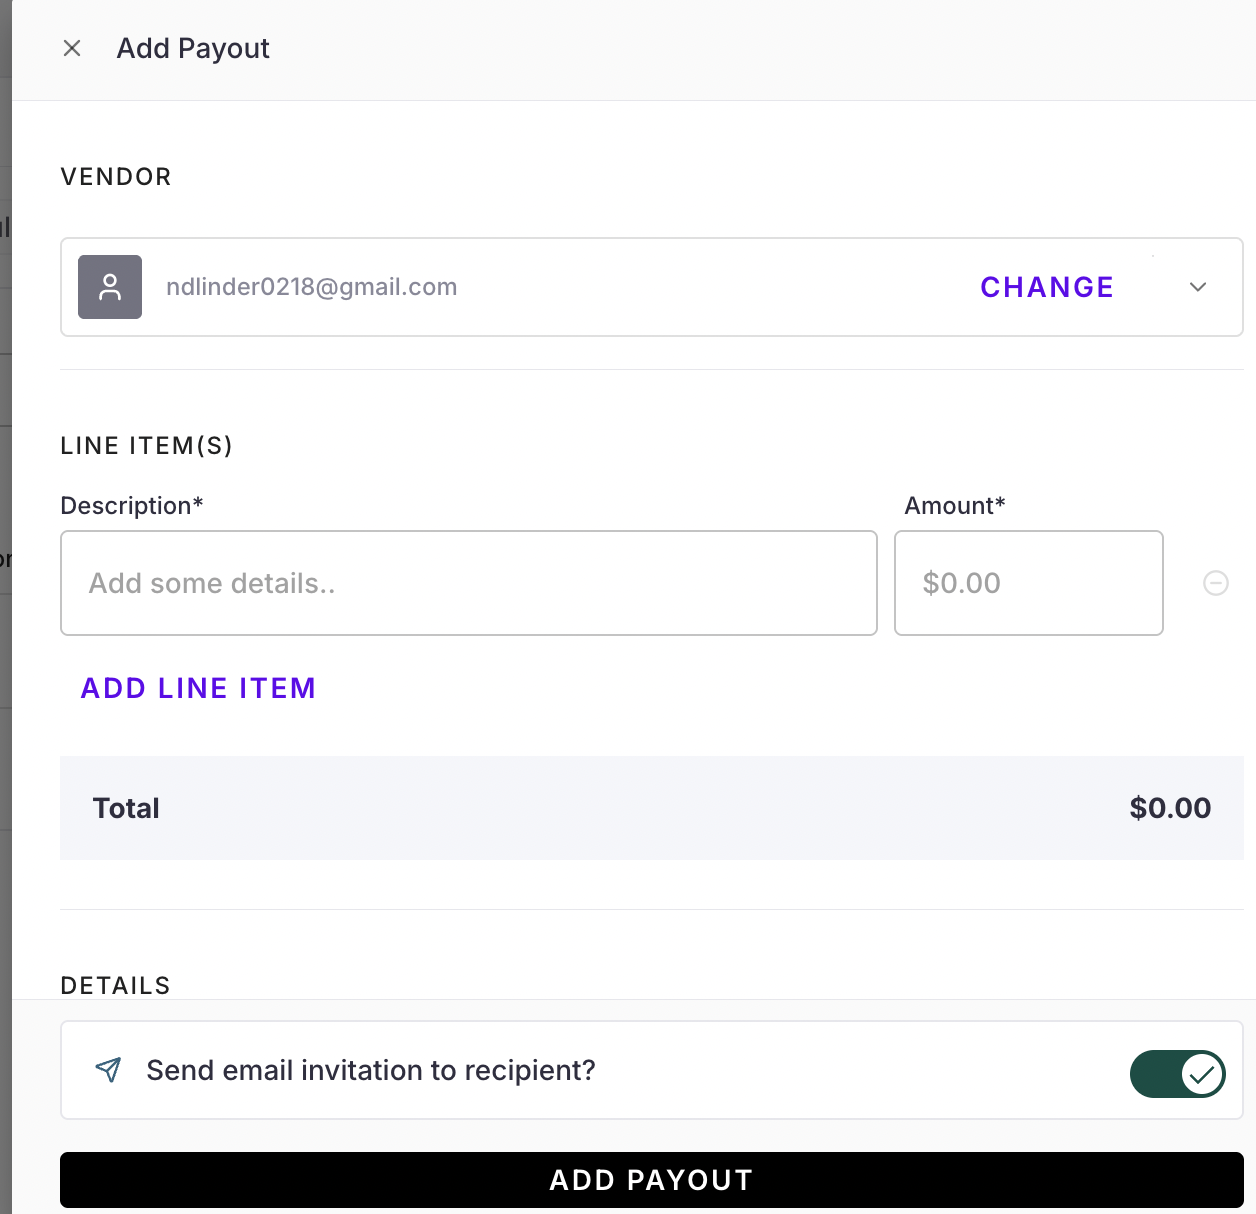
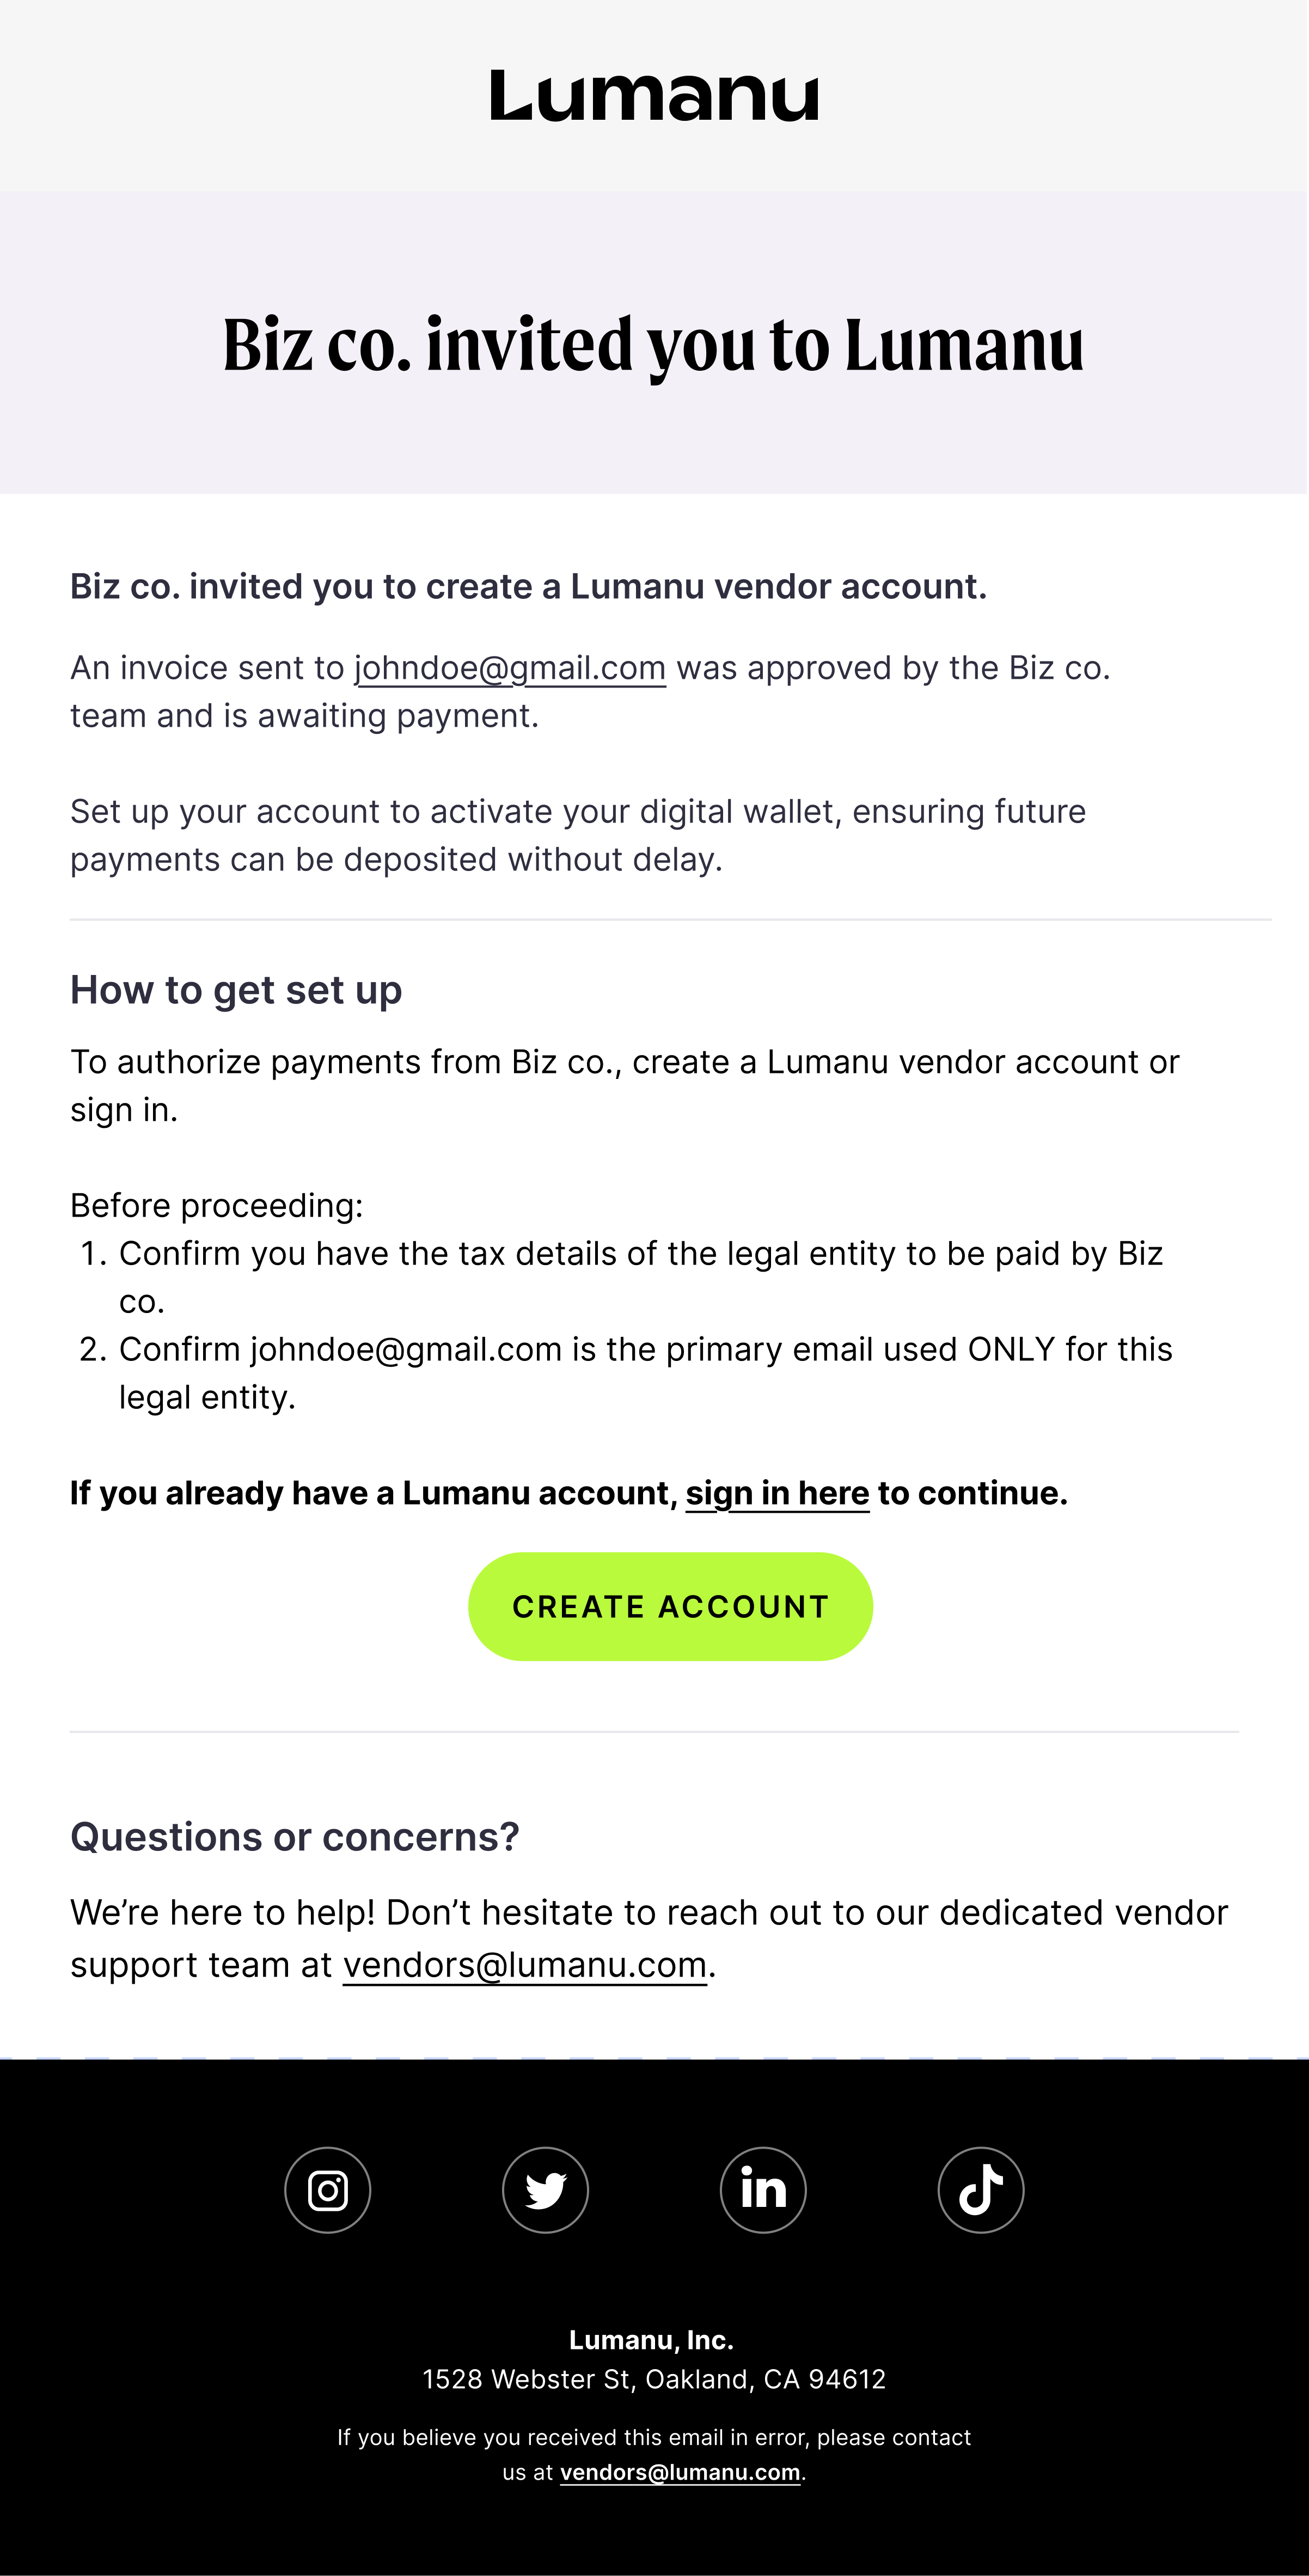
Below is the email the vendor will receive if invited via an invoice invite.
Invite by link
To invite a vendor via your workspace’s custom invite-link, navigate under the Vendor tab and click the Invite vendor button.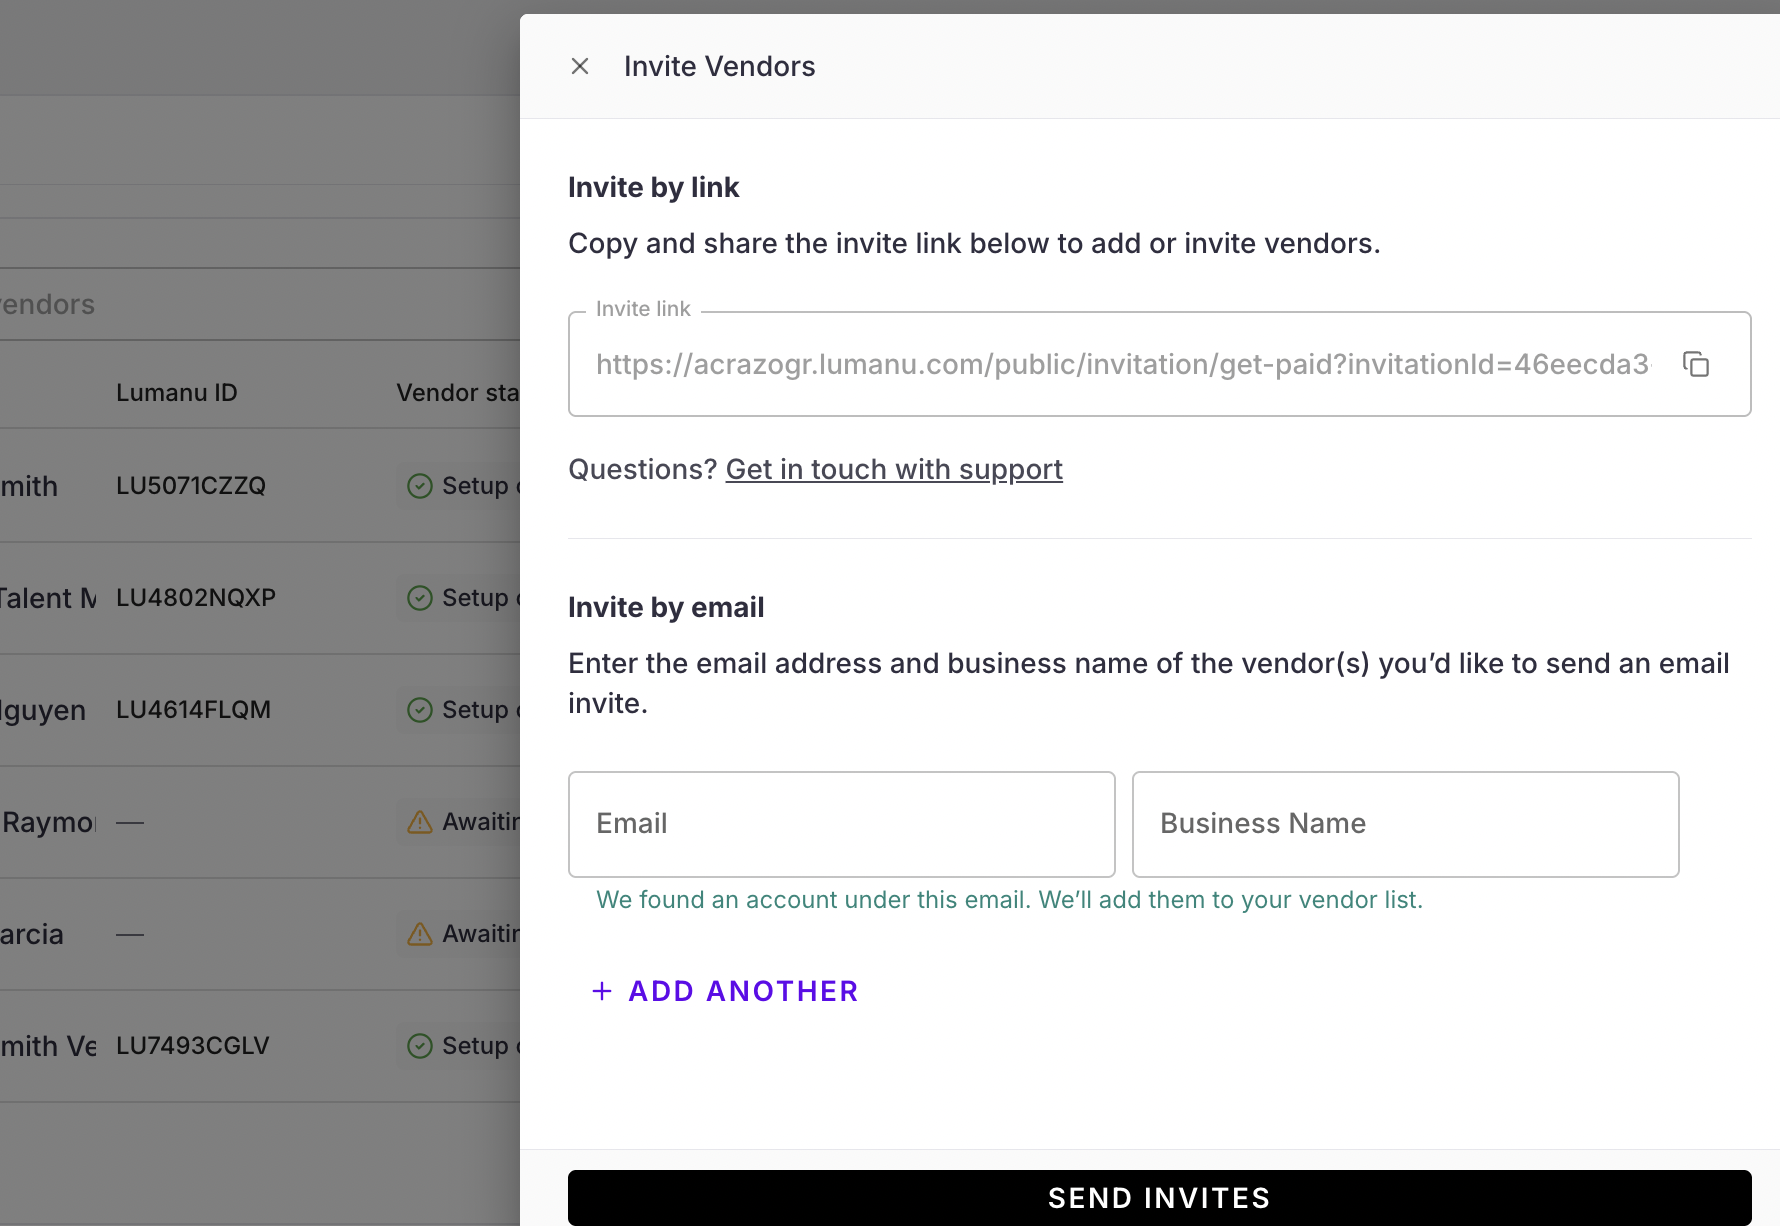
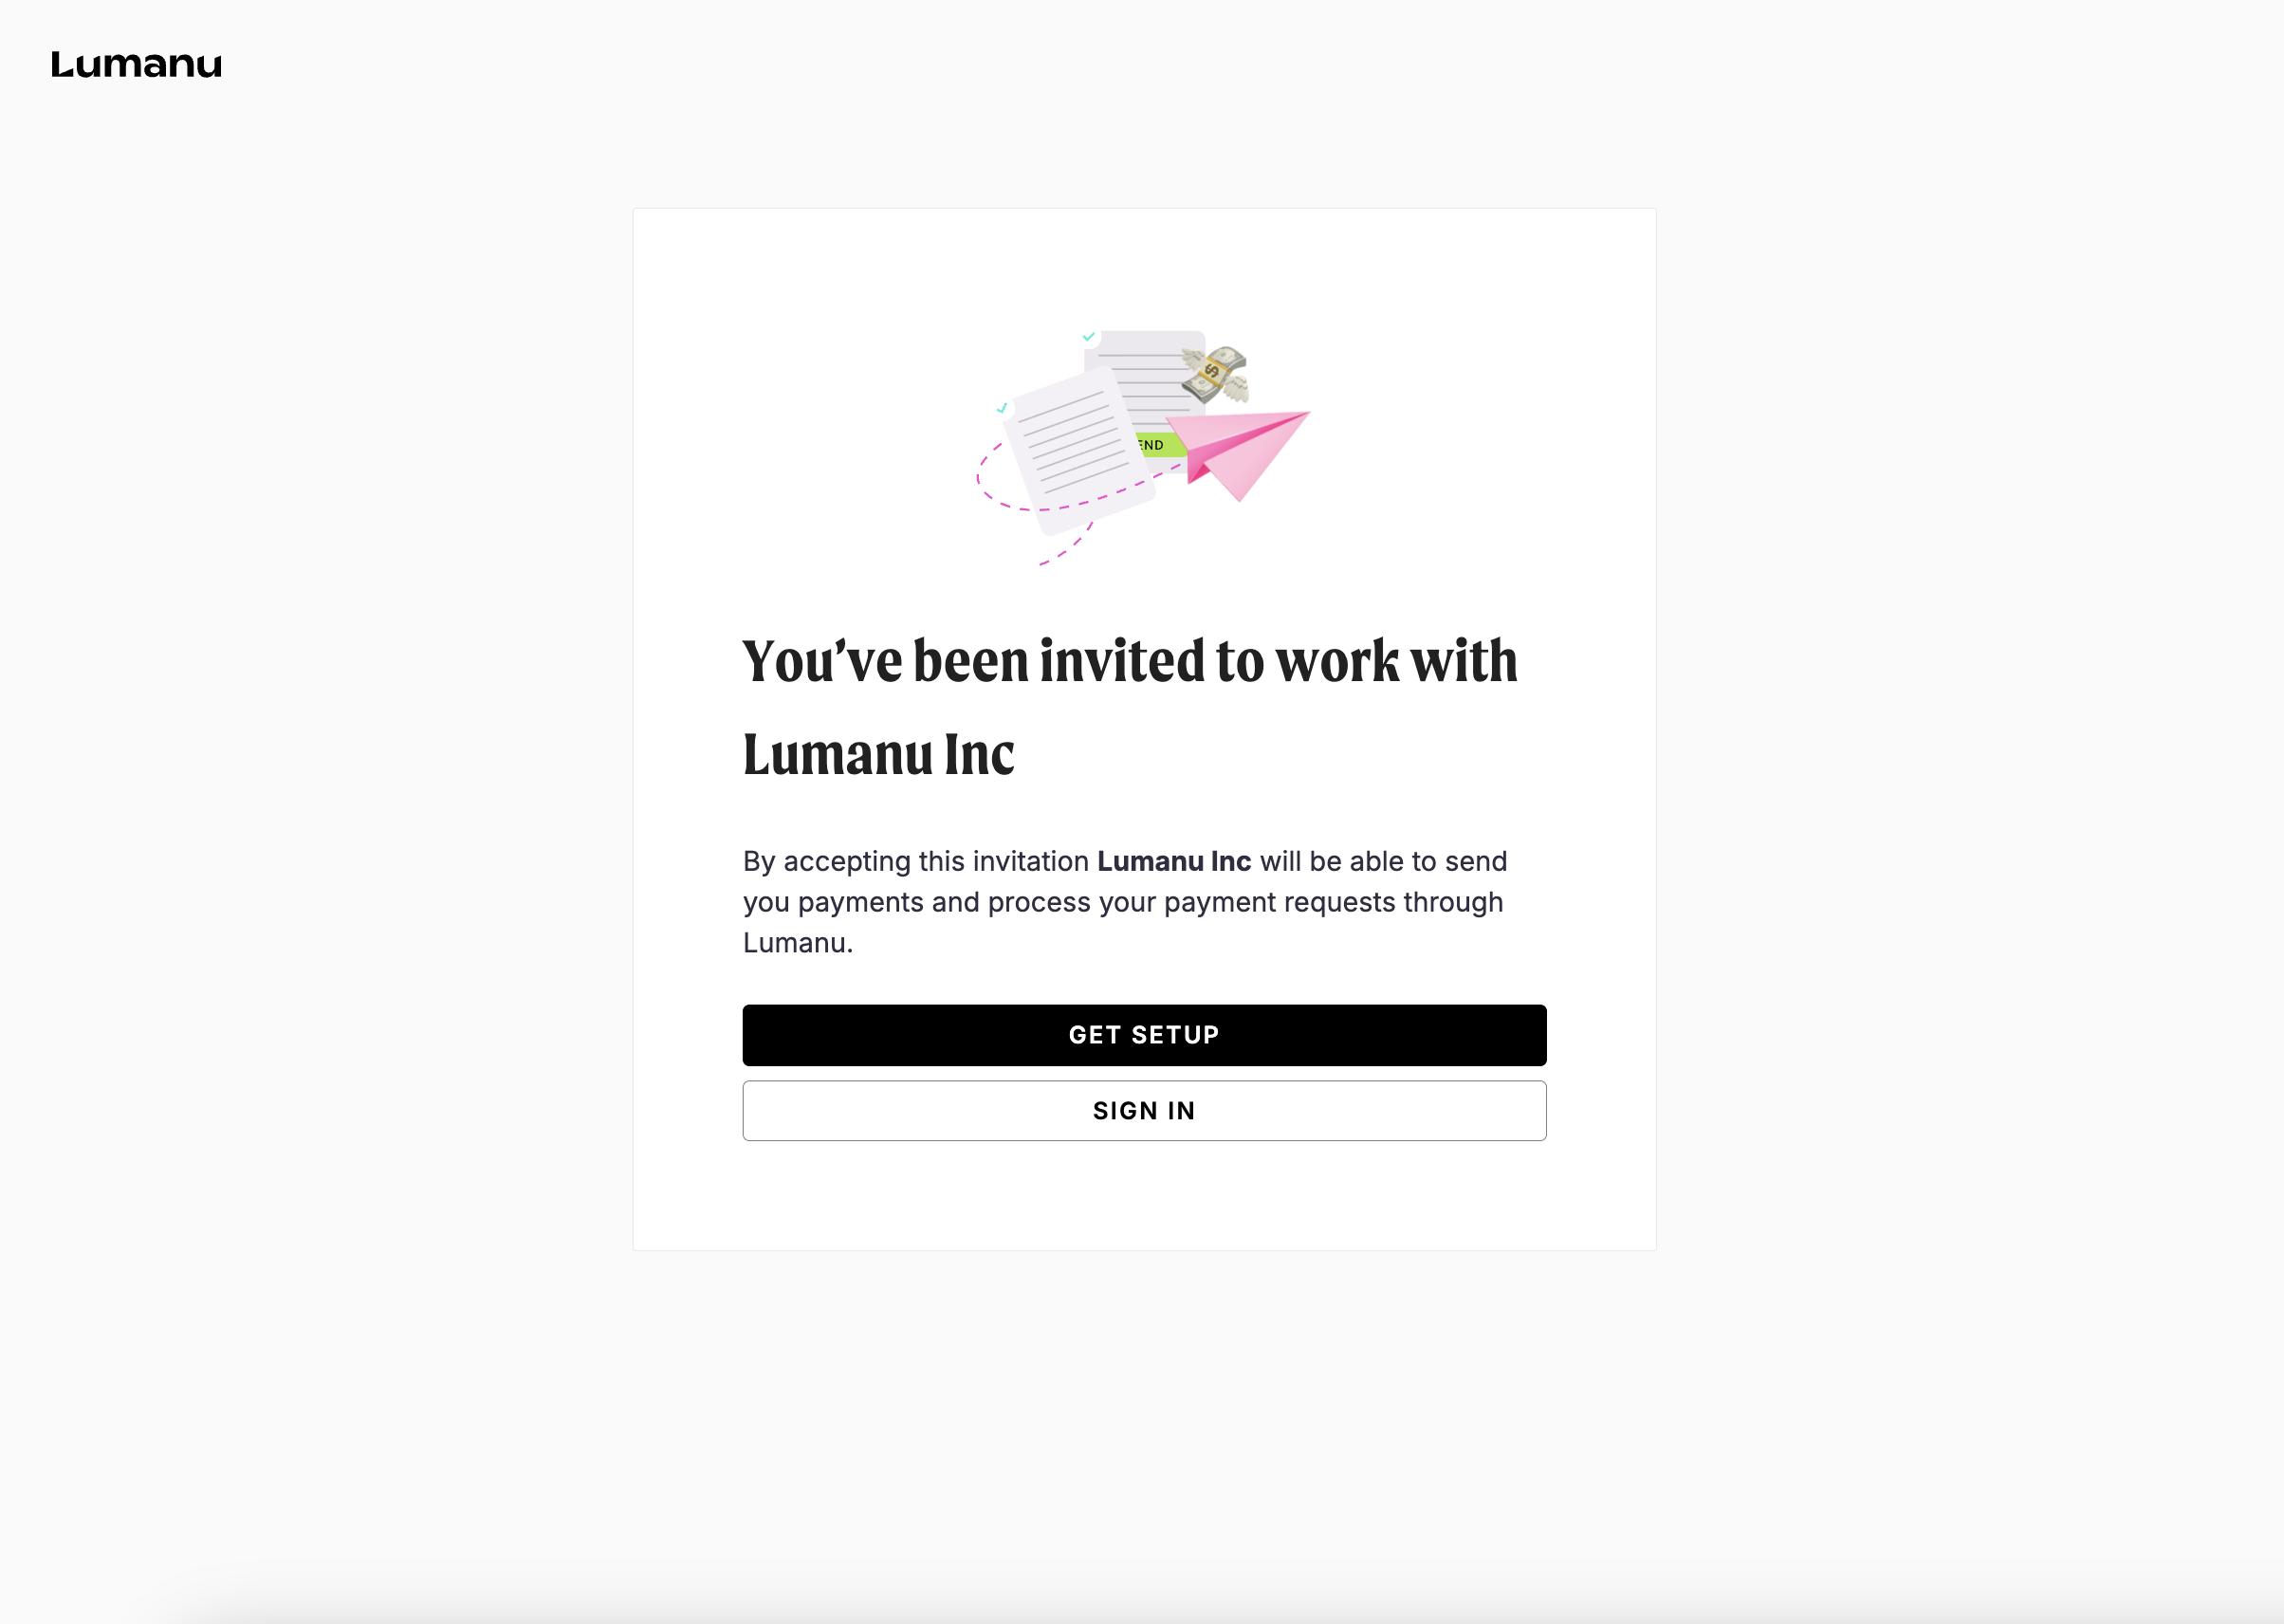
Once they click on the invite link, they’ll see the below screen:
The account creation process
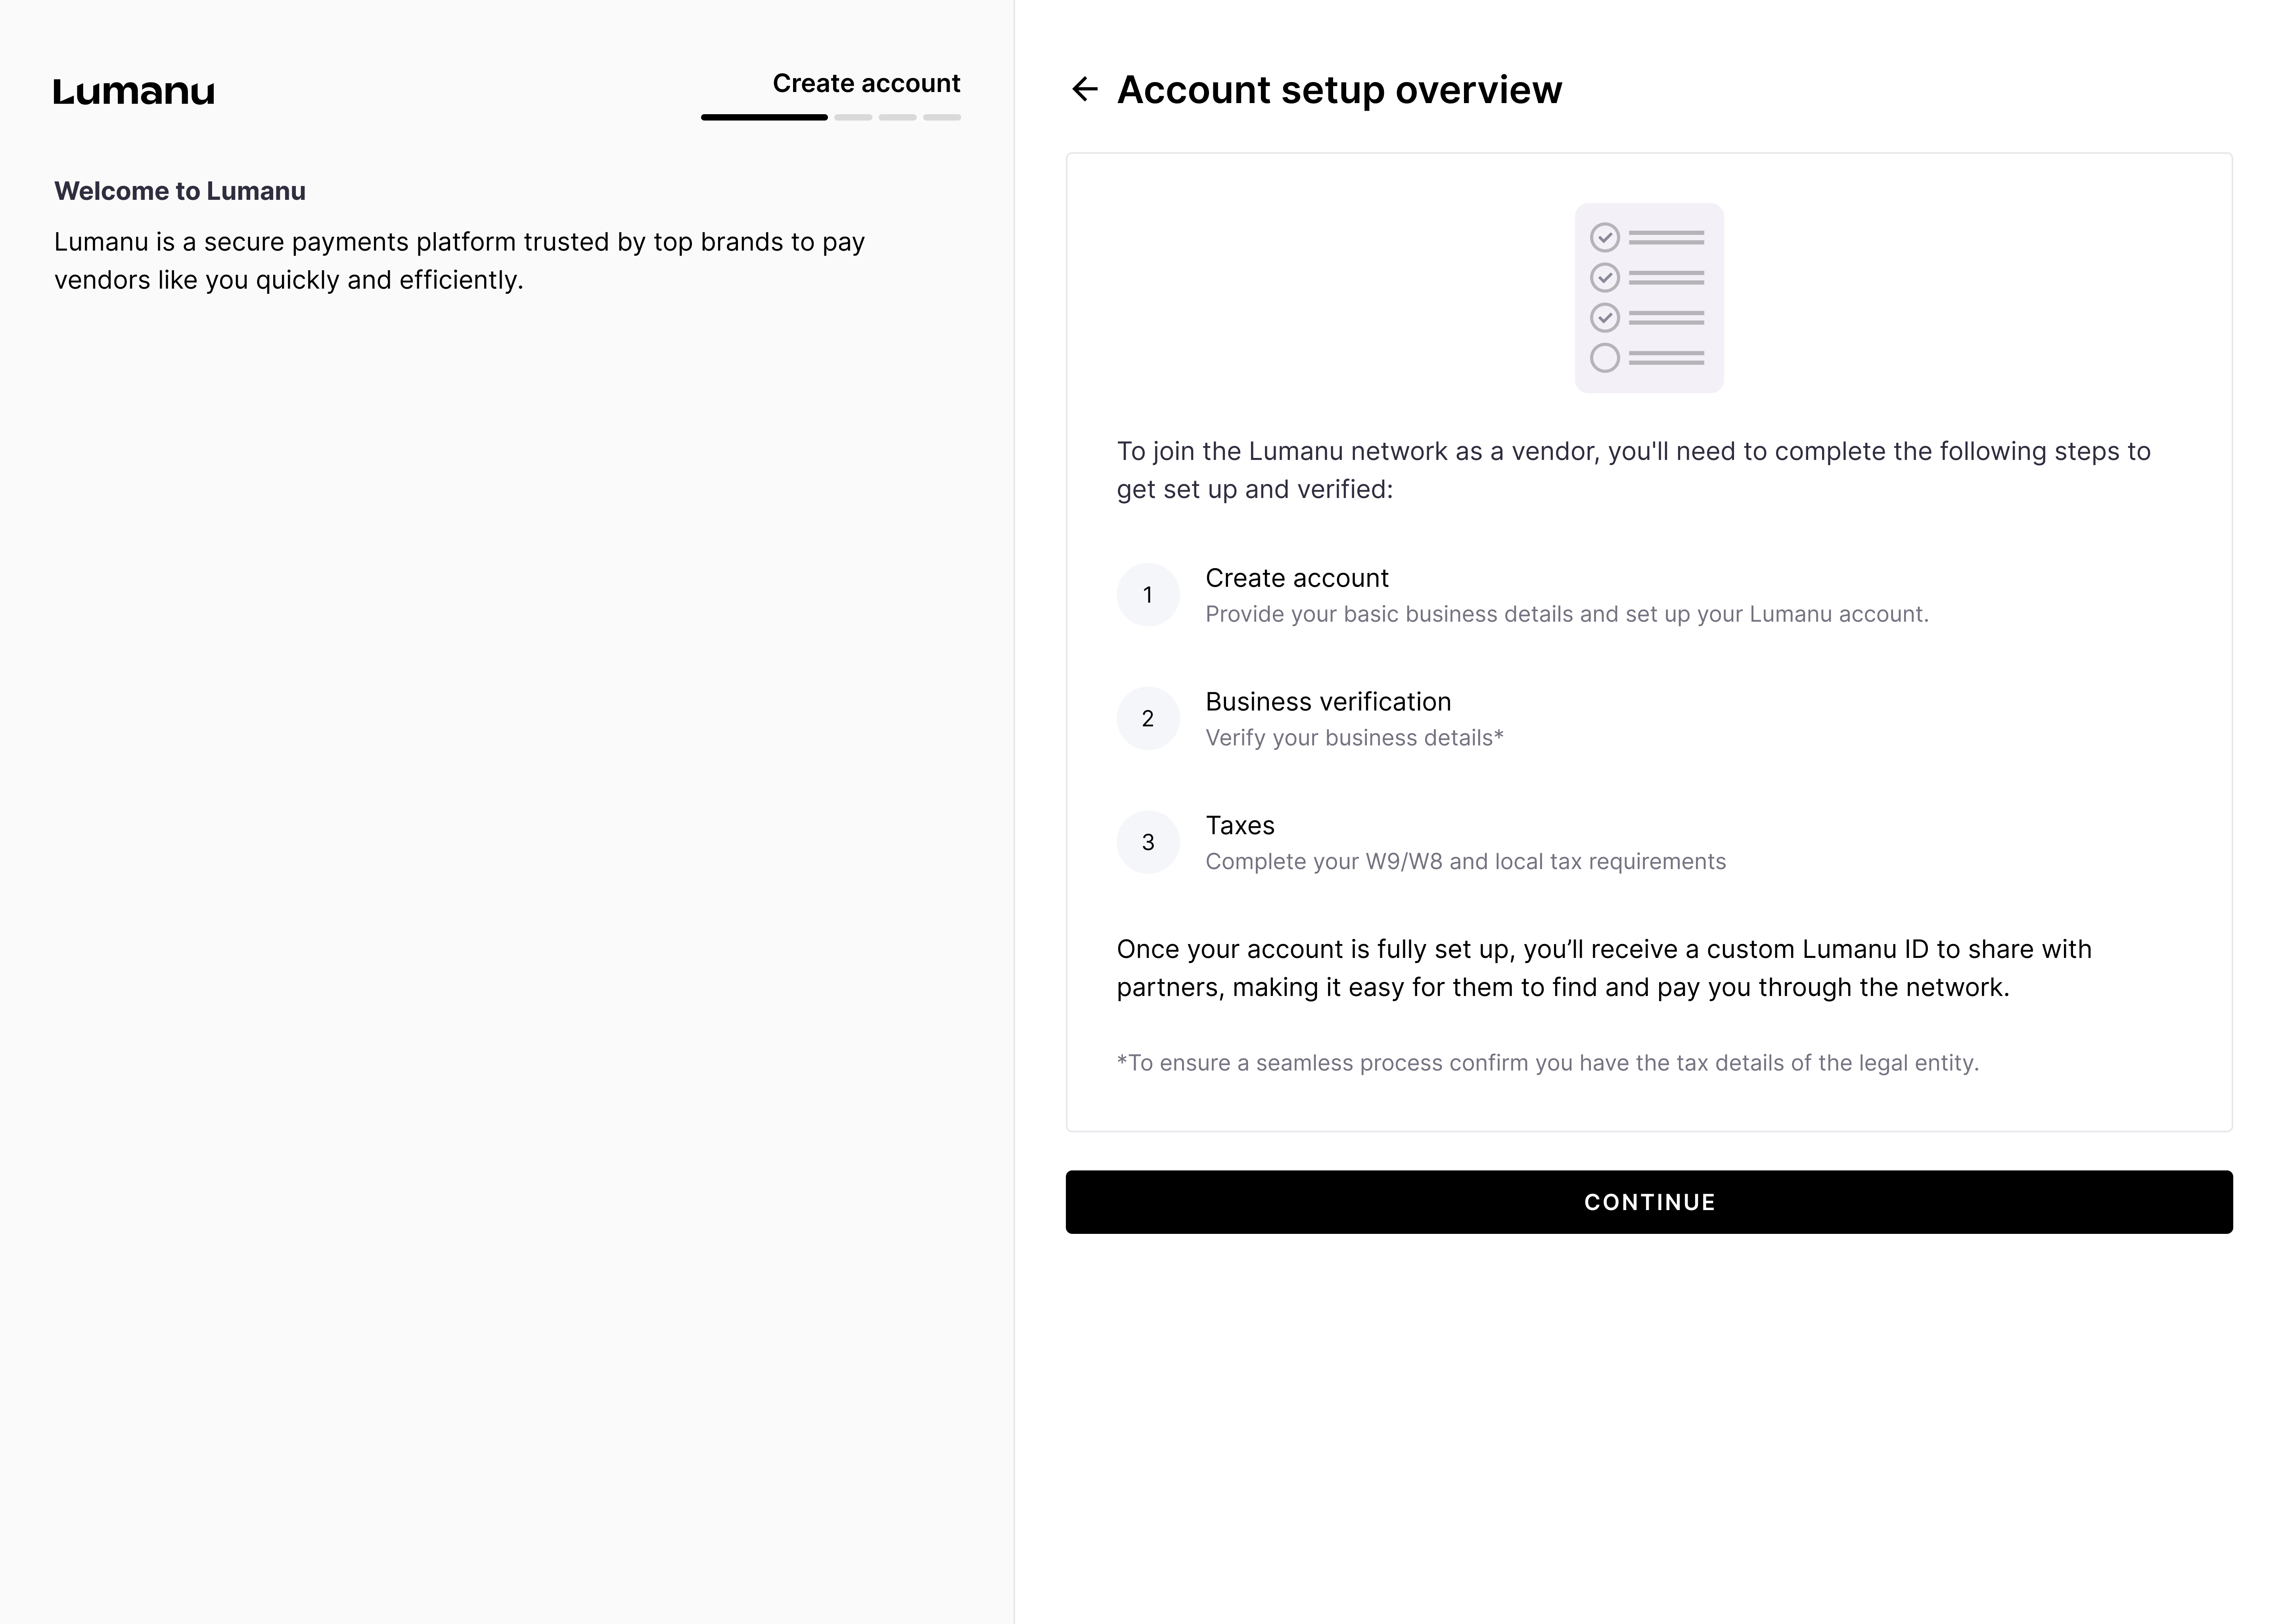
After accepting your team’s invite, the Lumanu app will provide the vendor with an overview of what to expect during the onboarding process.
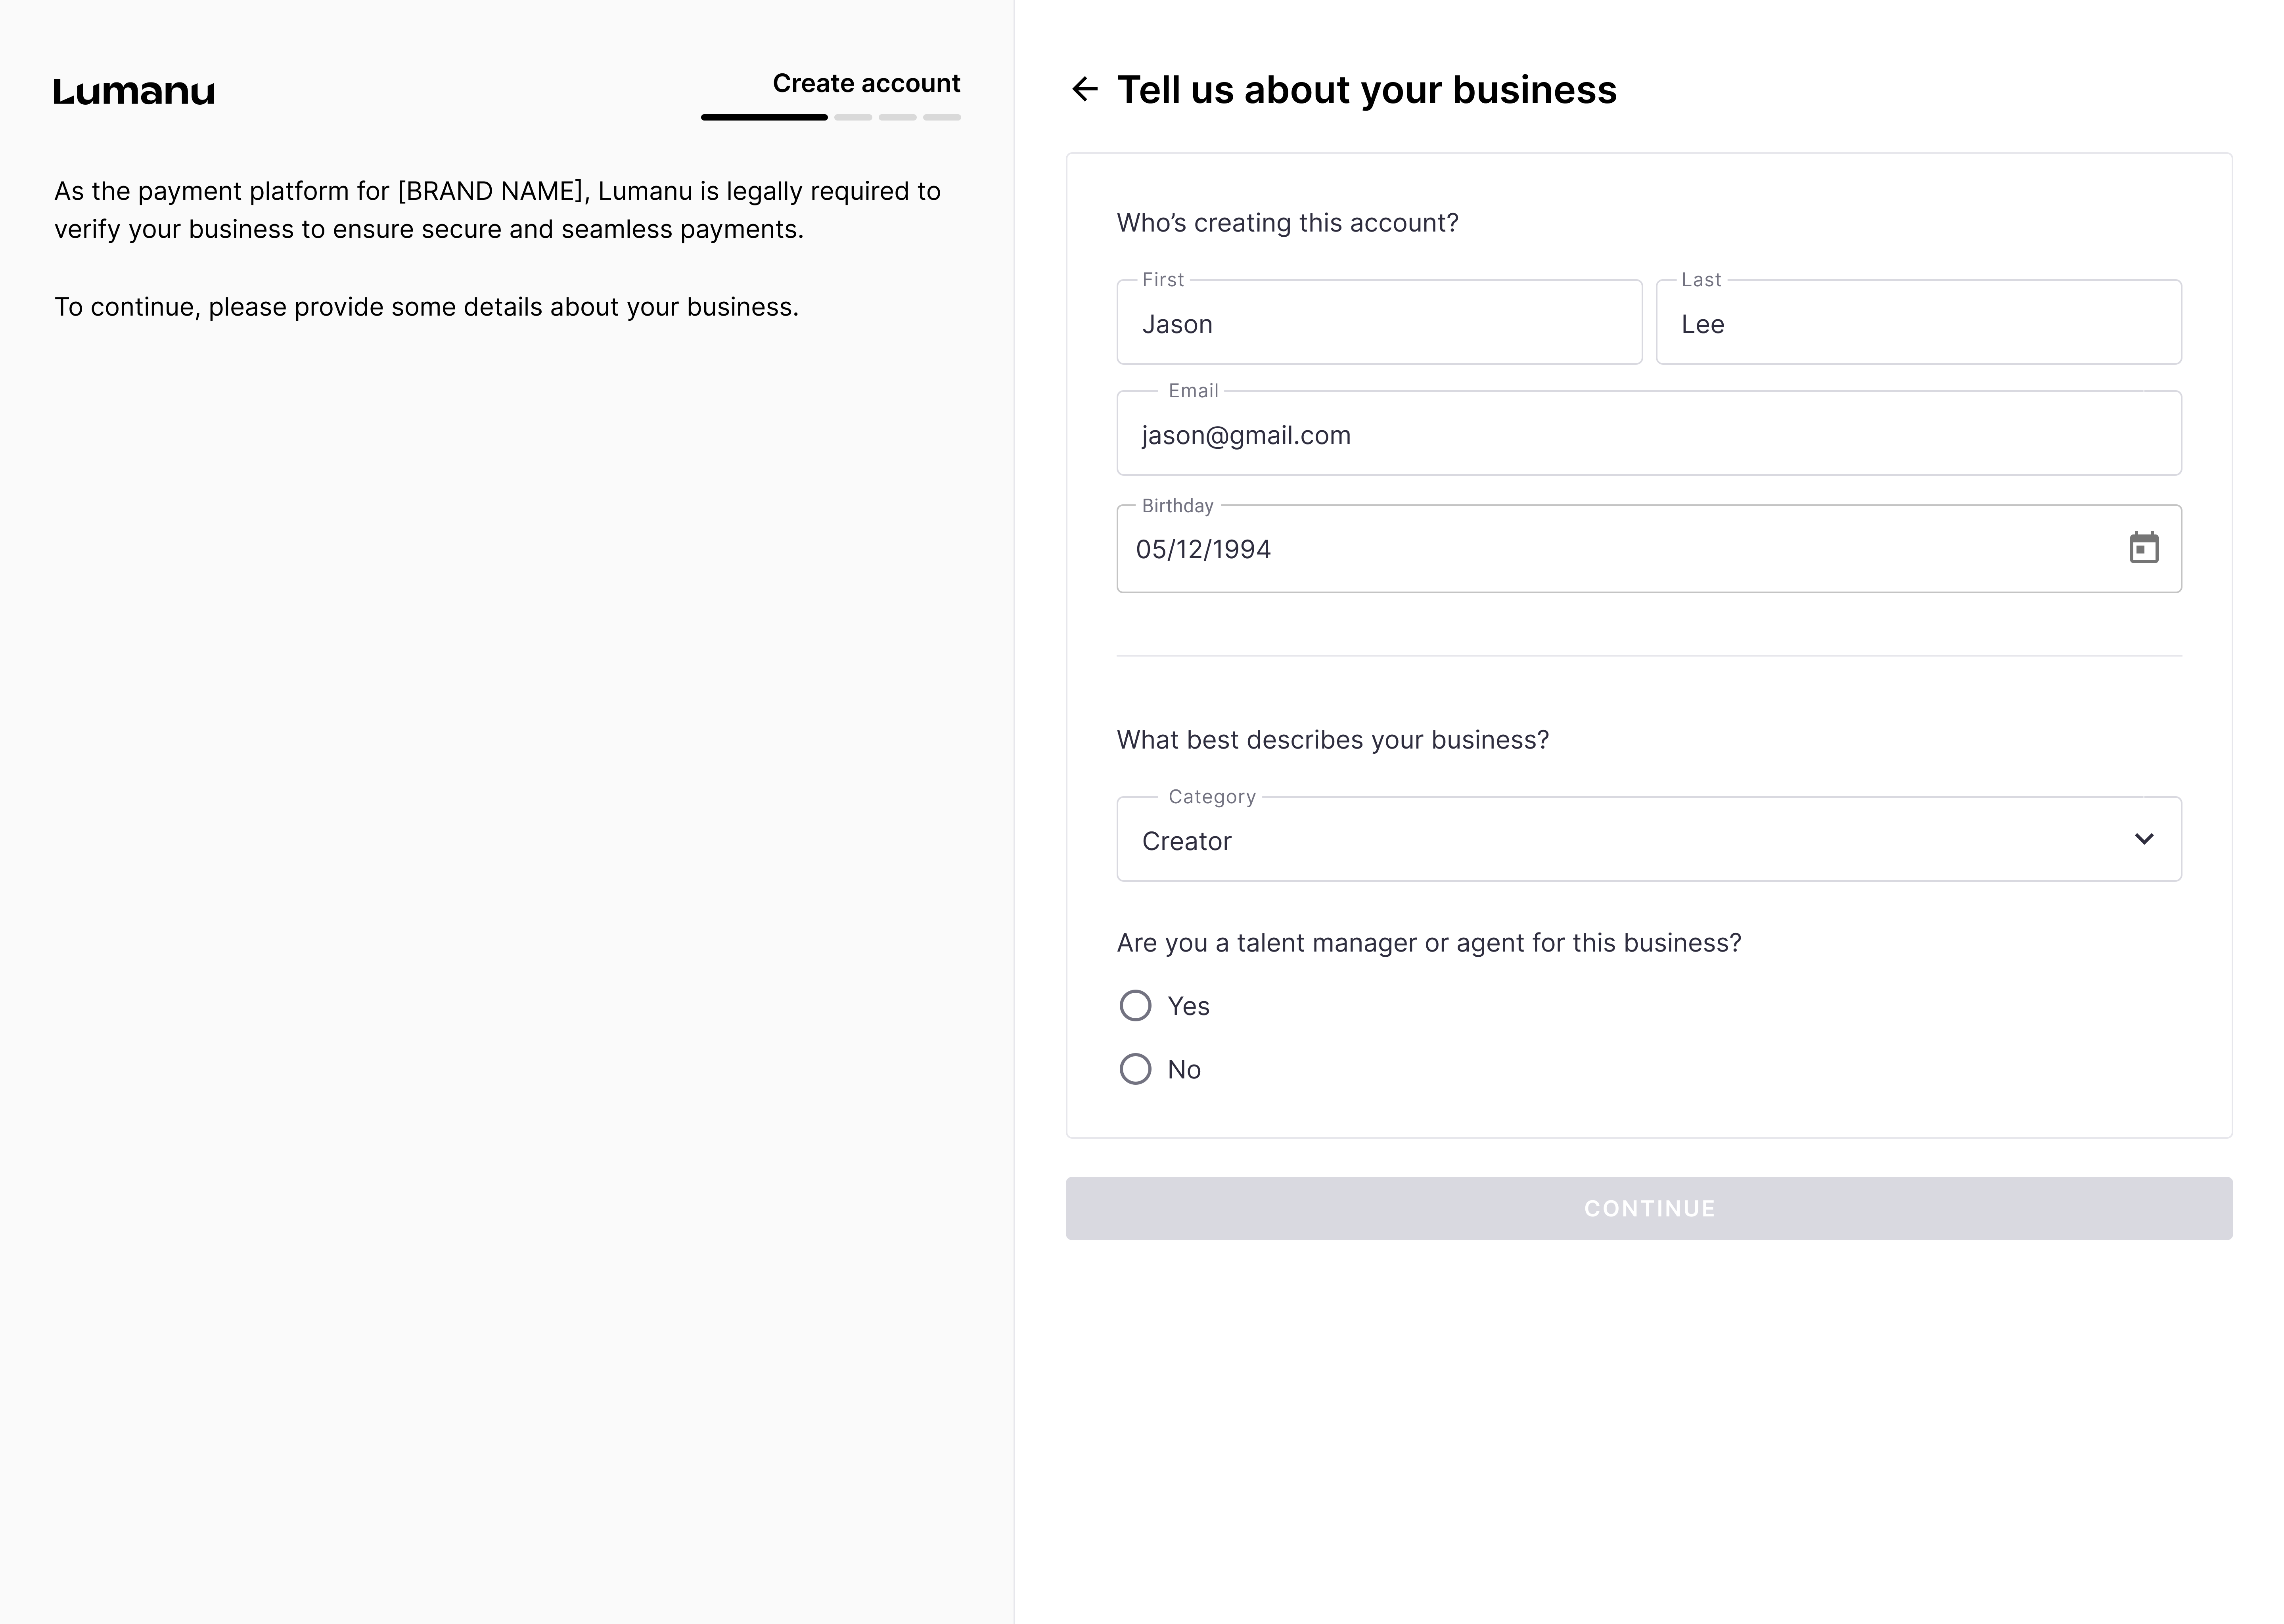
The user will be asked to provide basic details surrounding the person creating the account.
Under the ‘What best describes your business’ dropdown, users will choose between the below options:
Creator
Freelancer
Agency
Loan-out company
Media Publisher
Technology Vendor
Local business
Consultant
Other
Next, the user will be asked to provide the location and entity type of their registered business.
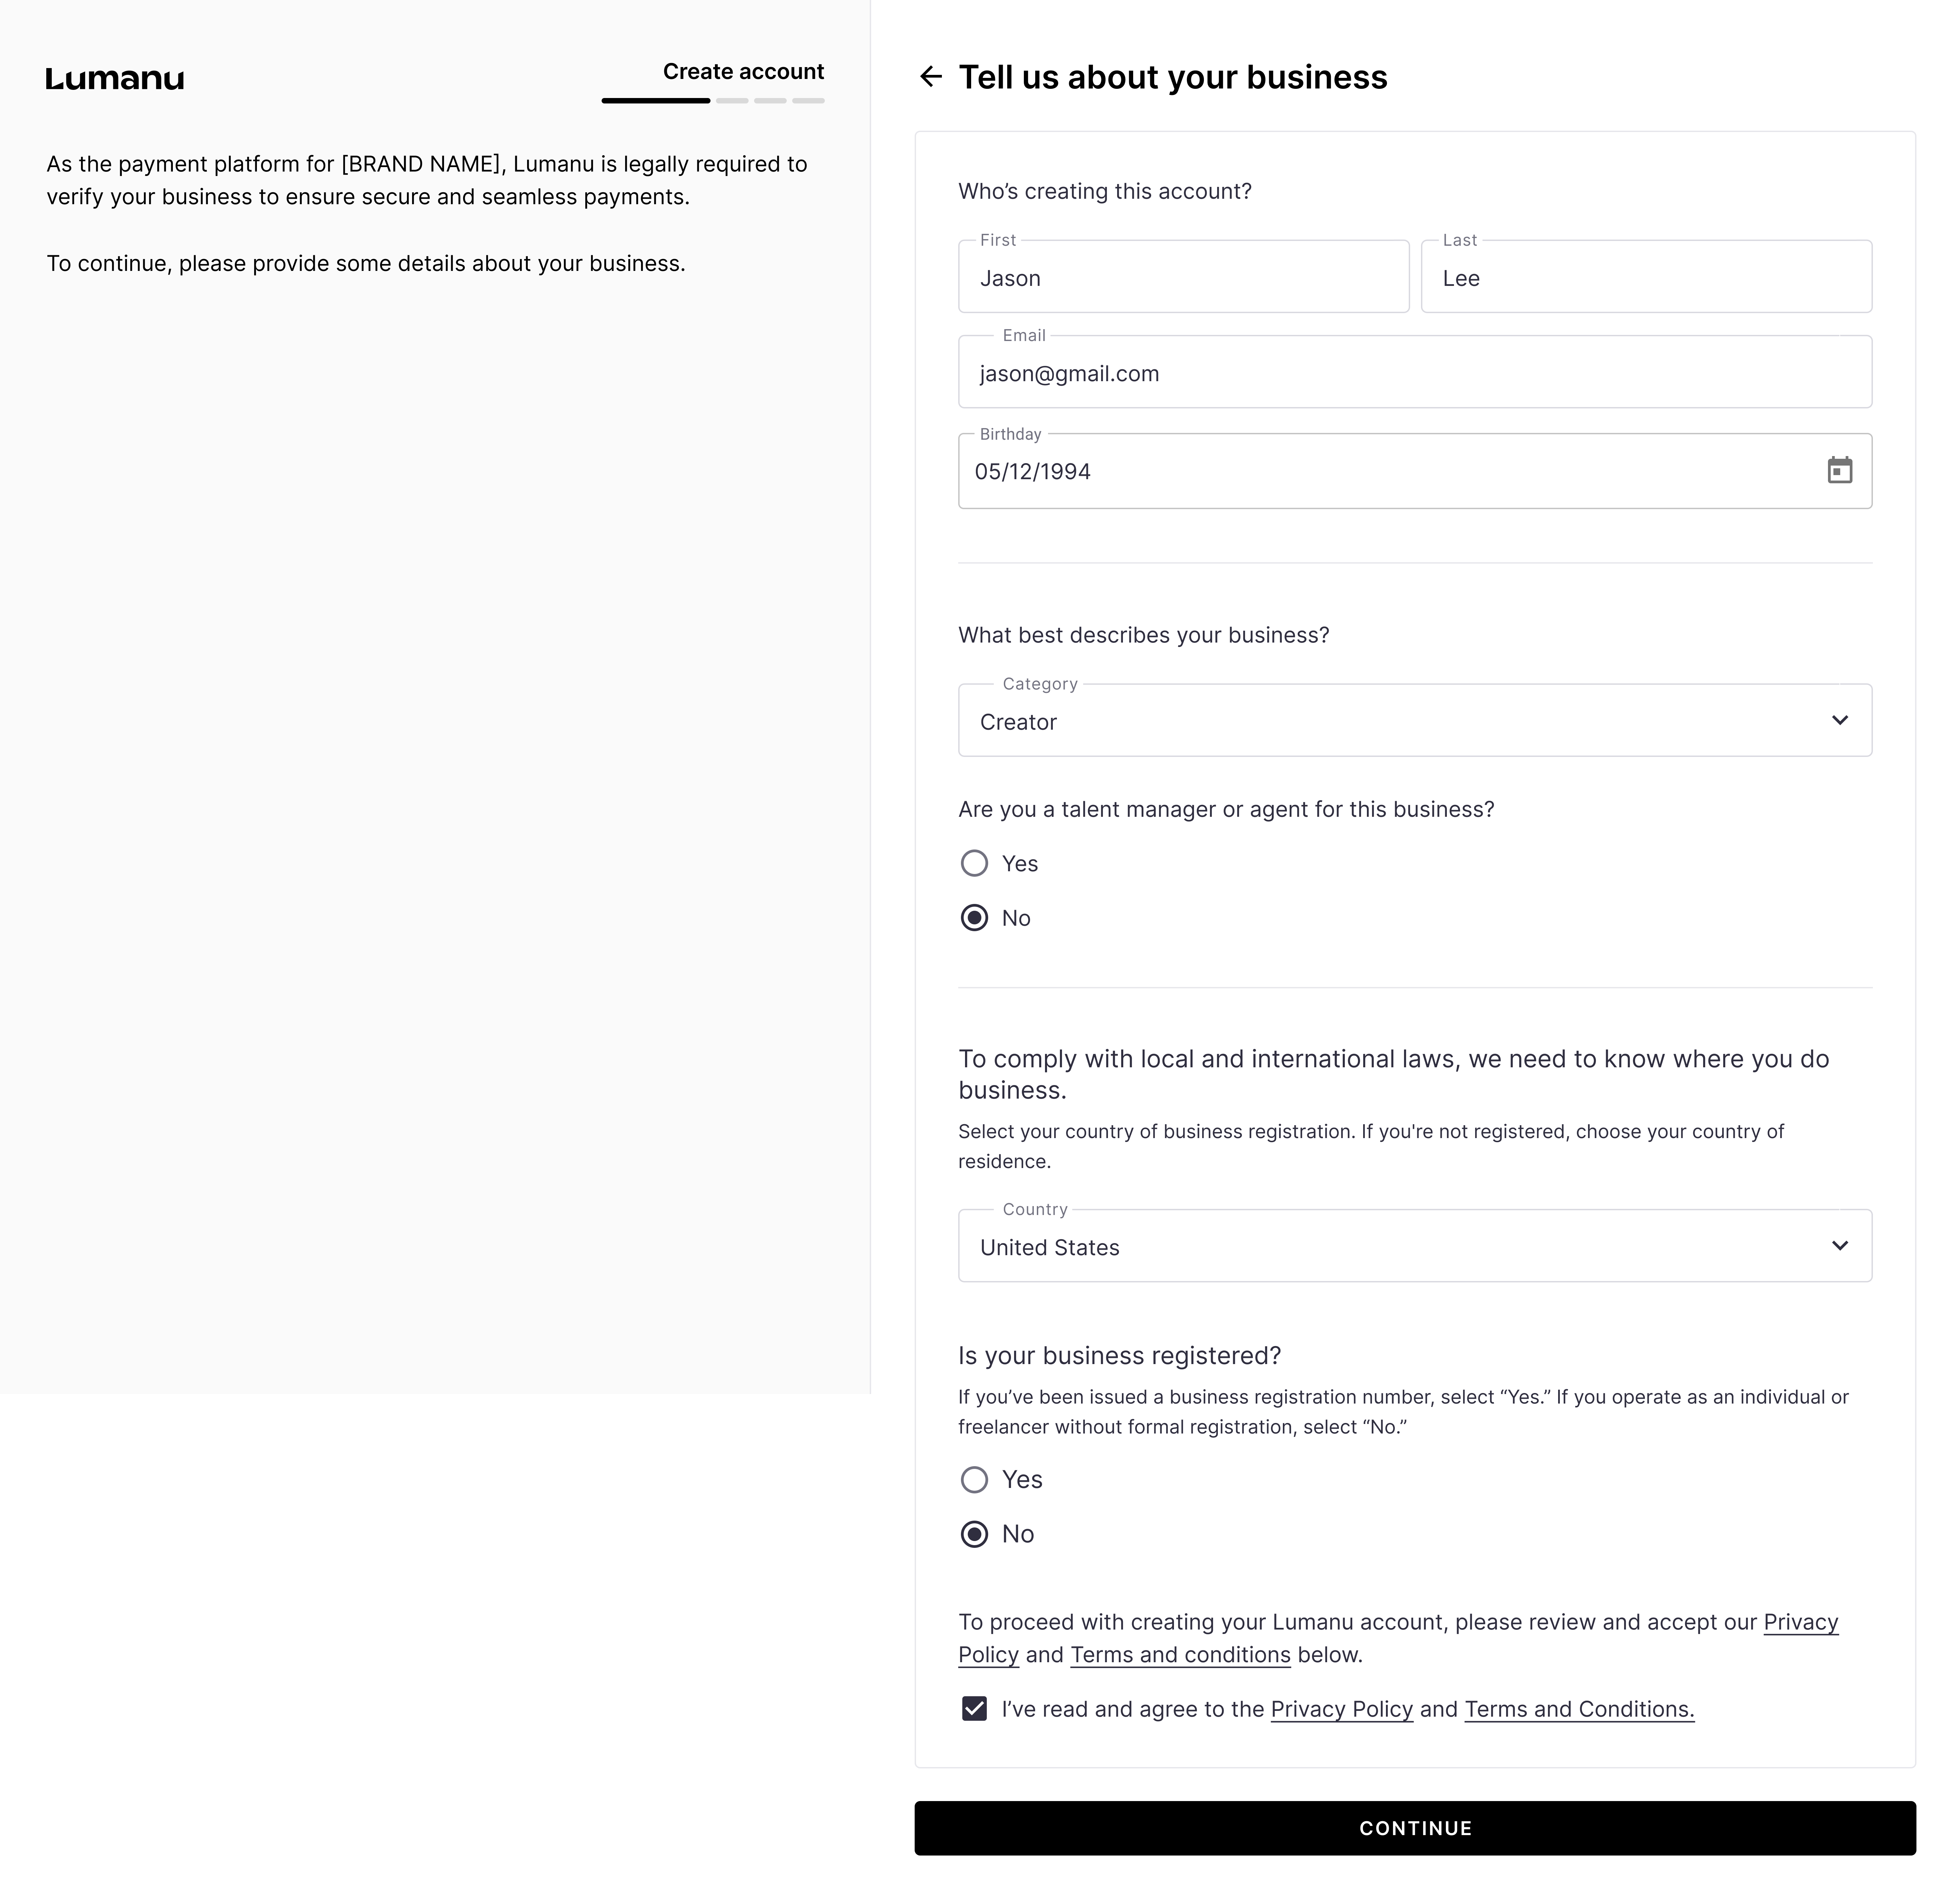
If a user isn’t registered, the Lumanu app will default their business entity type to Sole Proprietorship or Sole Trader (based on their country).
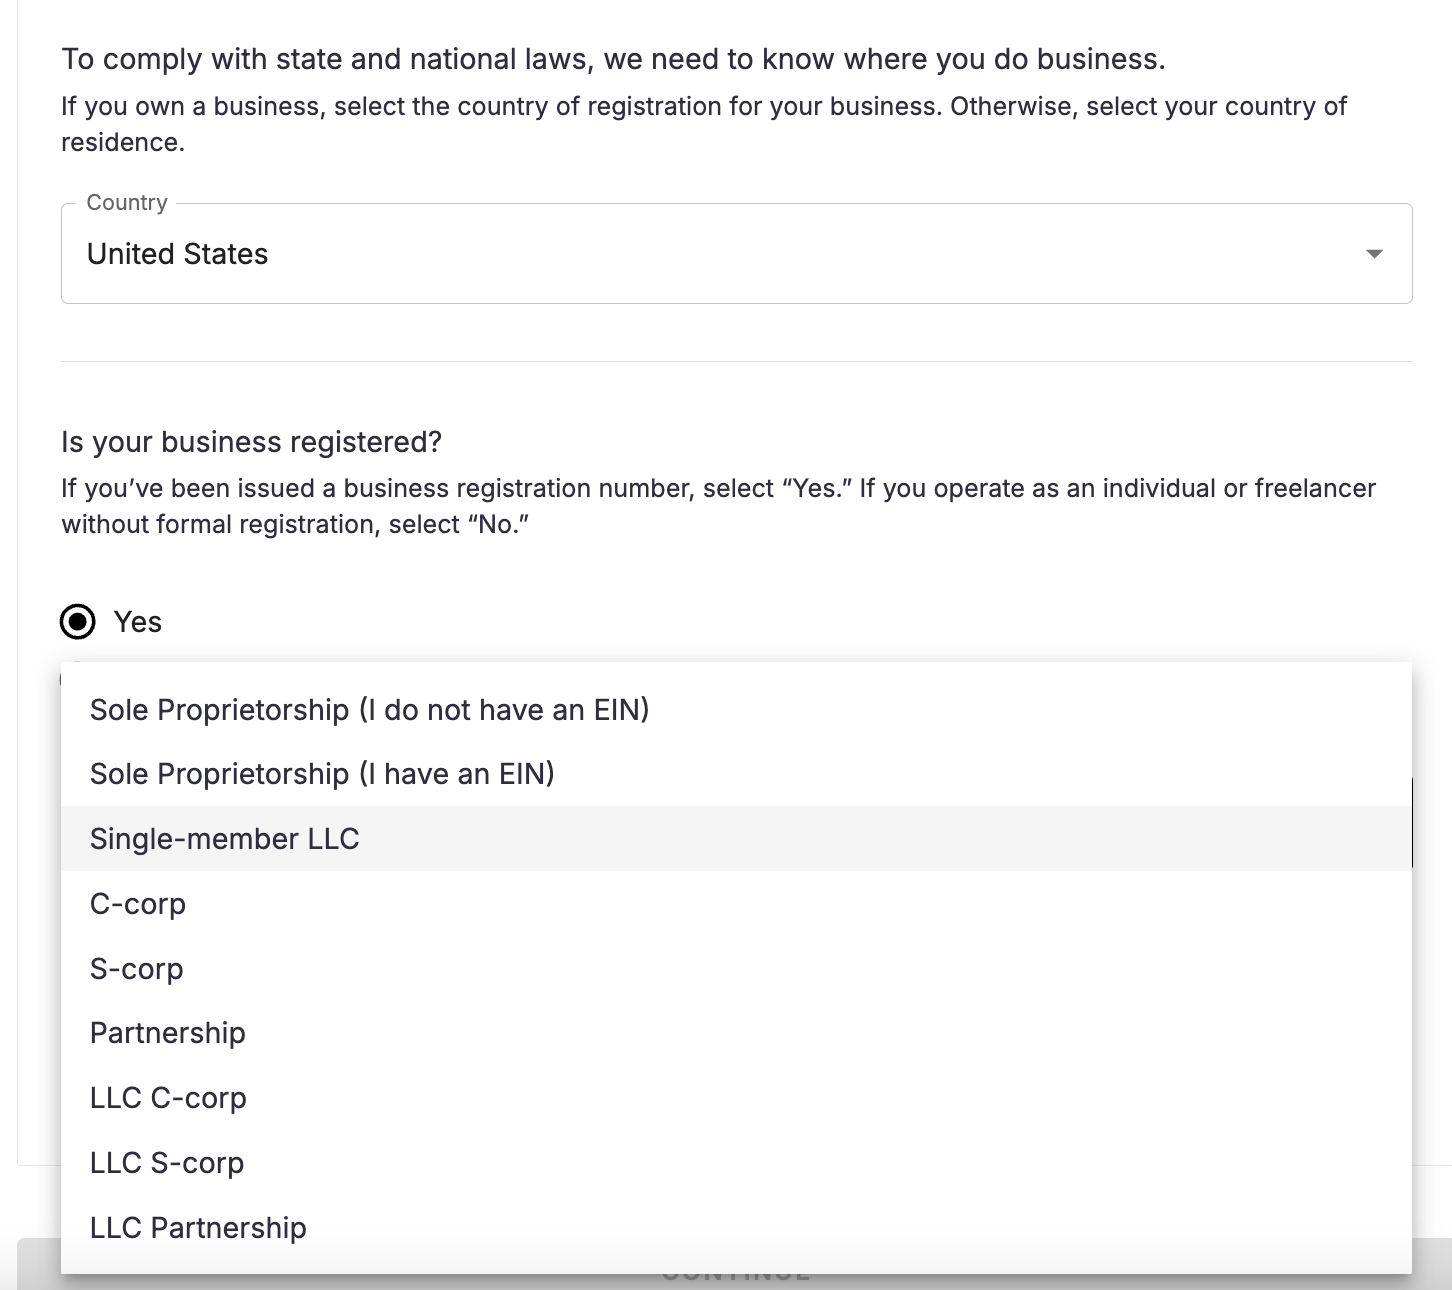
If a user is based in the United States and has a registered business, they’ll see the below business entity types in the dropdown:
Sole Proprietorship ( I do not have an EIN)
Sole Proprietorship (I have an EIN)
C-corp
S-corp
Partnership
LLC C-corp
LLC
If a user is located outside of the United States and has a registered business, the options will adjust to list the legal entity types in their region.

Using the information provided in the previous step, Lumanu will request either the user’s tax identification number (individual) or registered business number (registered business).
Note: Lumanu protects vendor data with encryption, secure access controls, continuous monitoring, and GDPR-compliant infrastructure. For more details on Lumanu's data protection efforts, see this link.

The registration number label dynamically changes to apply to the user’s location and business entity type. Example of a what a Sole Trader located in Canada would see on the below screen:
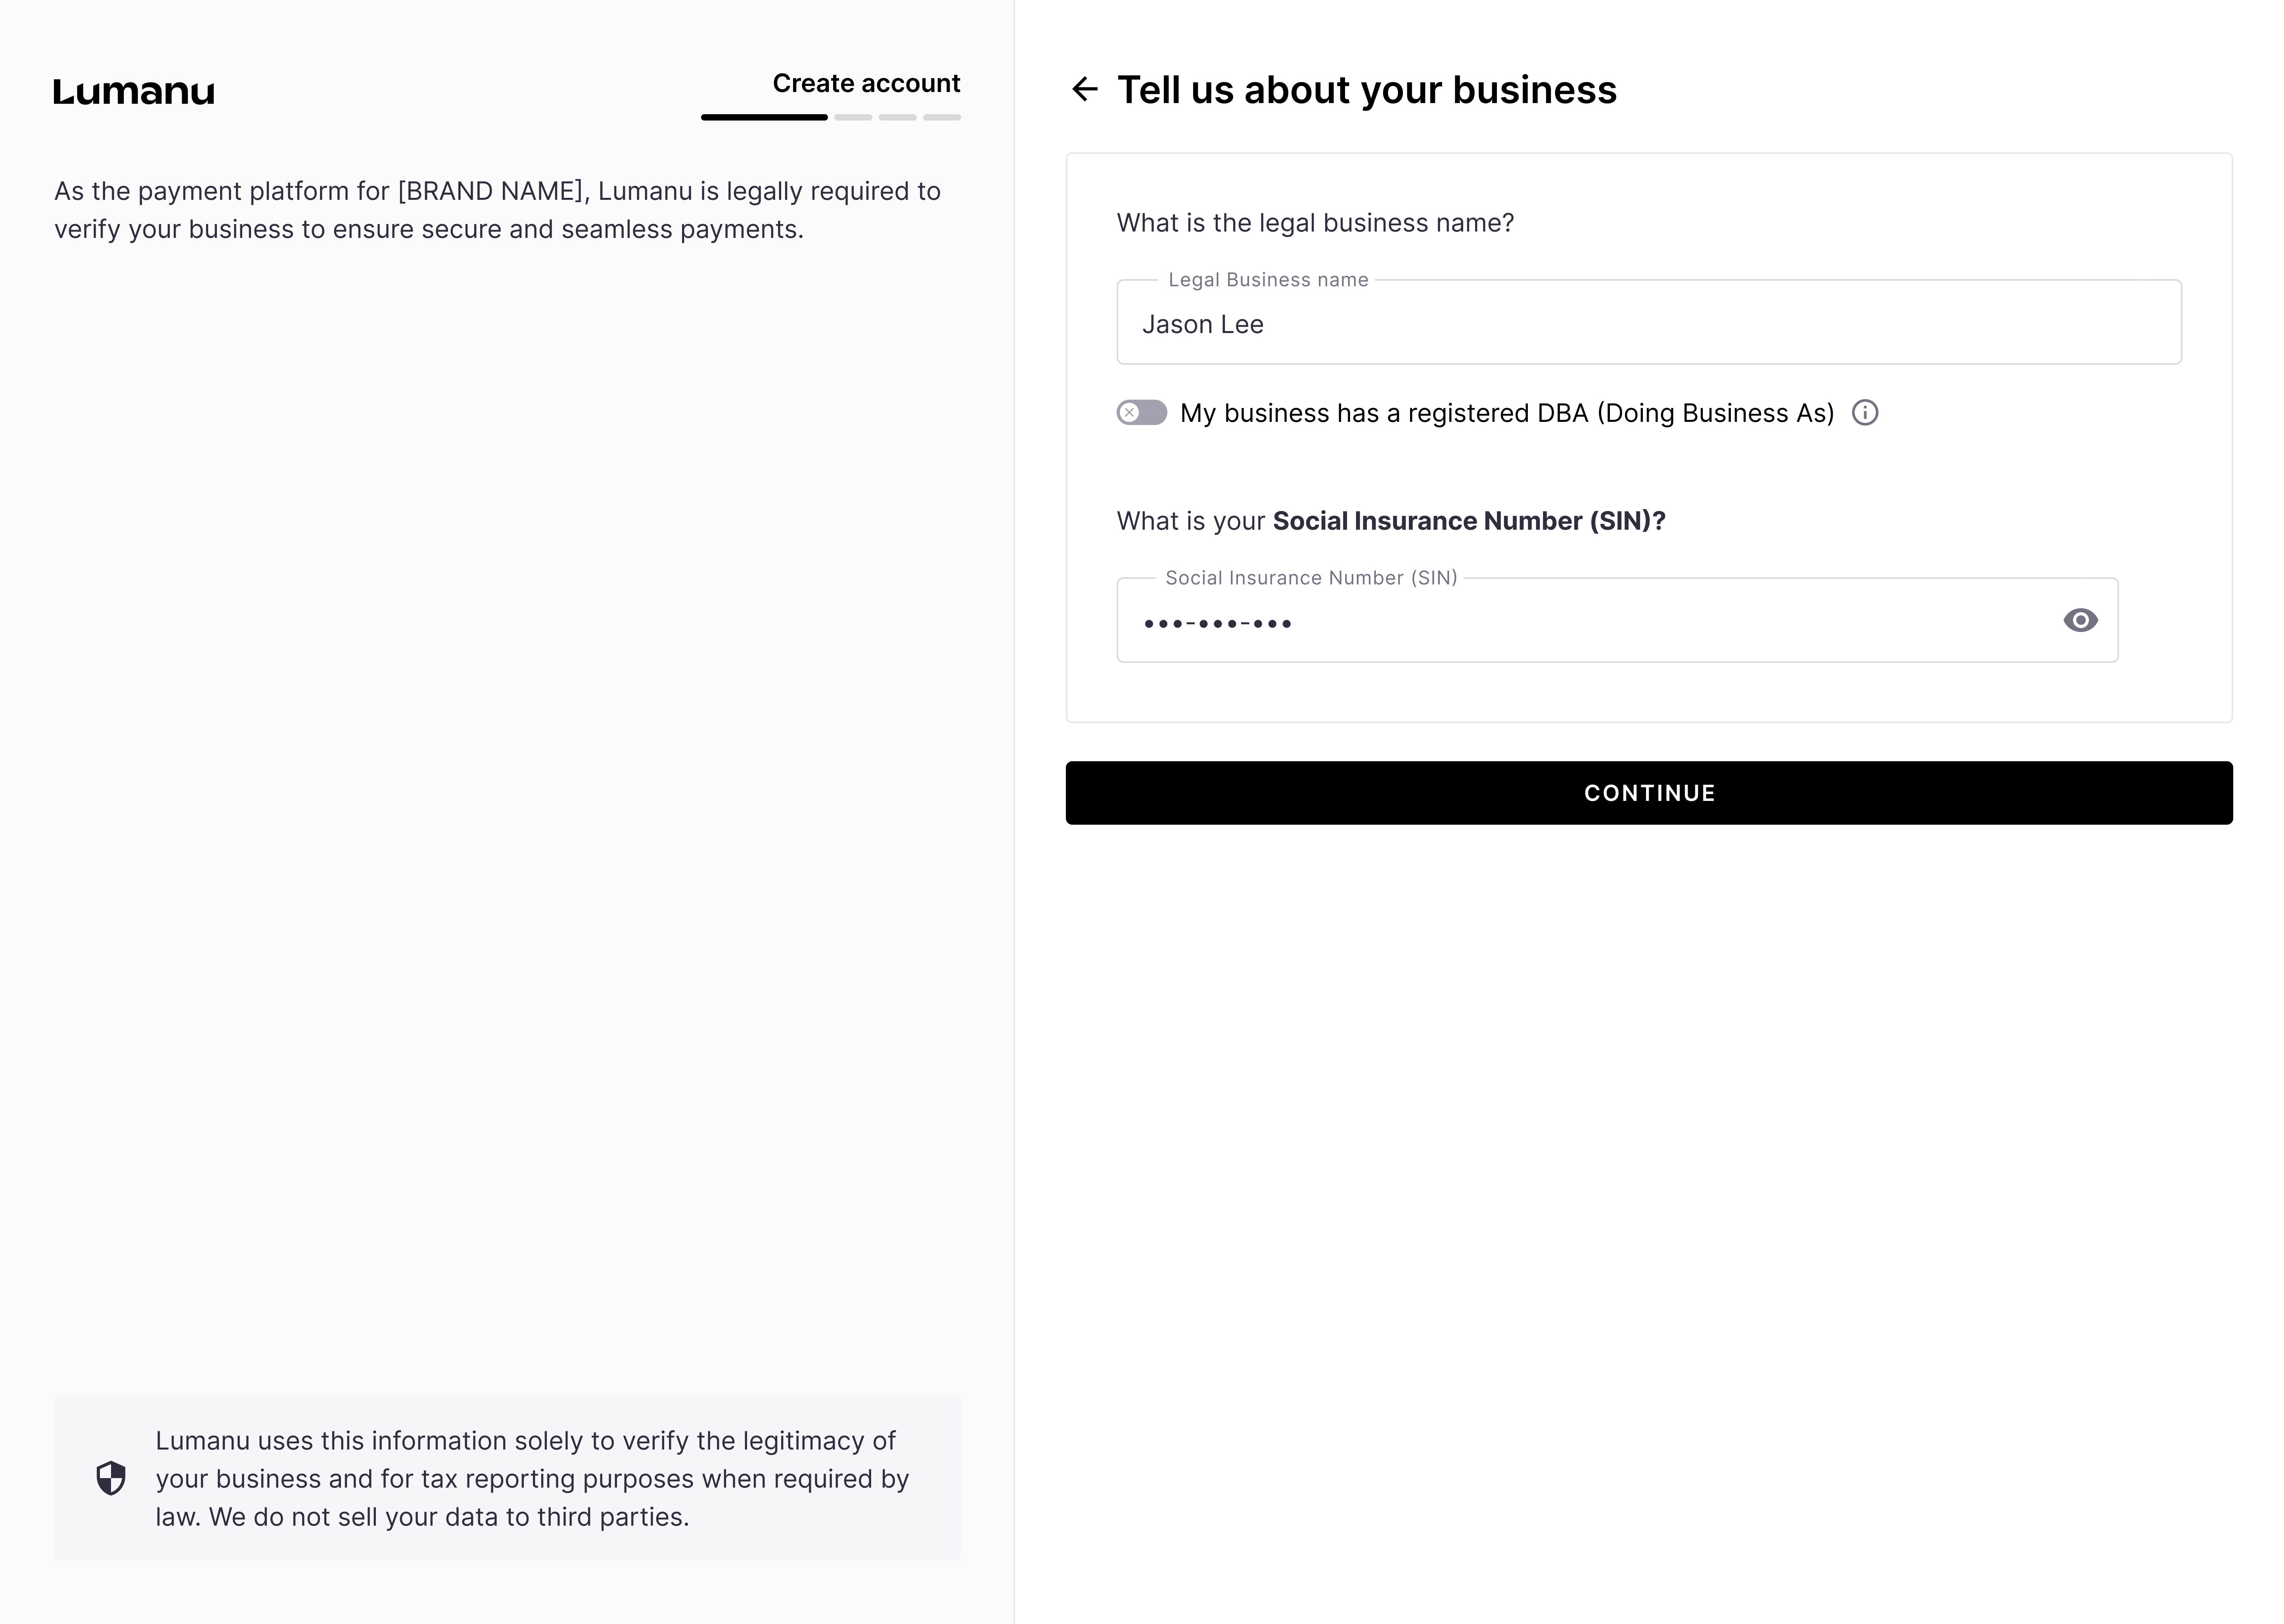
Lumanu will use the information provided to verify the identity of the user and/or business entity, as well as confirm the registration number isn’t already tied to an active Lumanu account.
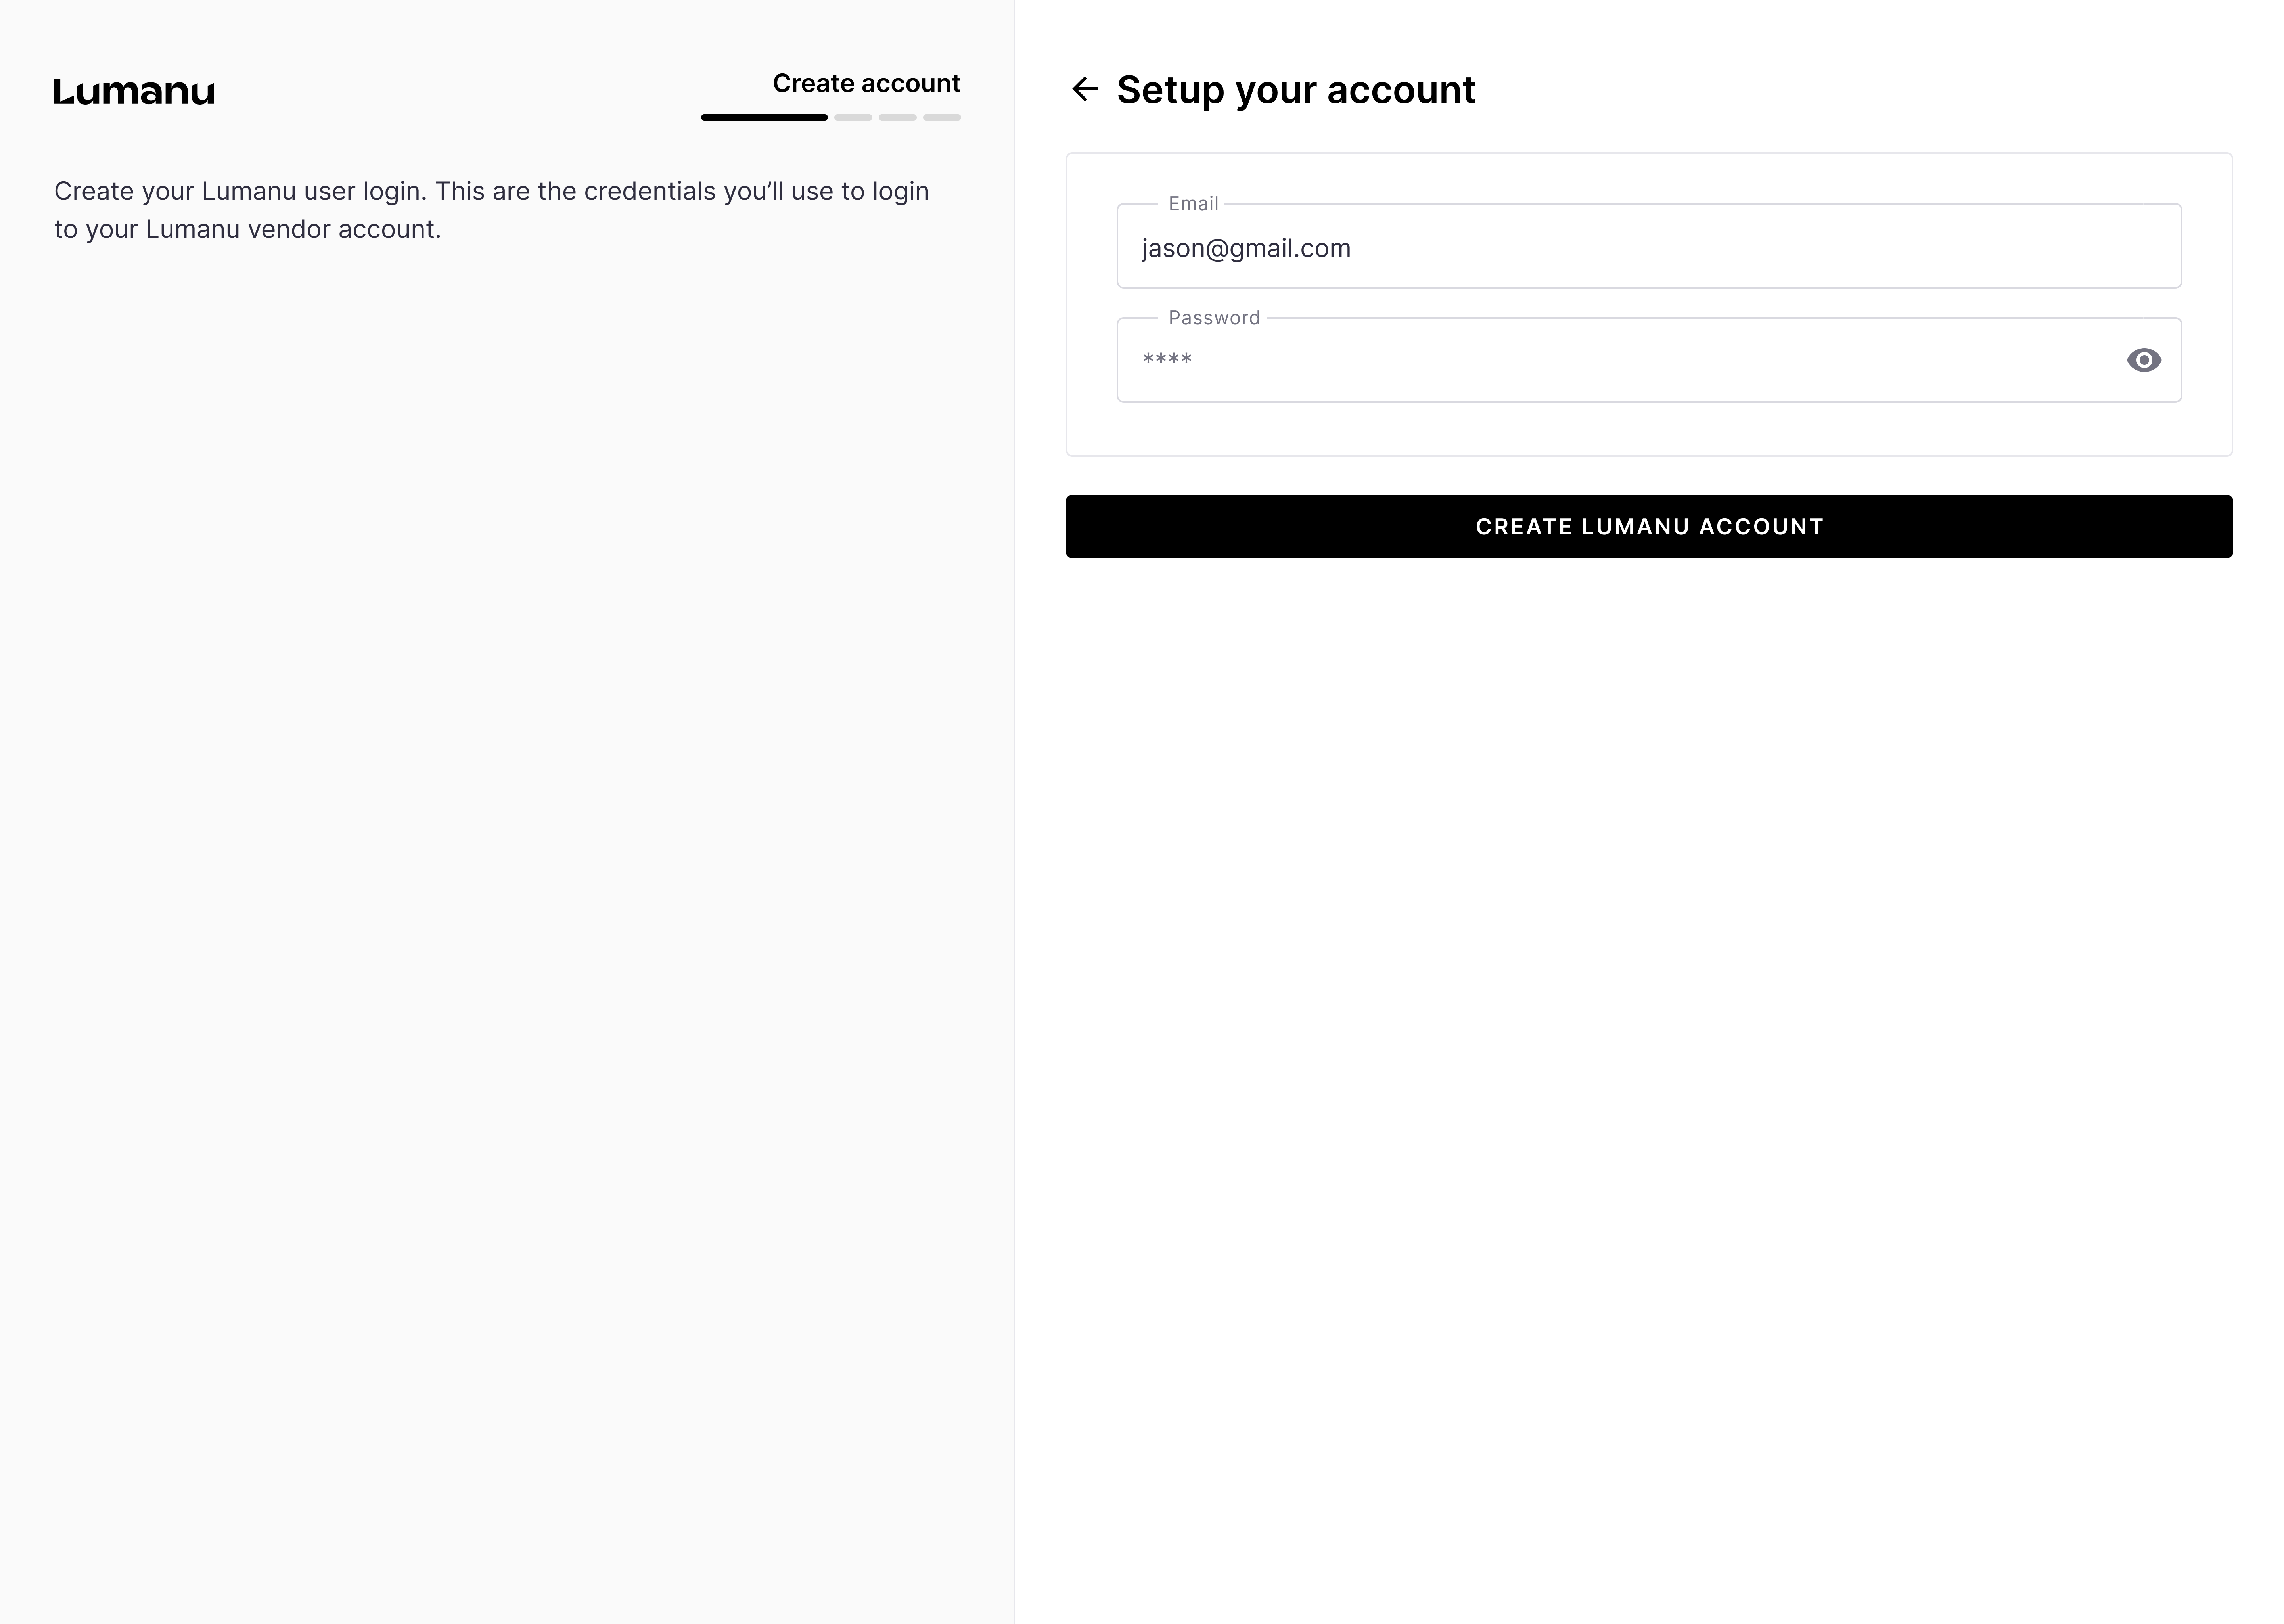
If the registration number provided is verifiable and new to the Lumanu system, the user will be prompted to create an account password and sign-in.
*If the registration number submitted is already registered under a different Lumanu account, the user will be blocked from proceeding and redirected to sign-in.
Why does Lumanu block identification or business registration numbers from being linked to multiple accounts?
This ensures payments are routed to the correct account, strengthens platform security, and keeps all payment history centralized for accurate tax reporting and compliance at year-end.
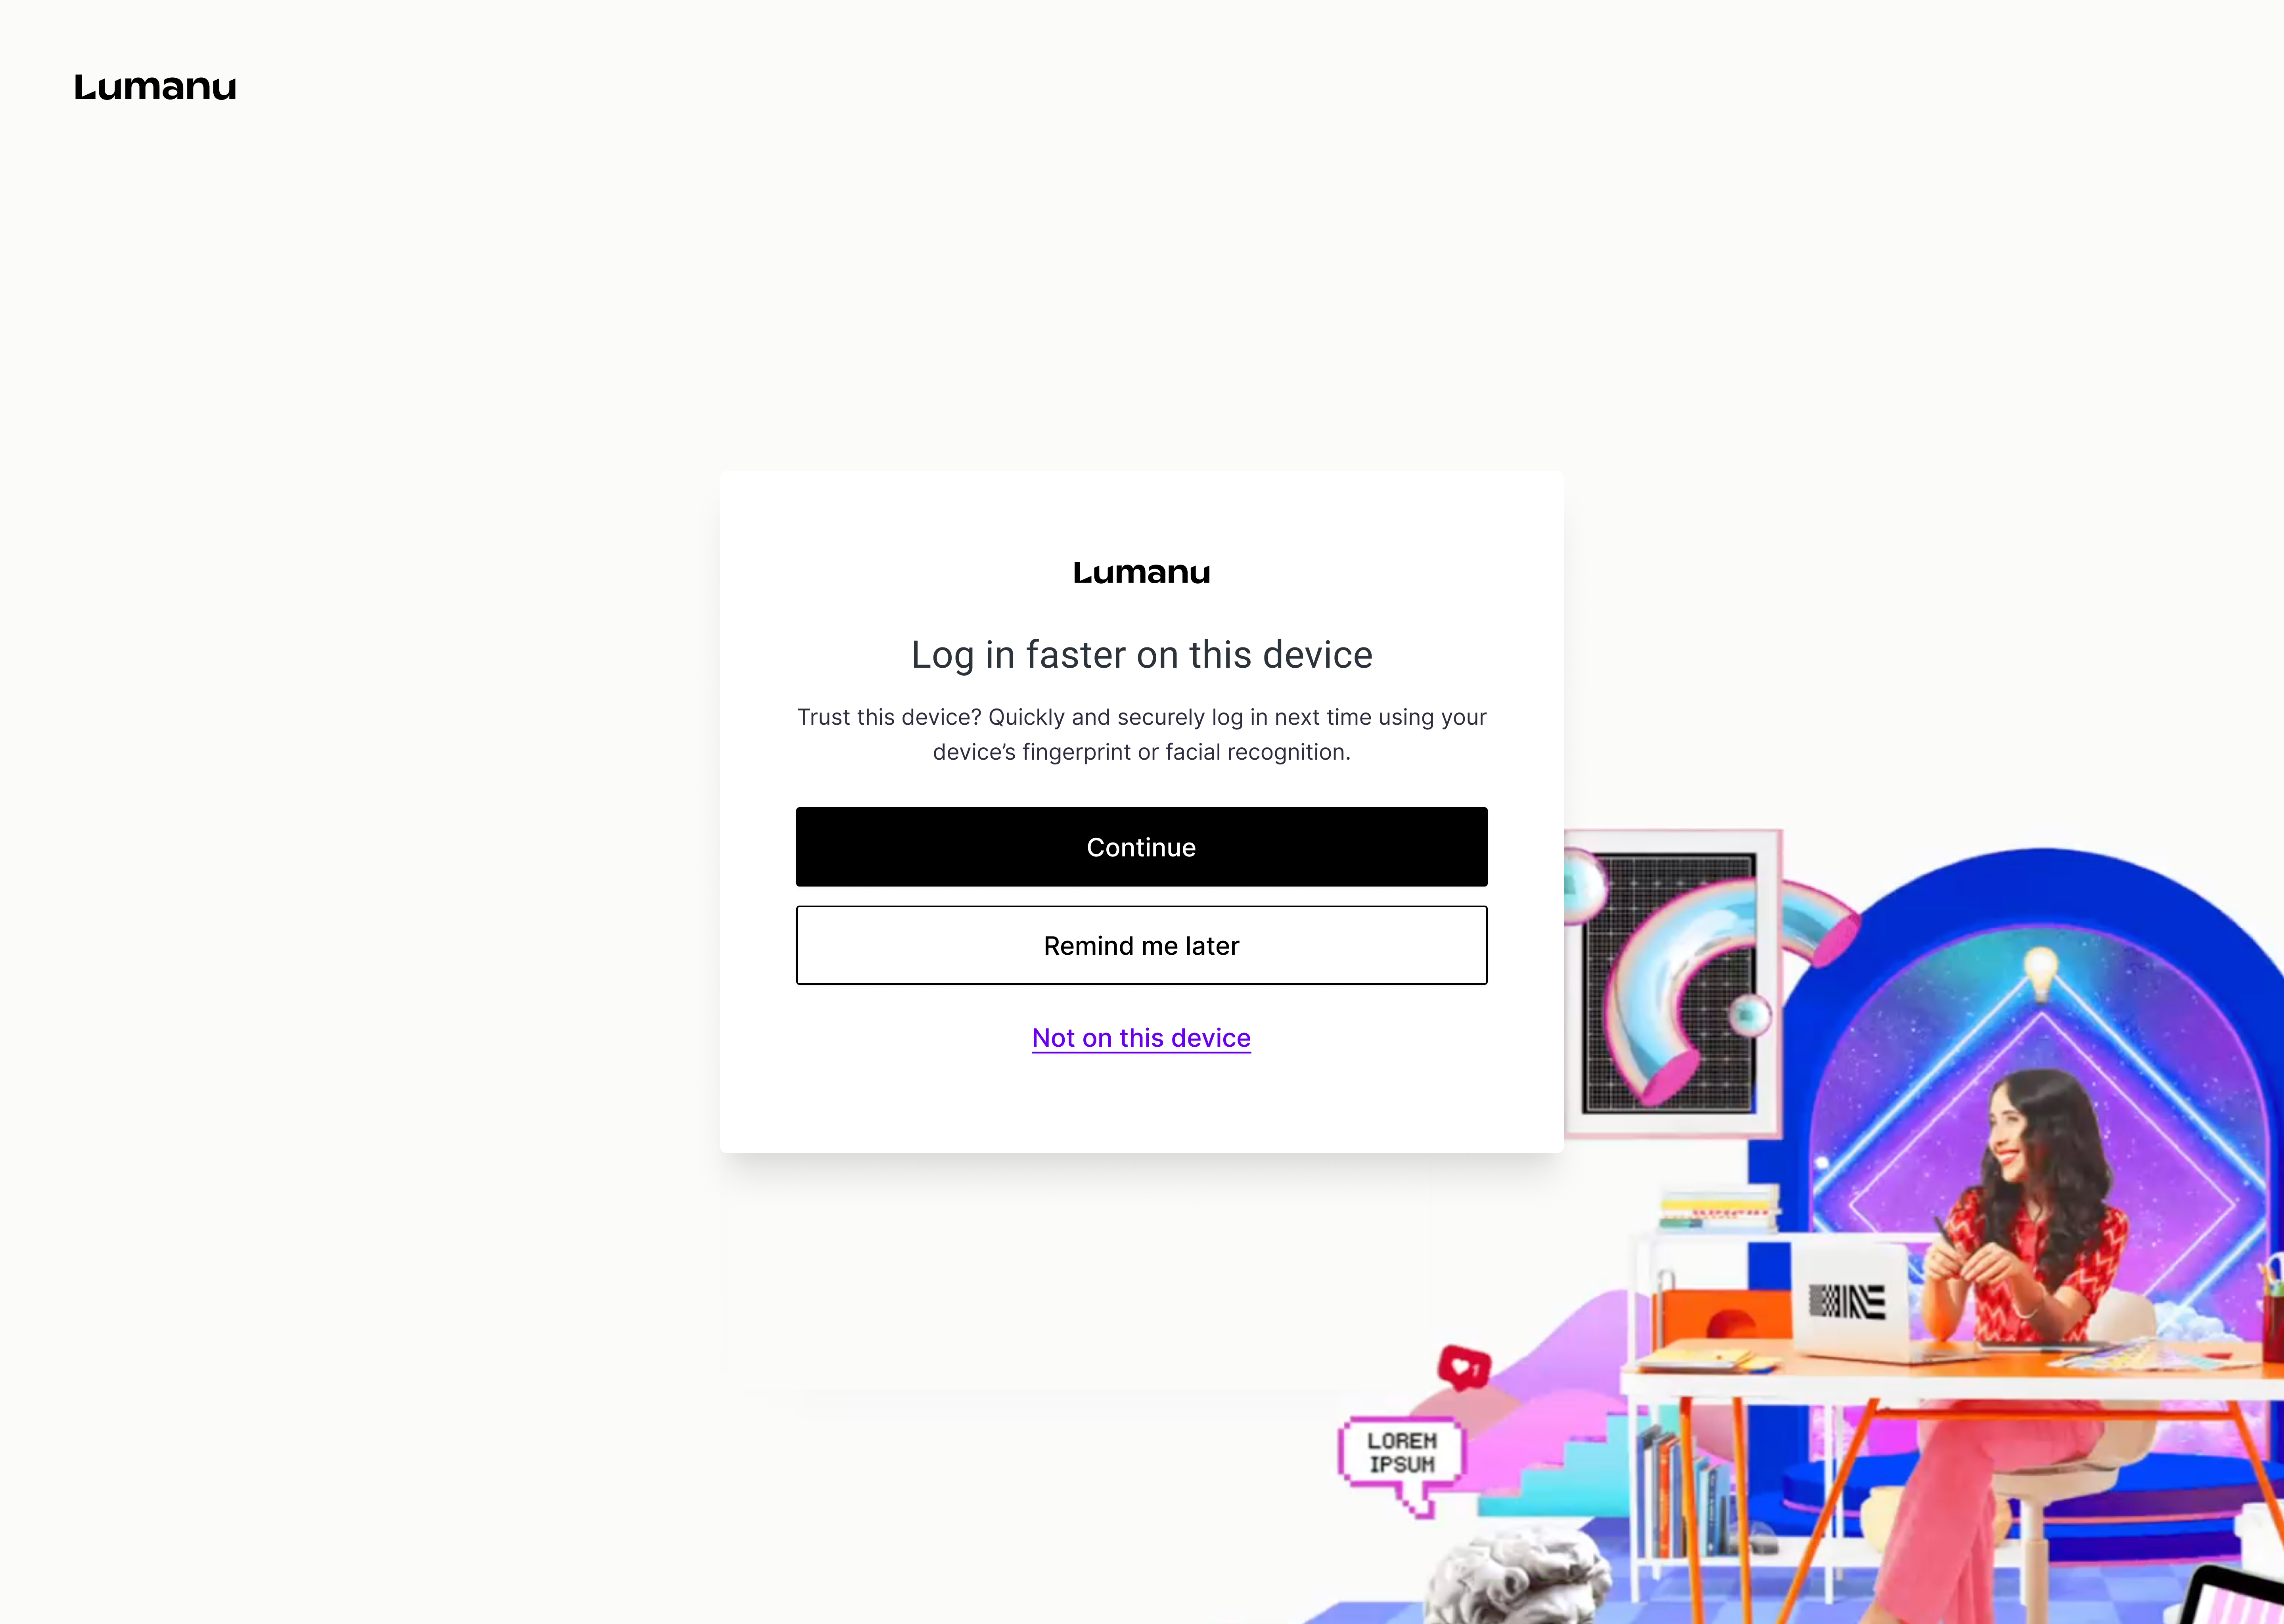
All users are required to add a second layer of security to their account. They have the option to enable either Passkey sign-in or two-factor authentication (with SMS or an authentication app).
International Tax and Compliance
*US-based vendors will skip over this step
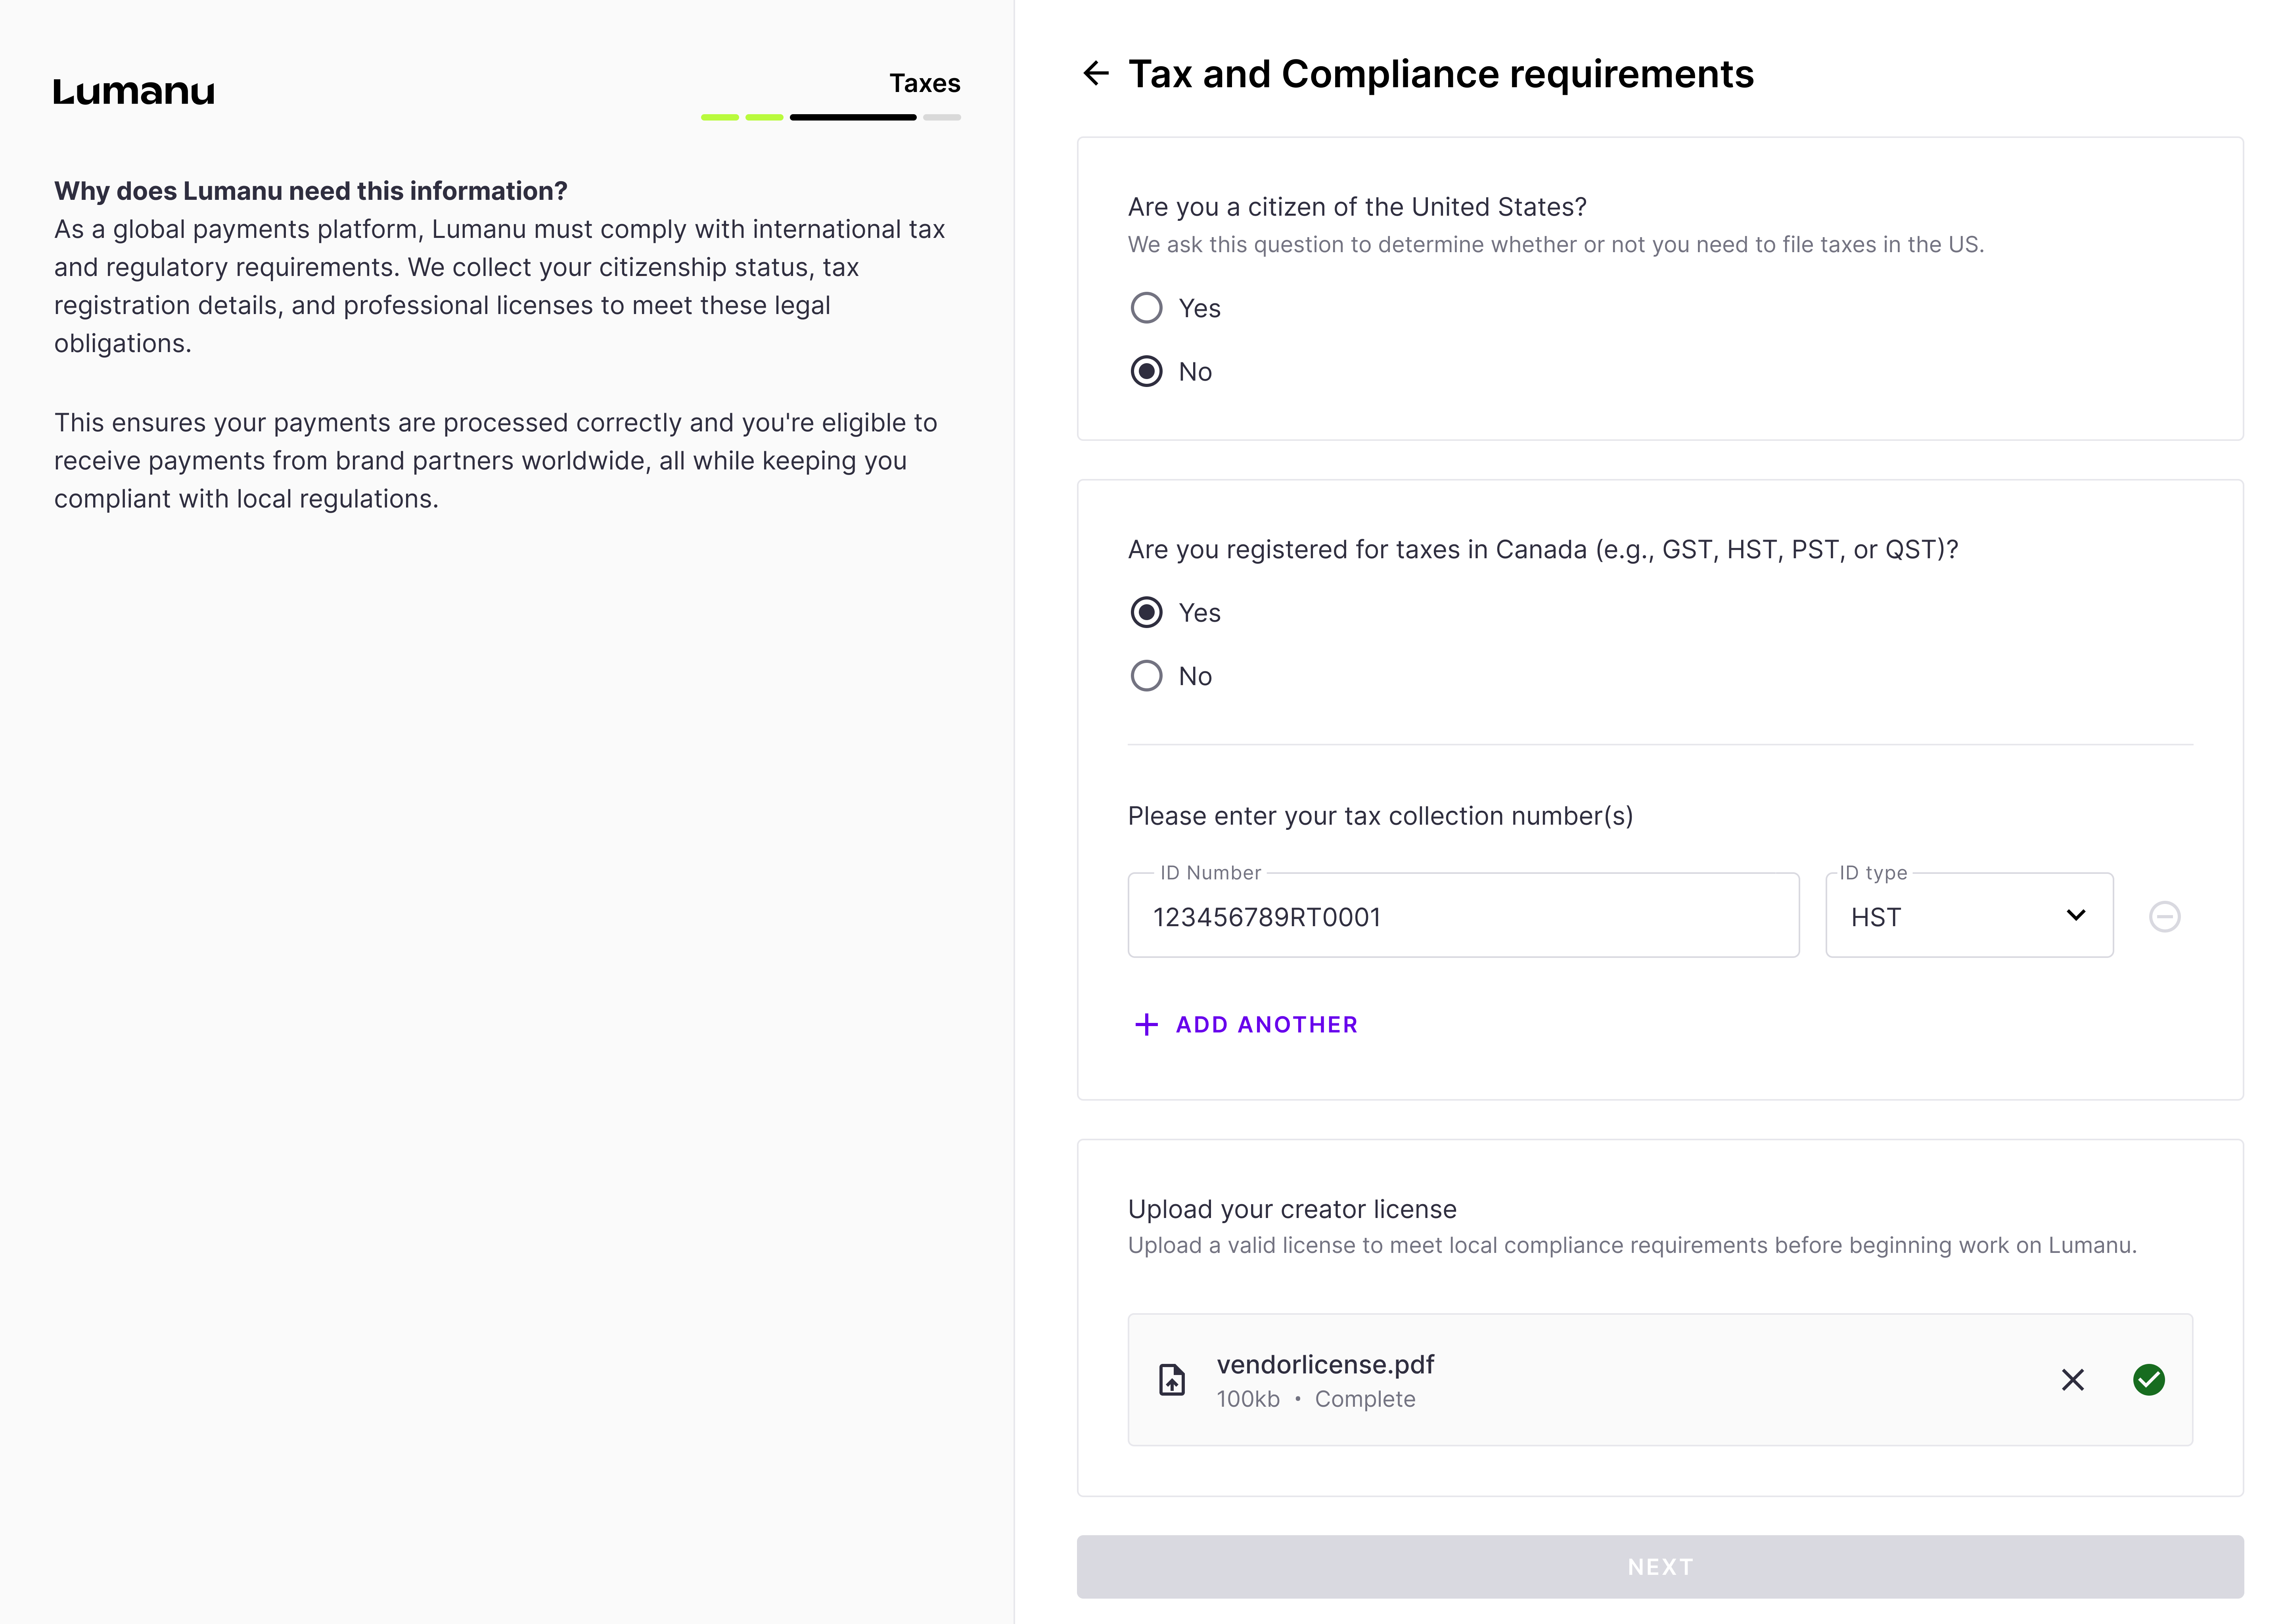
If the user indicated they are located outside of the US, they will be asked to provide their tax registration status and local tax collection number, if registered.
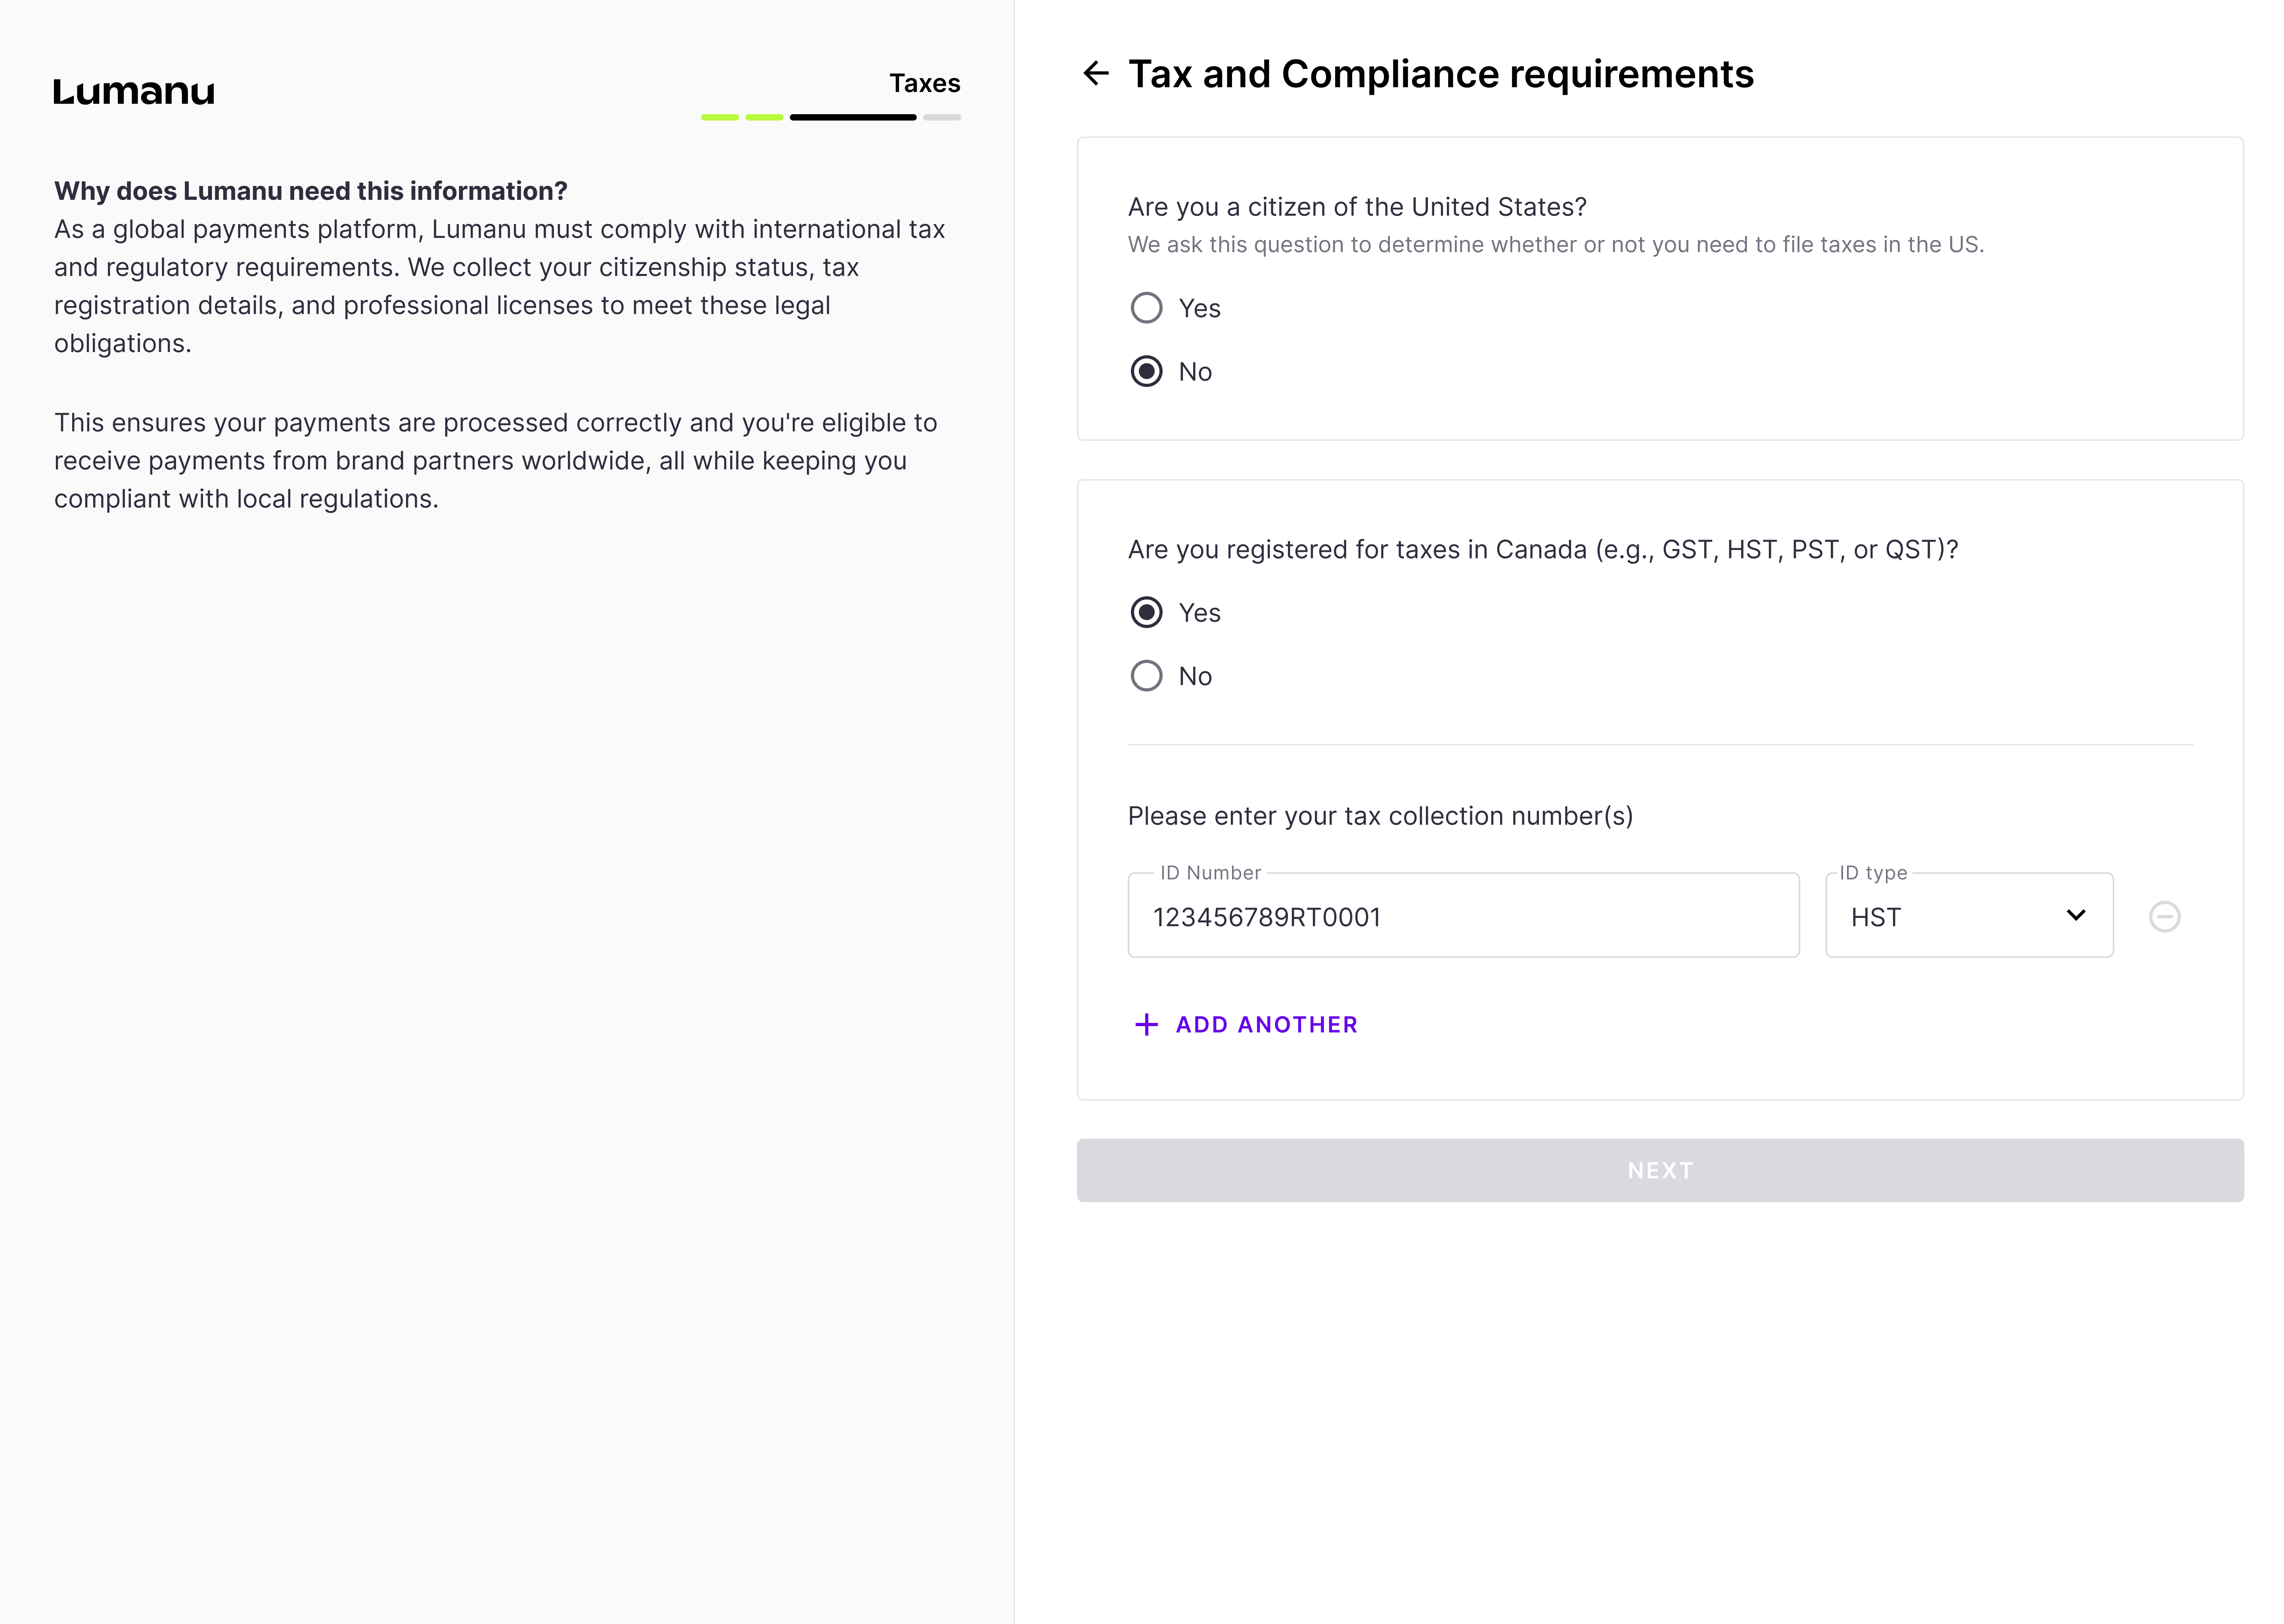
Users located in locations such as the United Arab Emirates will be required to upload their Creator License during this step.
Business and identity verification
Lumanu verifies the identity and business entity of each vendor account to meet KYC/KYB requirements, prevent fraud, and ensure global tax compliance.
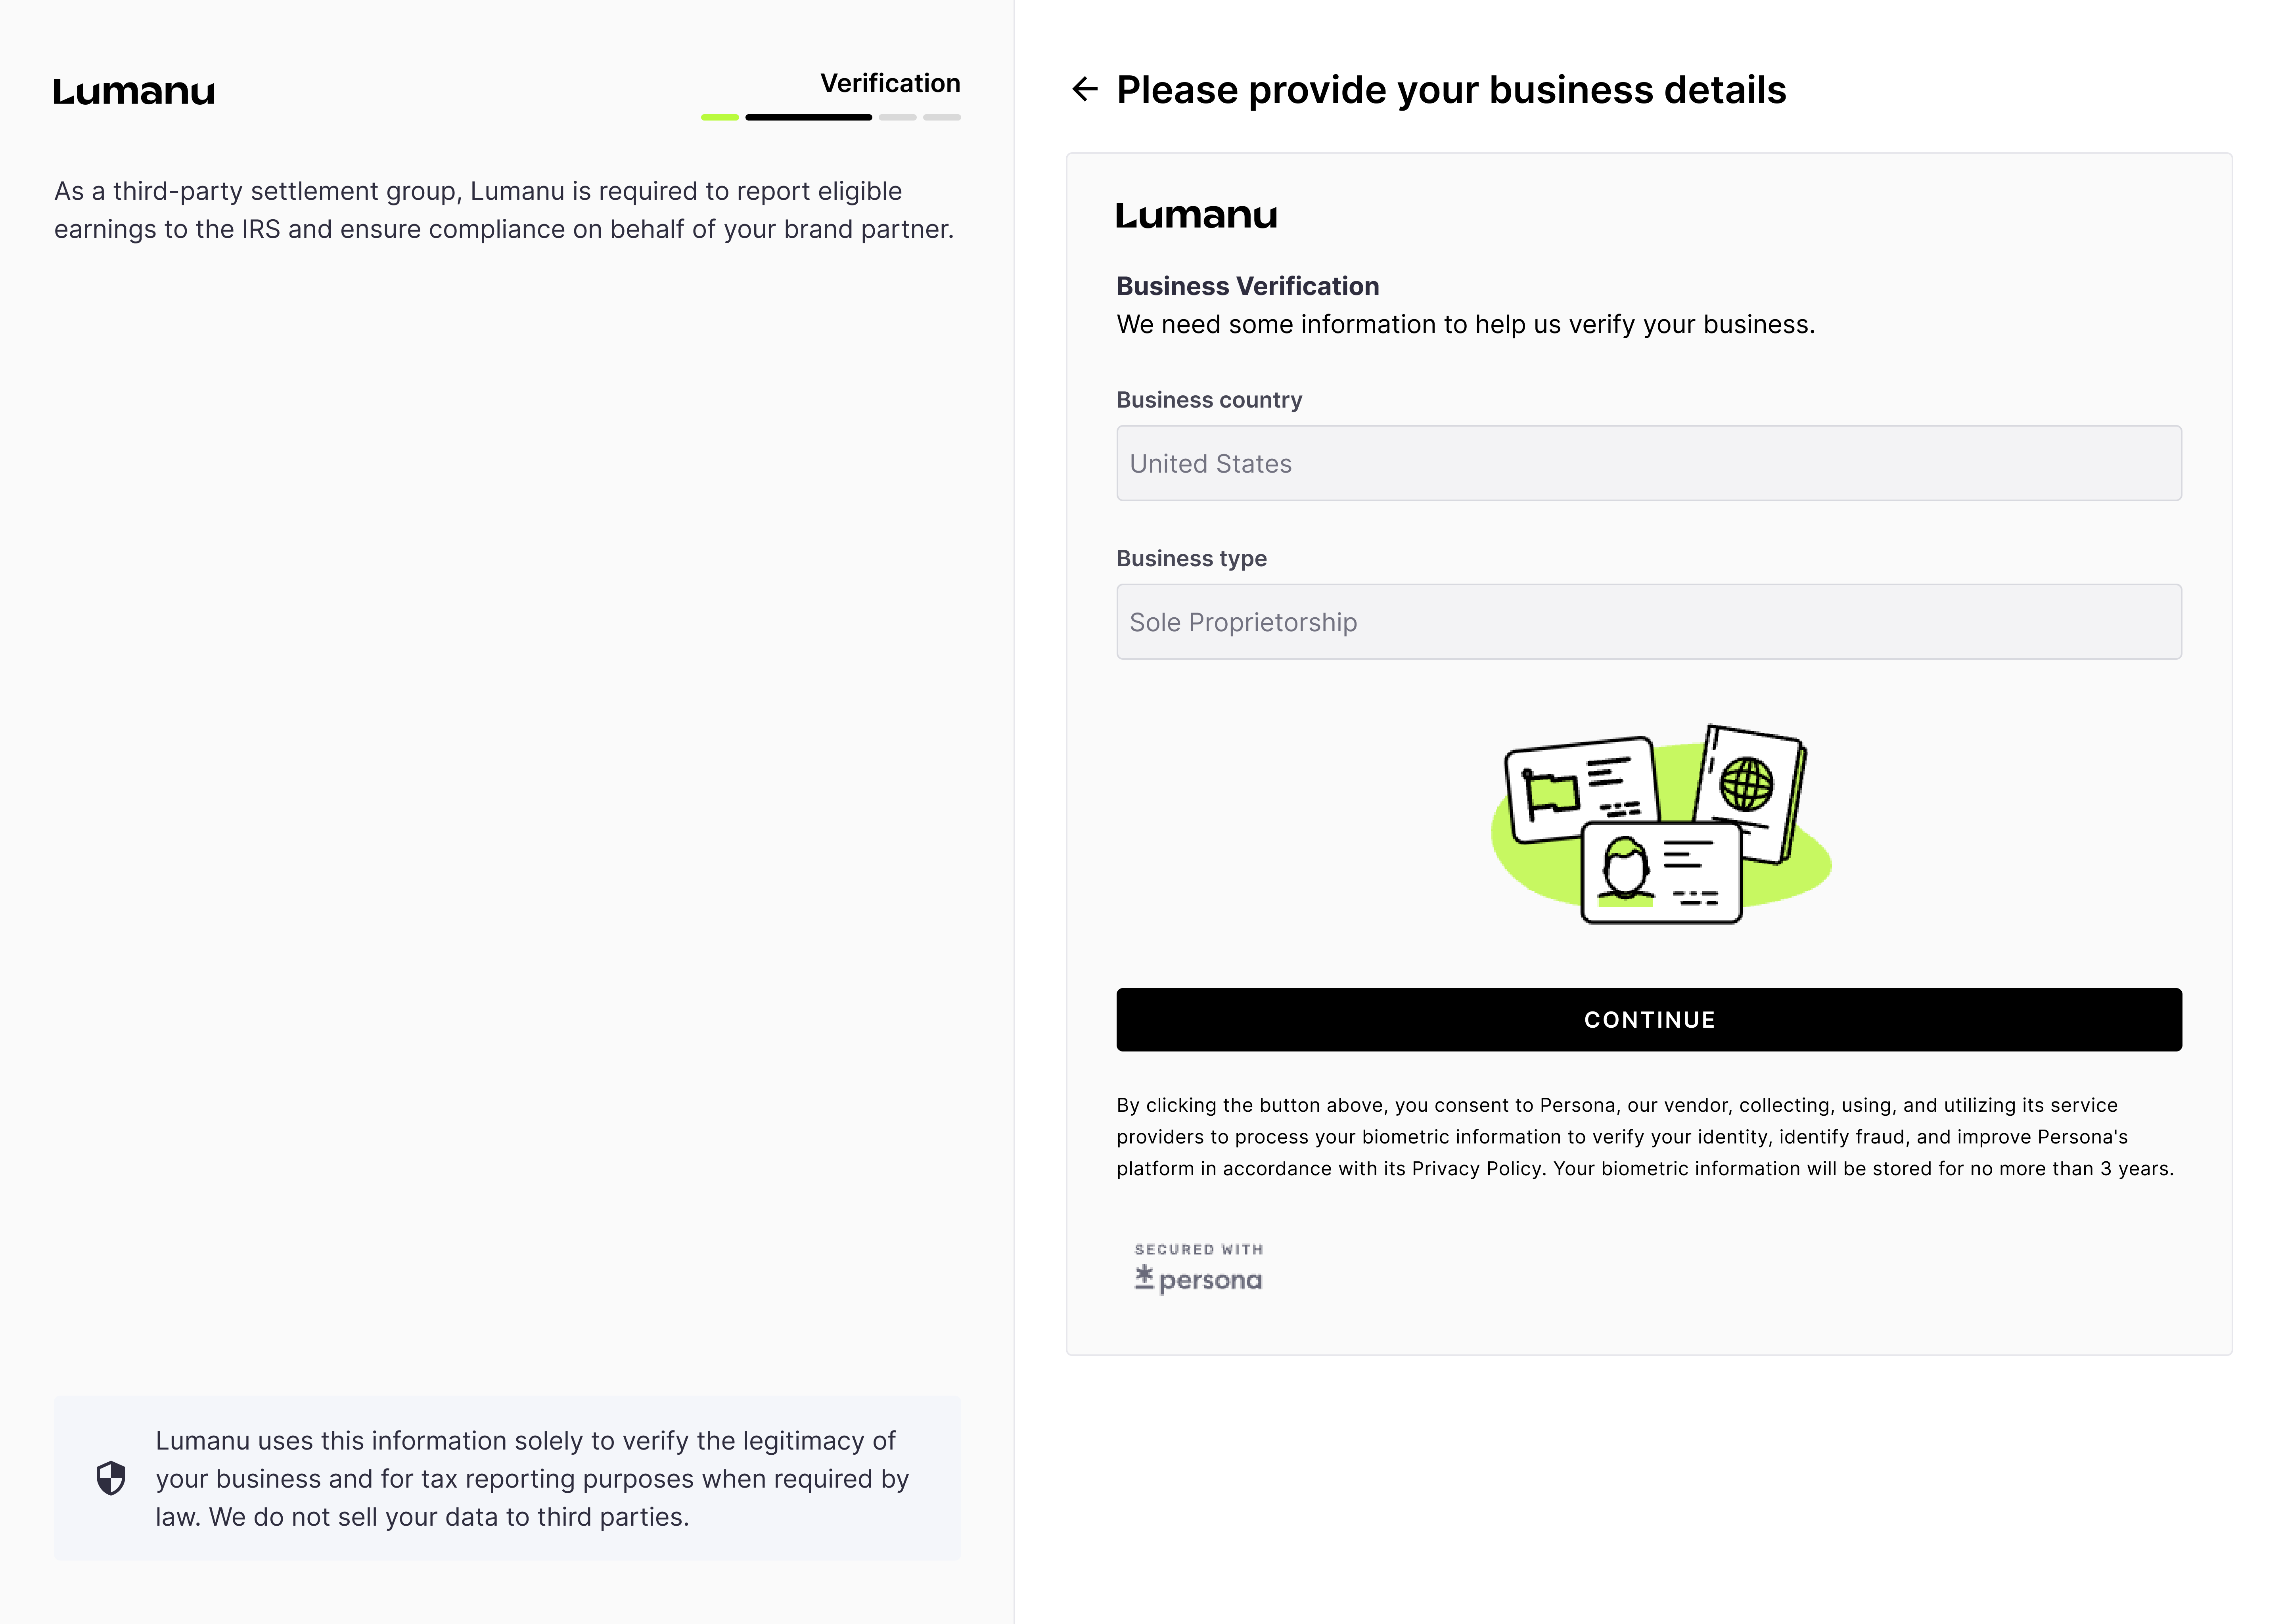
Lumanu will automatically fill in any information that’s been provided in earlier steps.
What an individual located in the United States will see: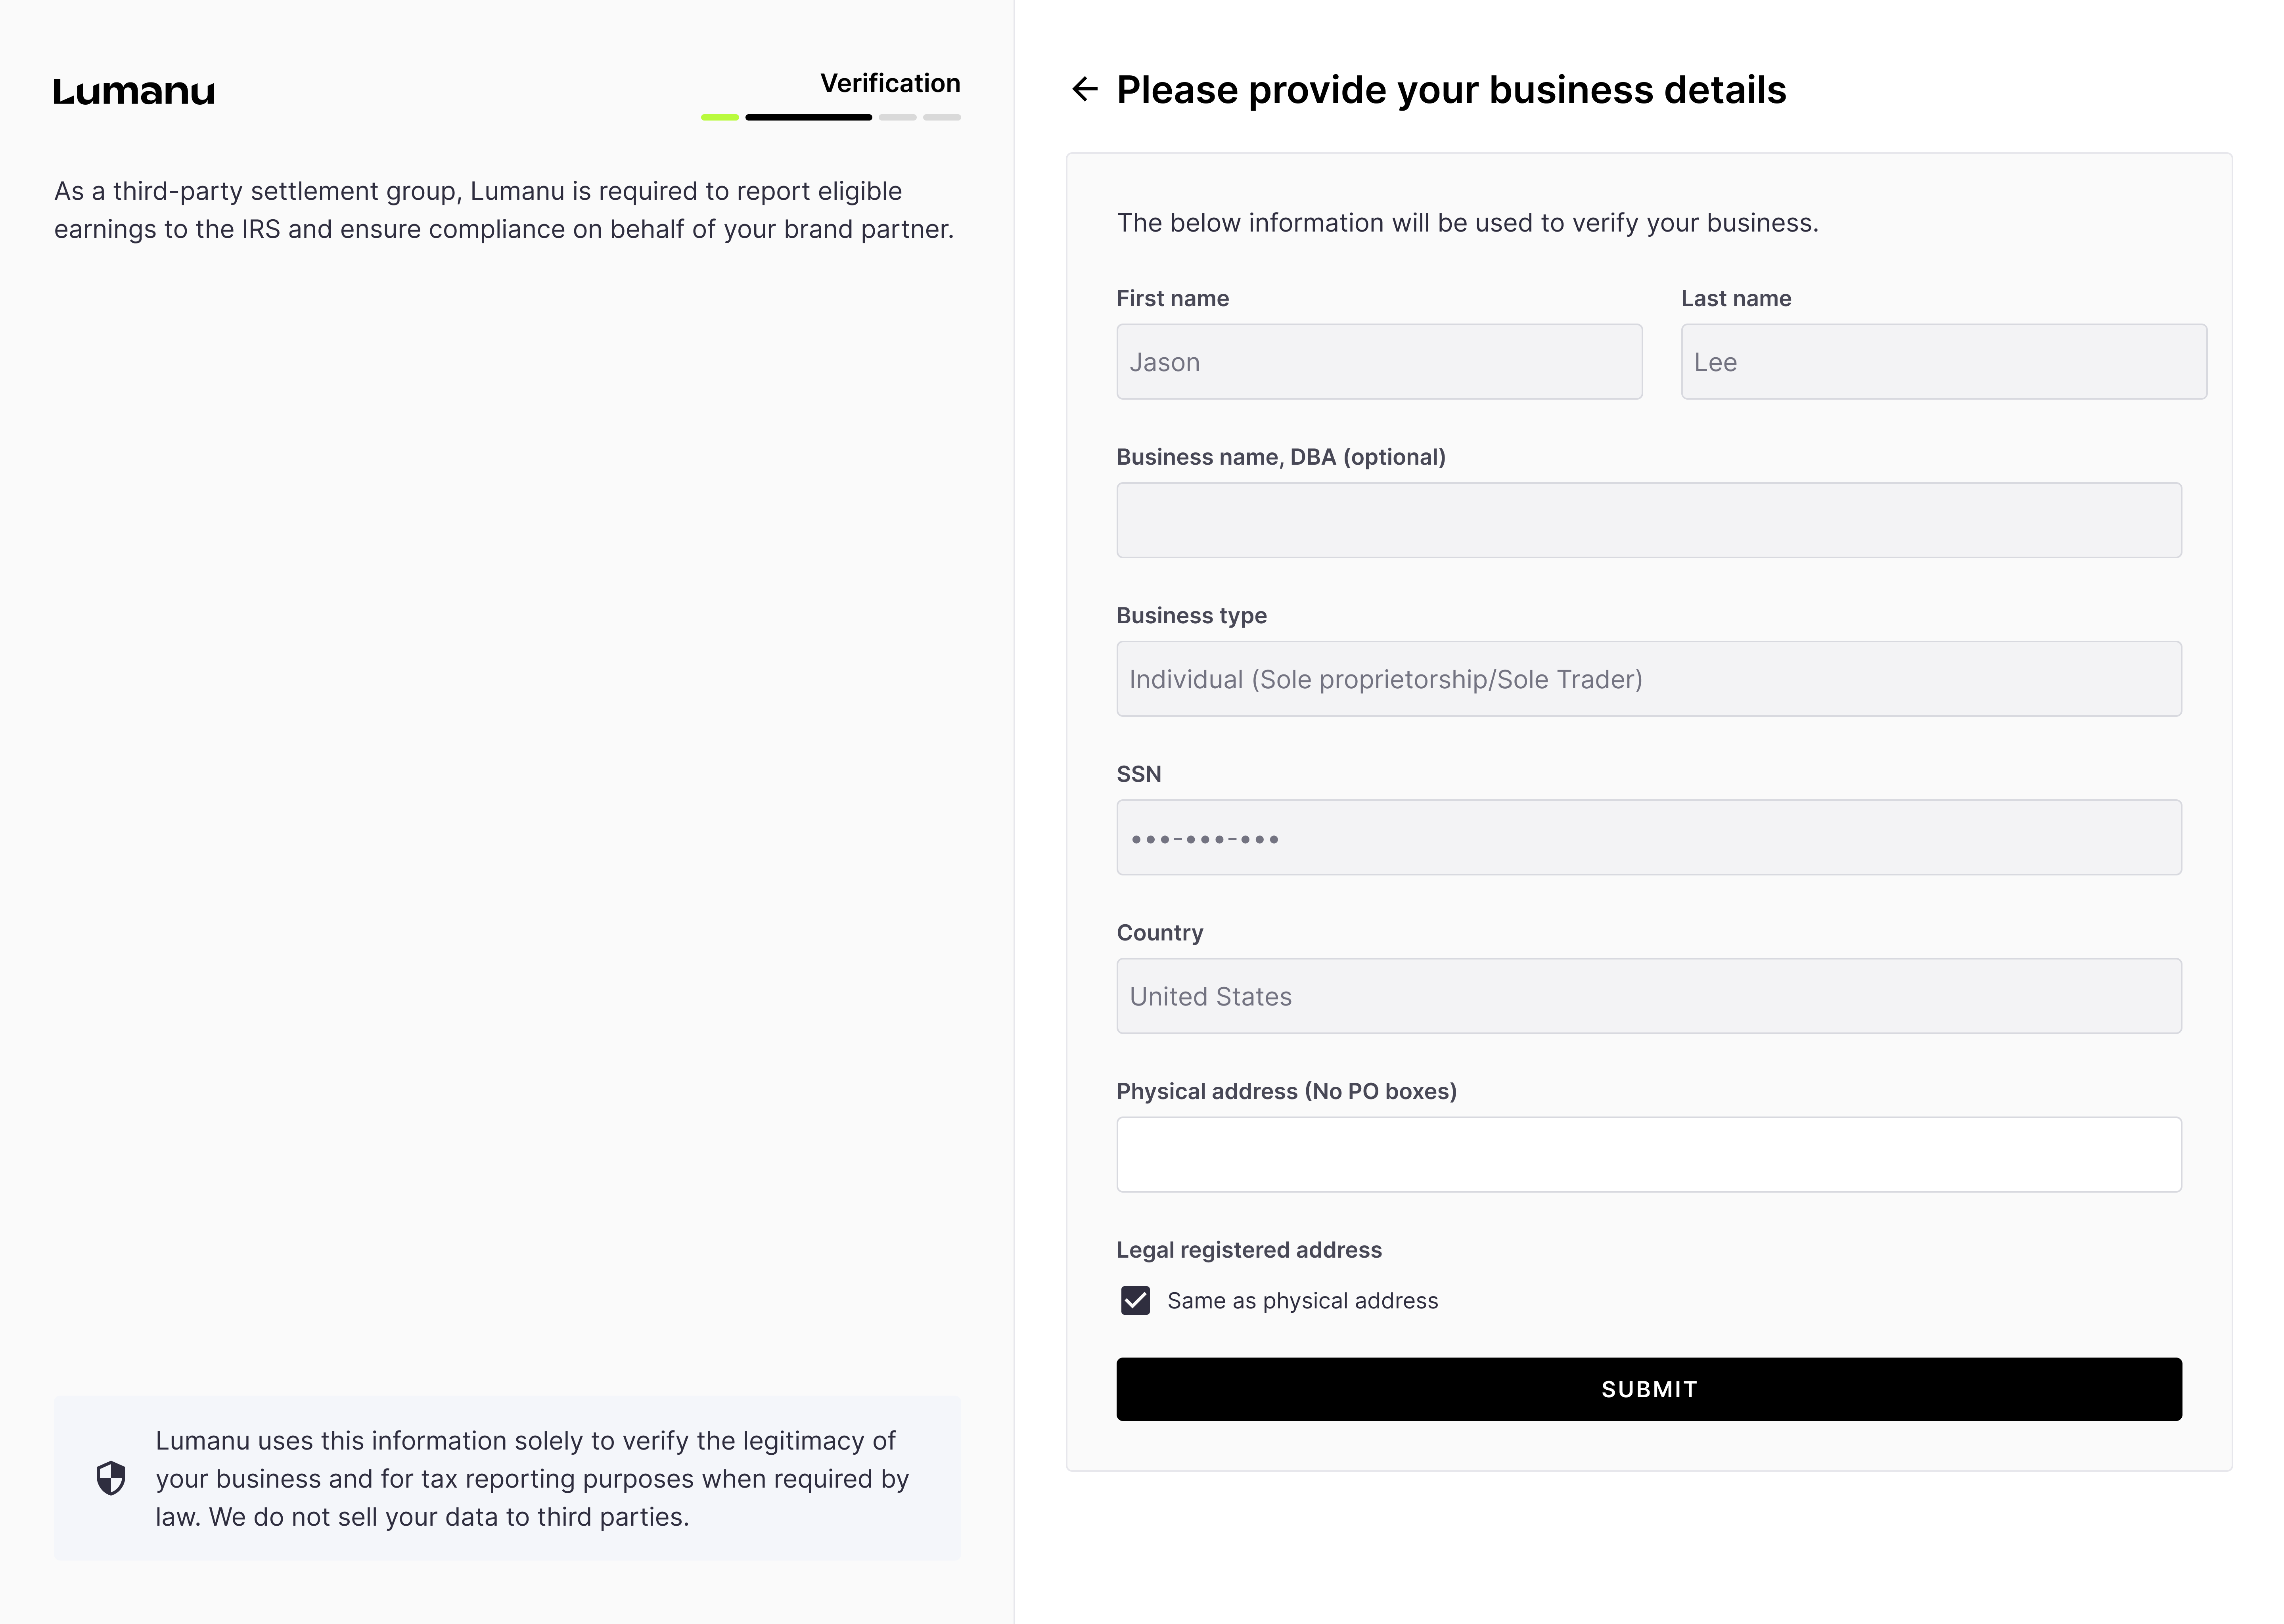
*A W9 will be automatically generated behind the scenes for all users located in the US.
What an individual located outside of the US will see: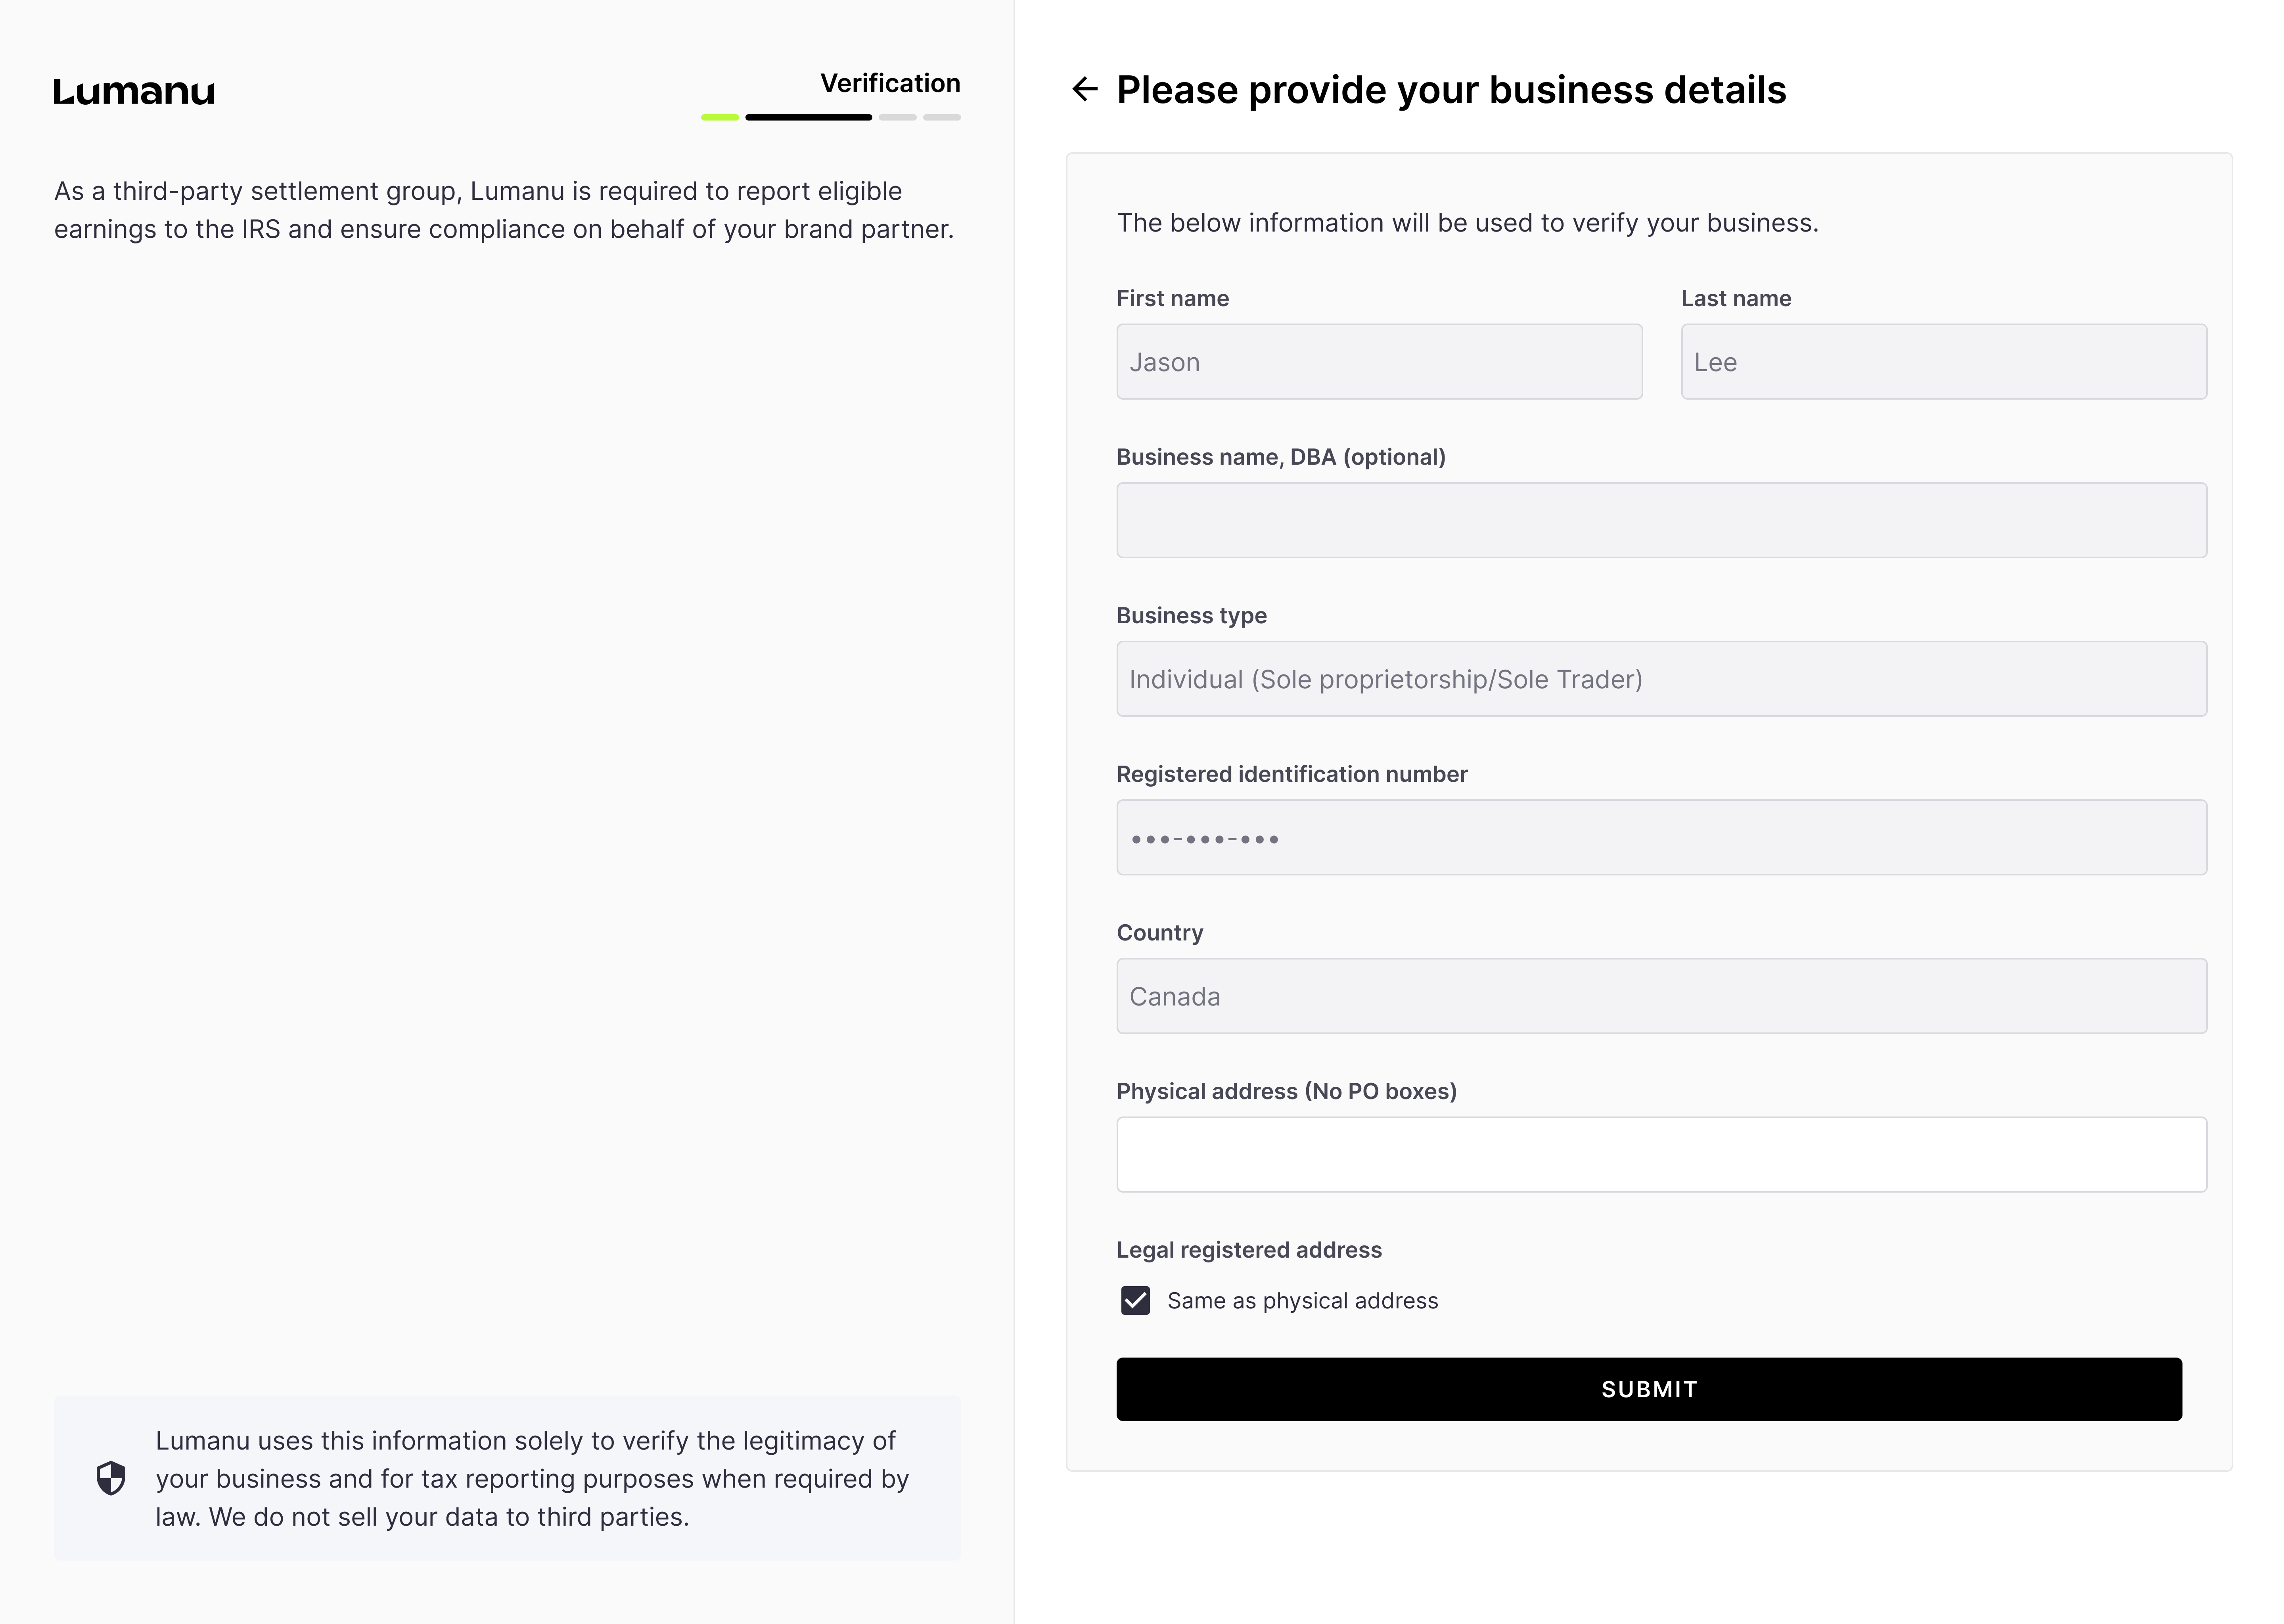
*Lumanu does not require international vendors to submit W8 forms upfront. If required, Lumanu will get in touch with the vendor and request one.
If Lumanu is unable to verify a provided identification or business registration number, the user will be asked to submit a picture of a form of identification and/or Articles of Formation.
Once submitted, the user’s account setup is complete.
Lumanu will redirect the user to their Lumanu app.From here, they have the option to copy and share their Lumanu ID, connect a withdrawal method, or fill out their vendor profile.