How to Pre-Fund Your General Lumanu Balance
Pre-funding your Lumanu balance allows you to deposit funds in advance, making vendor payments faster and more efficient. Follow these steps to set up and manage your pre-funded balance.
Step 1: Access Your Finances
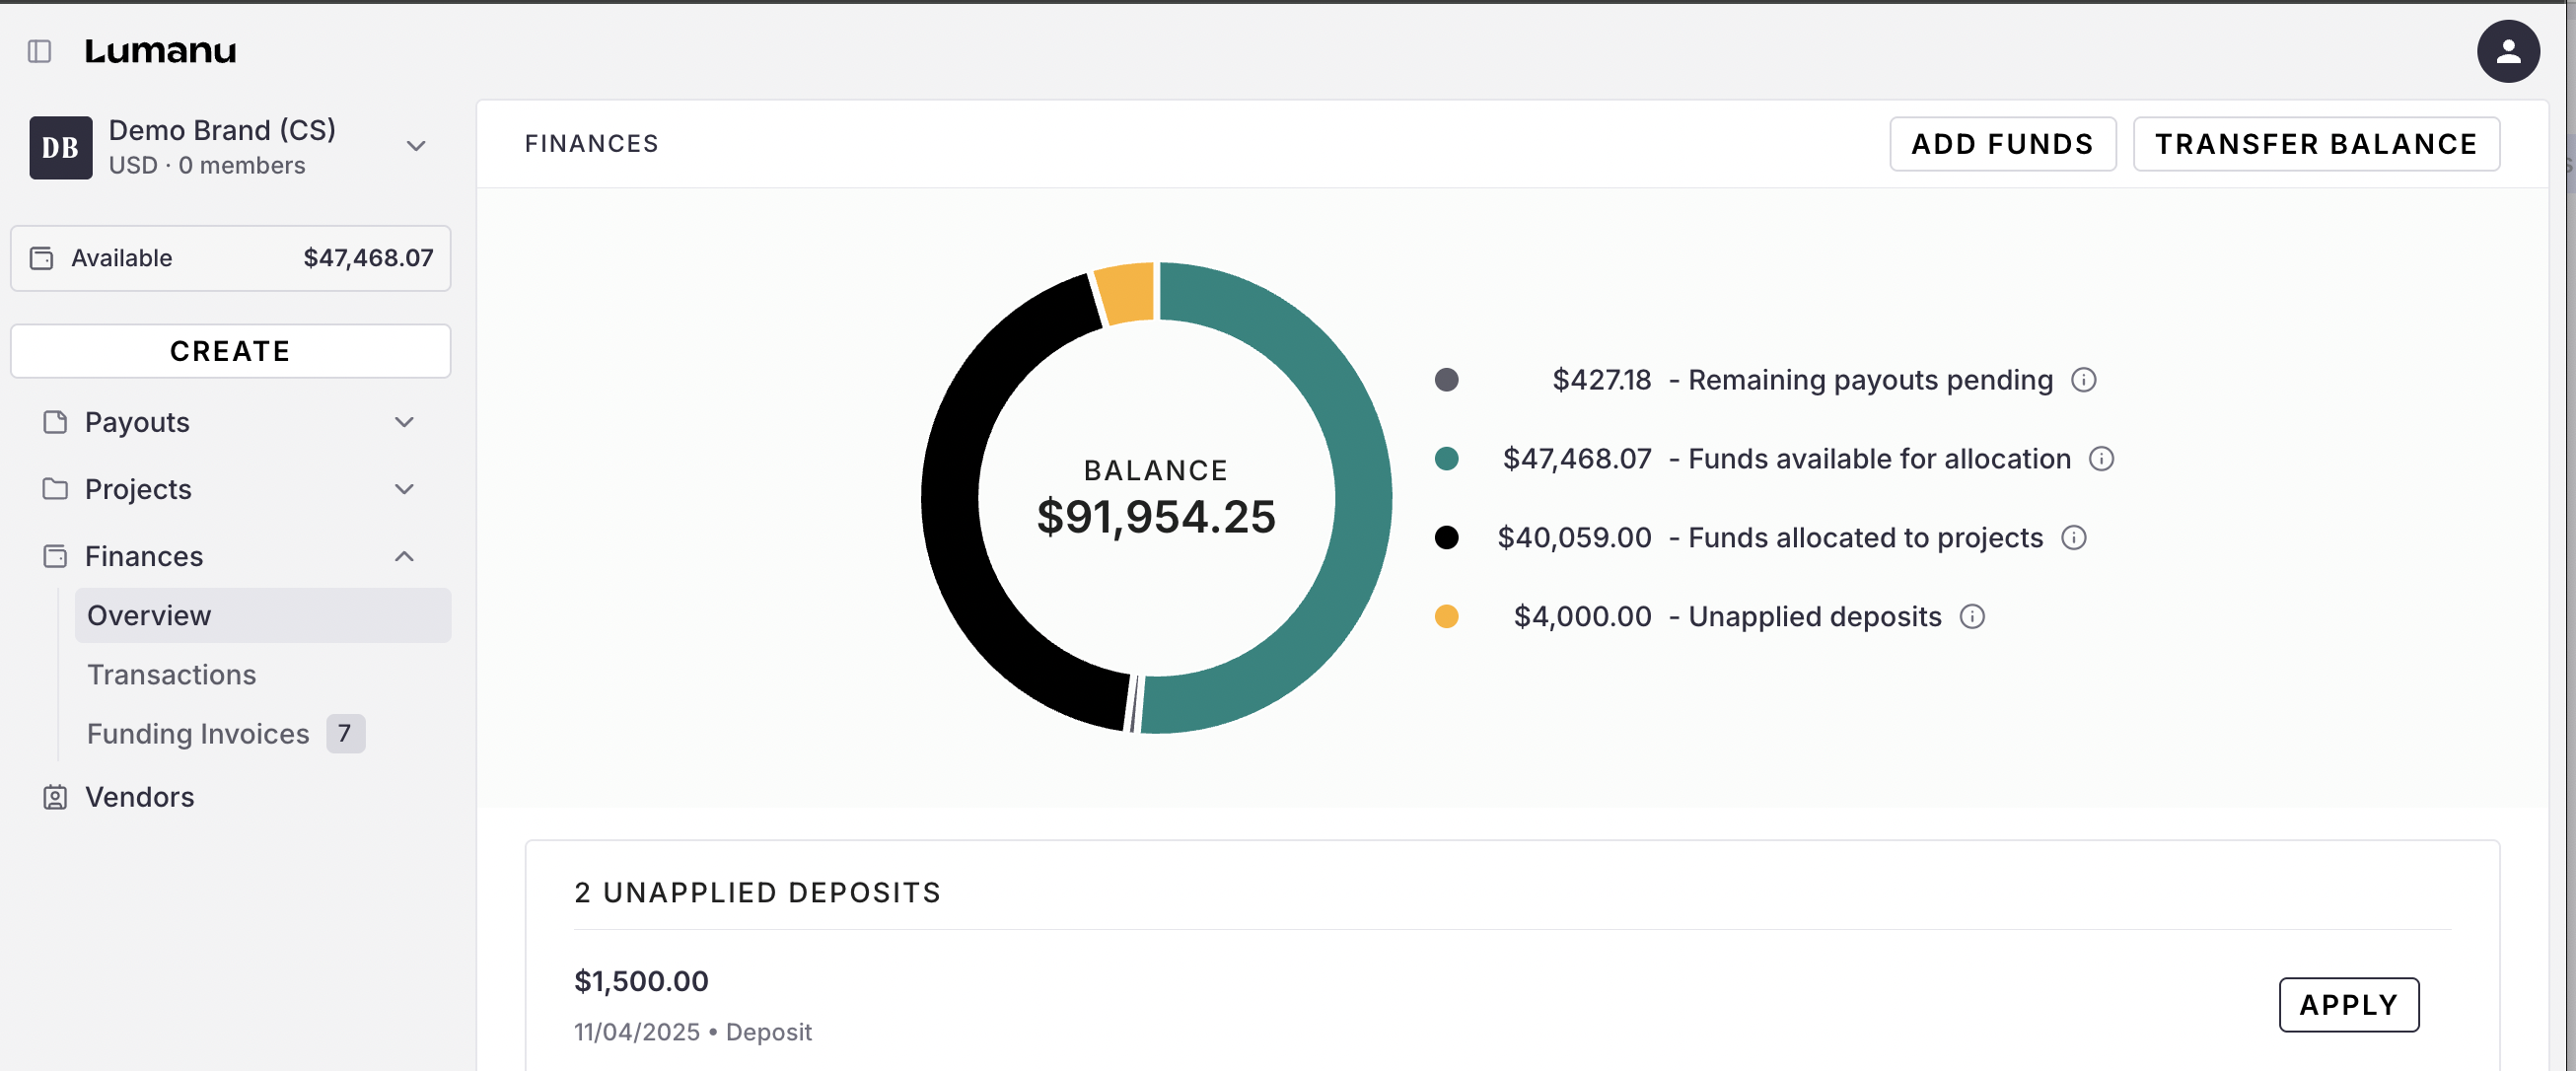
Navigate under Finances, then click Add Funds in the upper right corner.
Step 2: Select Add funds
The Create funding invoice modal will populate to be filled out. All mandatory fields must be completed:
Step 3: Confirm the details and click Generate invoice.
The funding invoice will be sent to the recipient email(s) input to be fulfilled.
Step 4: Deposit Funds
After initiating the transfer on your end, the funds will be deposited into your Lumanu account. You can track the status of the deposit in the Funding Invoices section within Finances. Once the funds are deposited, they’ll be available for immediate use to pay vendors.
Step 4: Match your Deposit
Once the deposit is received into your Lumanu wallet, you can match those funds to your funding invoice. For detailed instructions on how to match your deposit please view the help article here.
Step 5: Pay Vendors with Pre-Funded Balance
When paying a vendor invoice, the funds will automatically be drawn from your pre-funded balance, streamlining the payment process and ensuring quicker payments without needing to wait for external transfers.


