
Onboarding for International Vendors
Create a Lumanu account via your client’s email invite or custom invite link to be auto-added as a Vendor to their team.
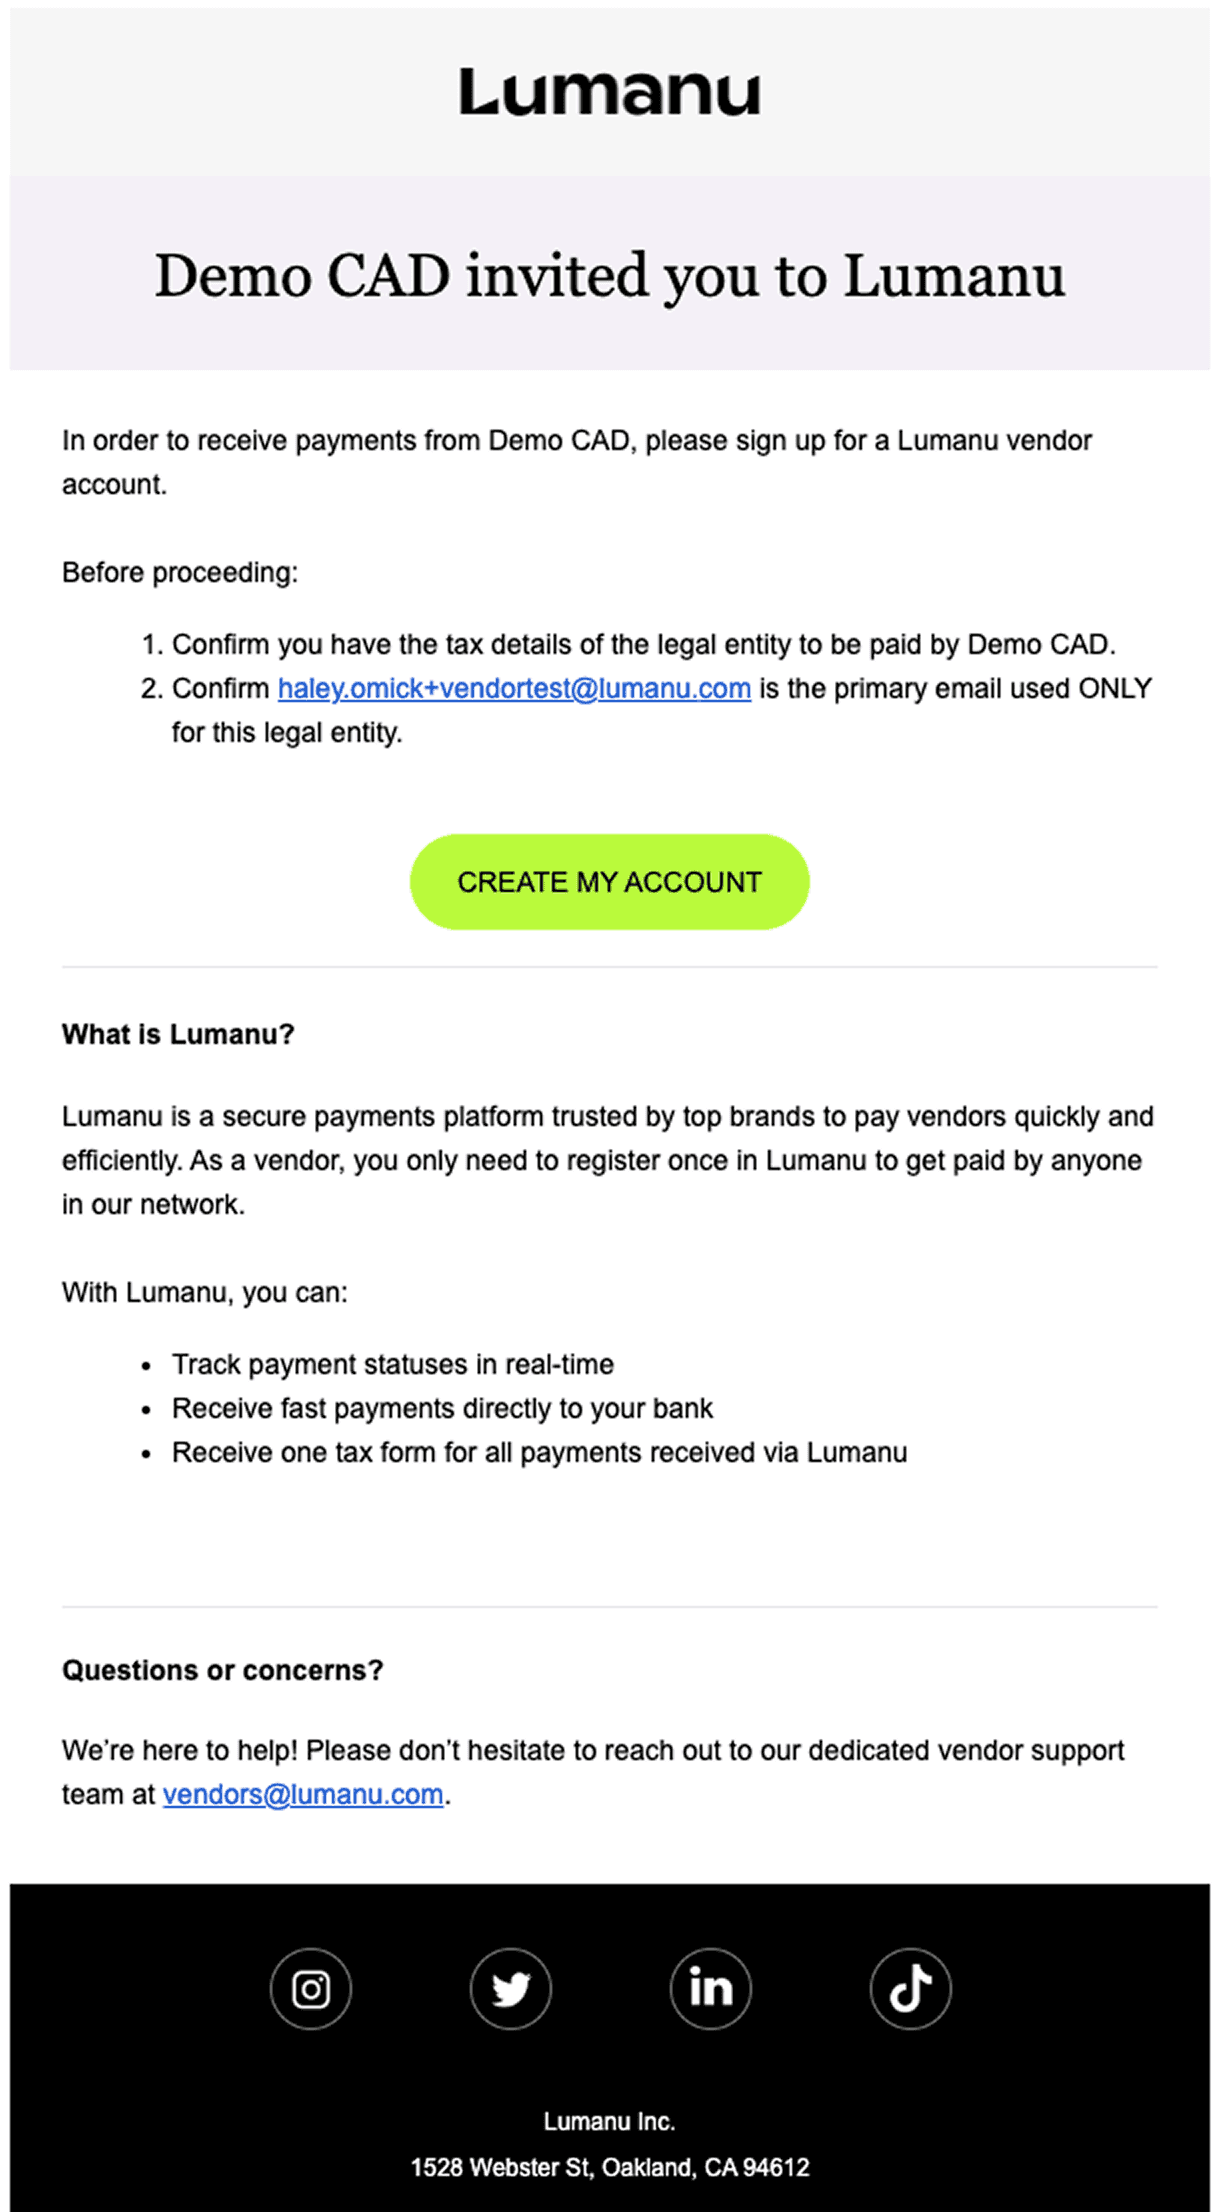
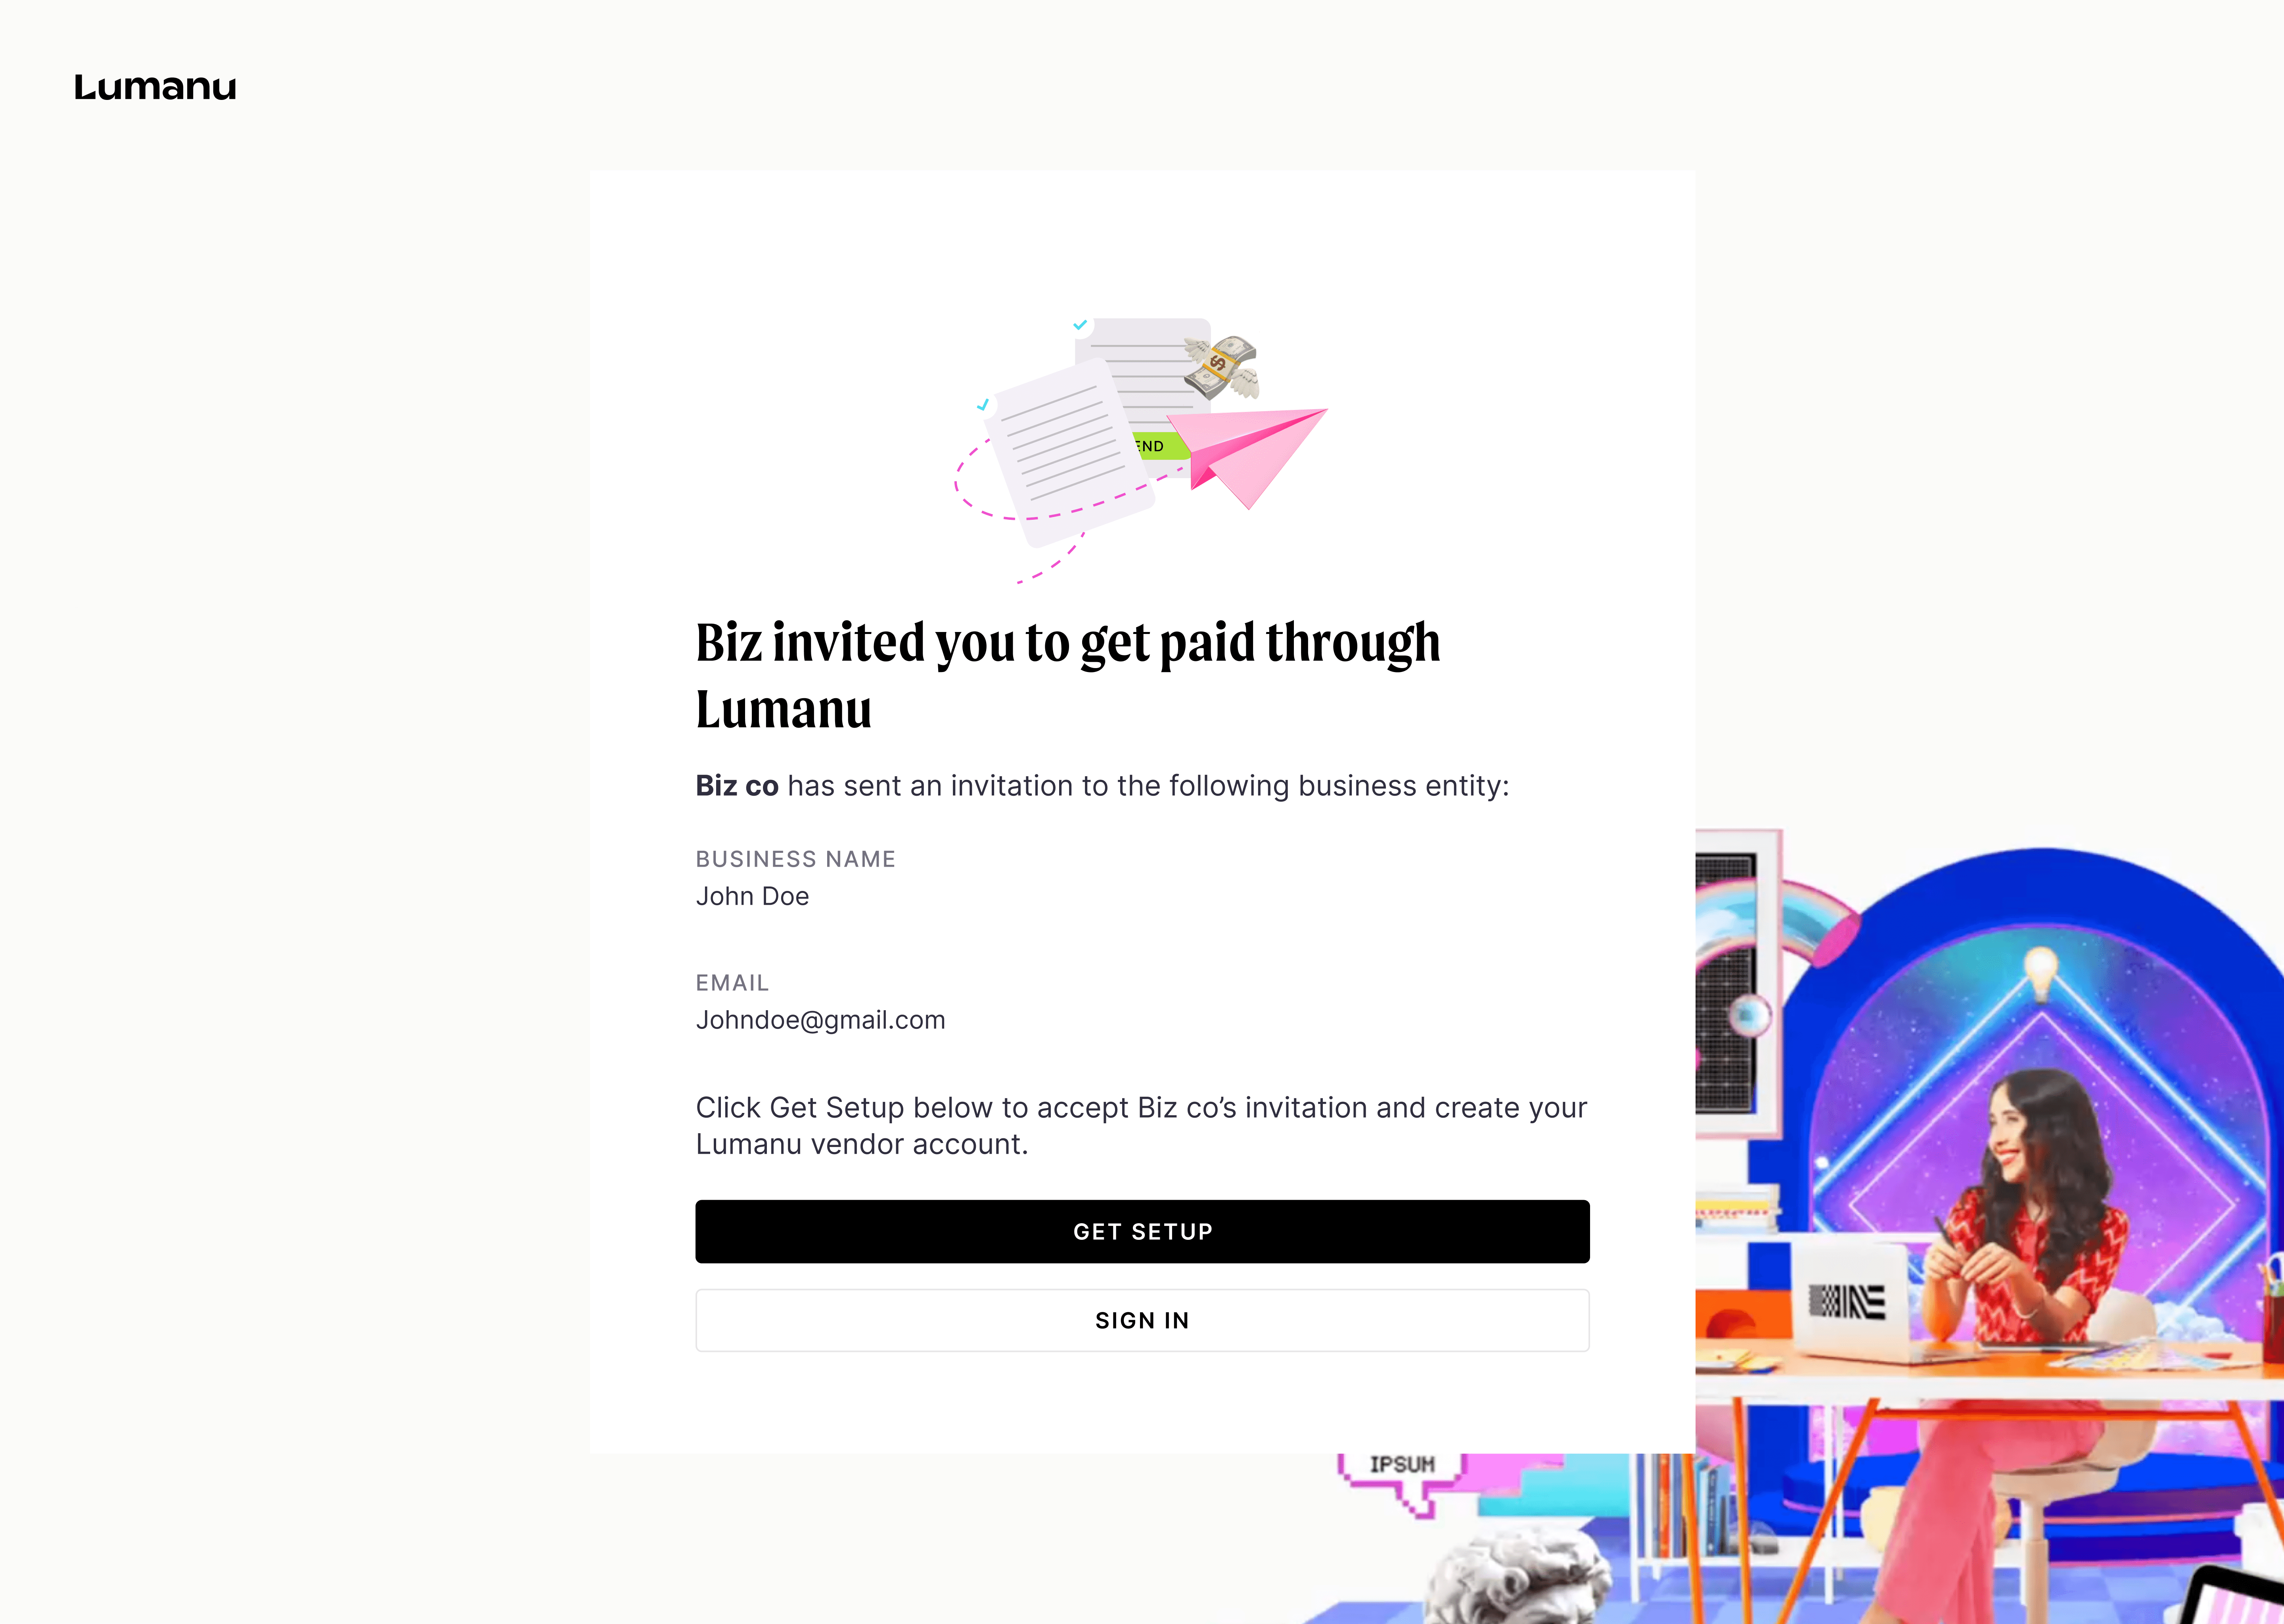
After clicking Create my account, you’ll be instructed to claim your invoice via creating an account or signing in.
If your business is already registered under a Lumanu account, sign in via that account.
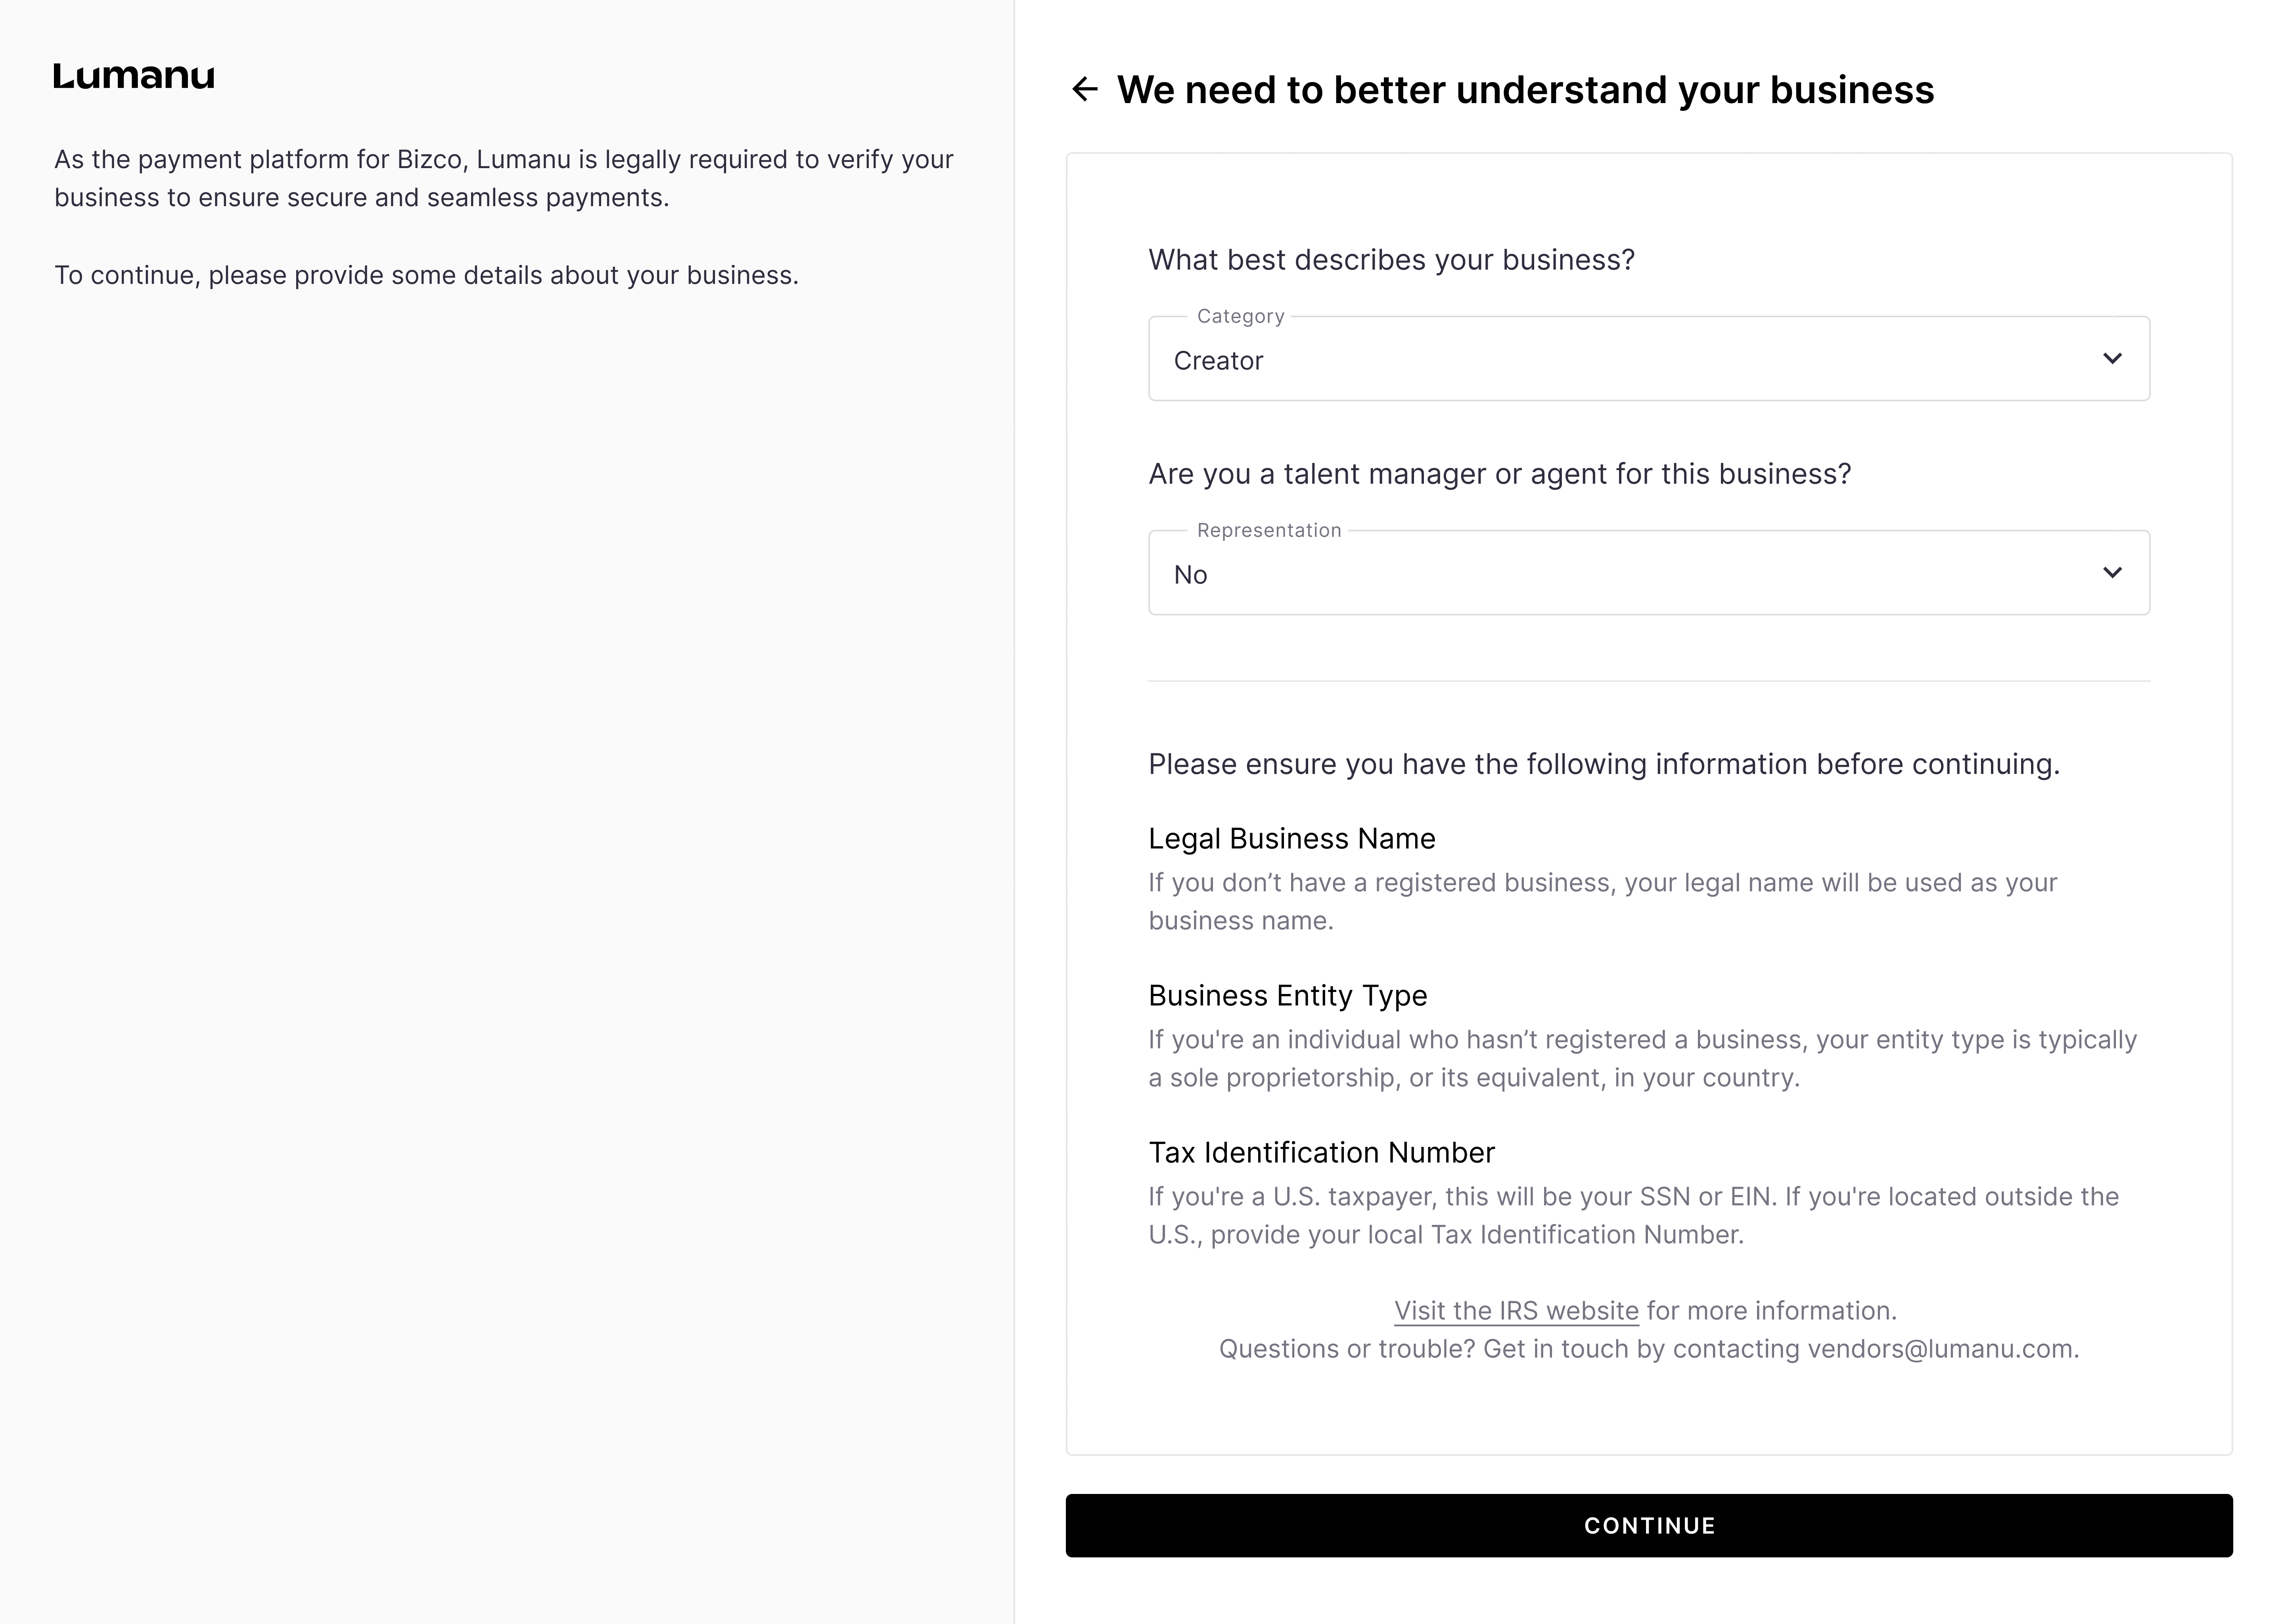
Read and agree to Lumanu’s terms and conditions, then you’ll be requested to categorize your business/services. This helps us determine what type of Lumanu account we should be providing you with.
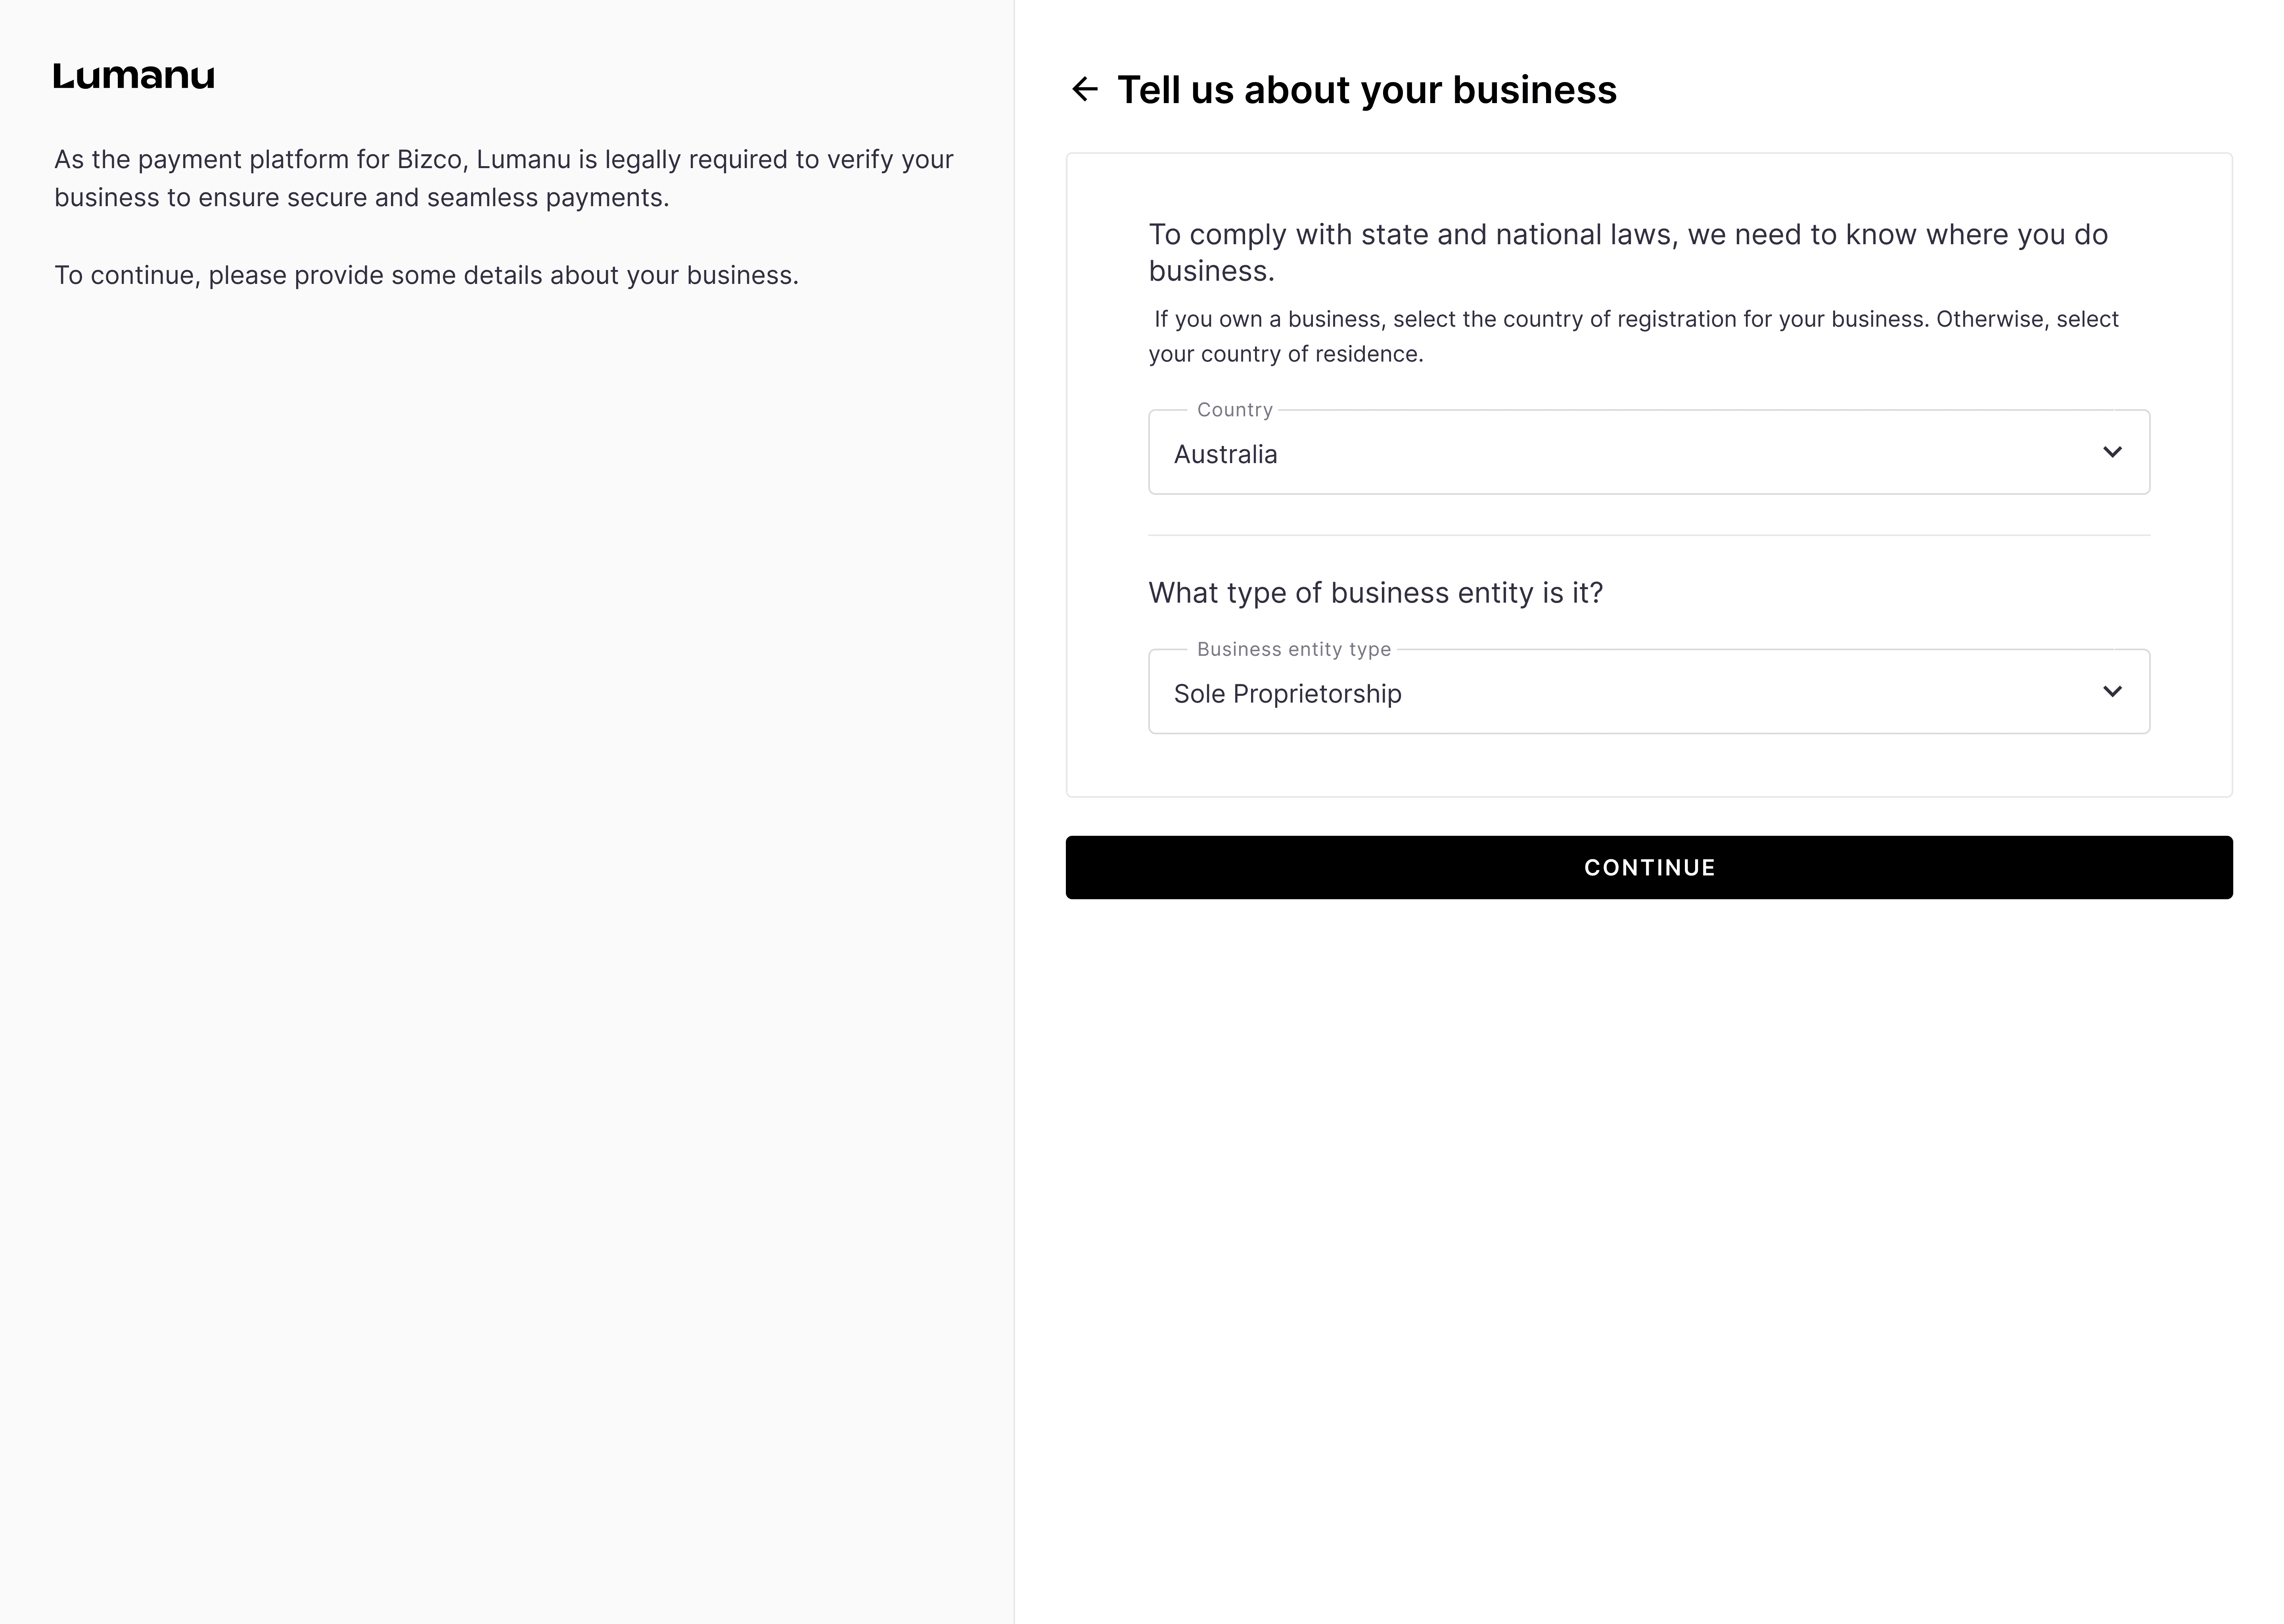
Next, you’ll be prompted to provide:
Your country of business registration
Your business entity type
Your legal business name
Your tax payer identification number
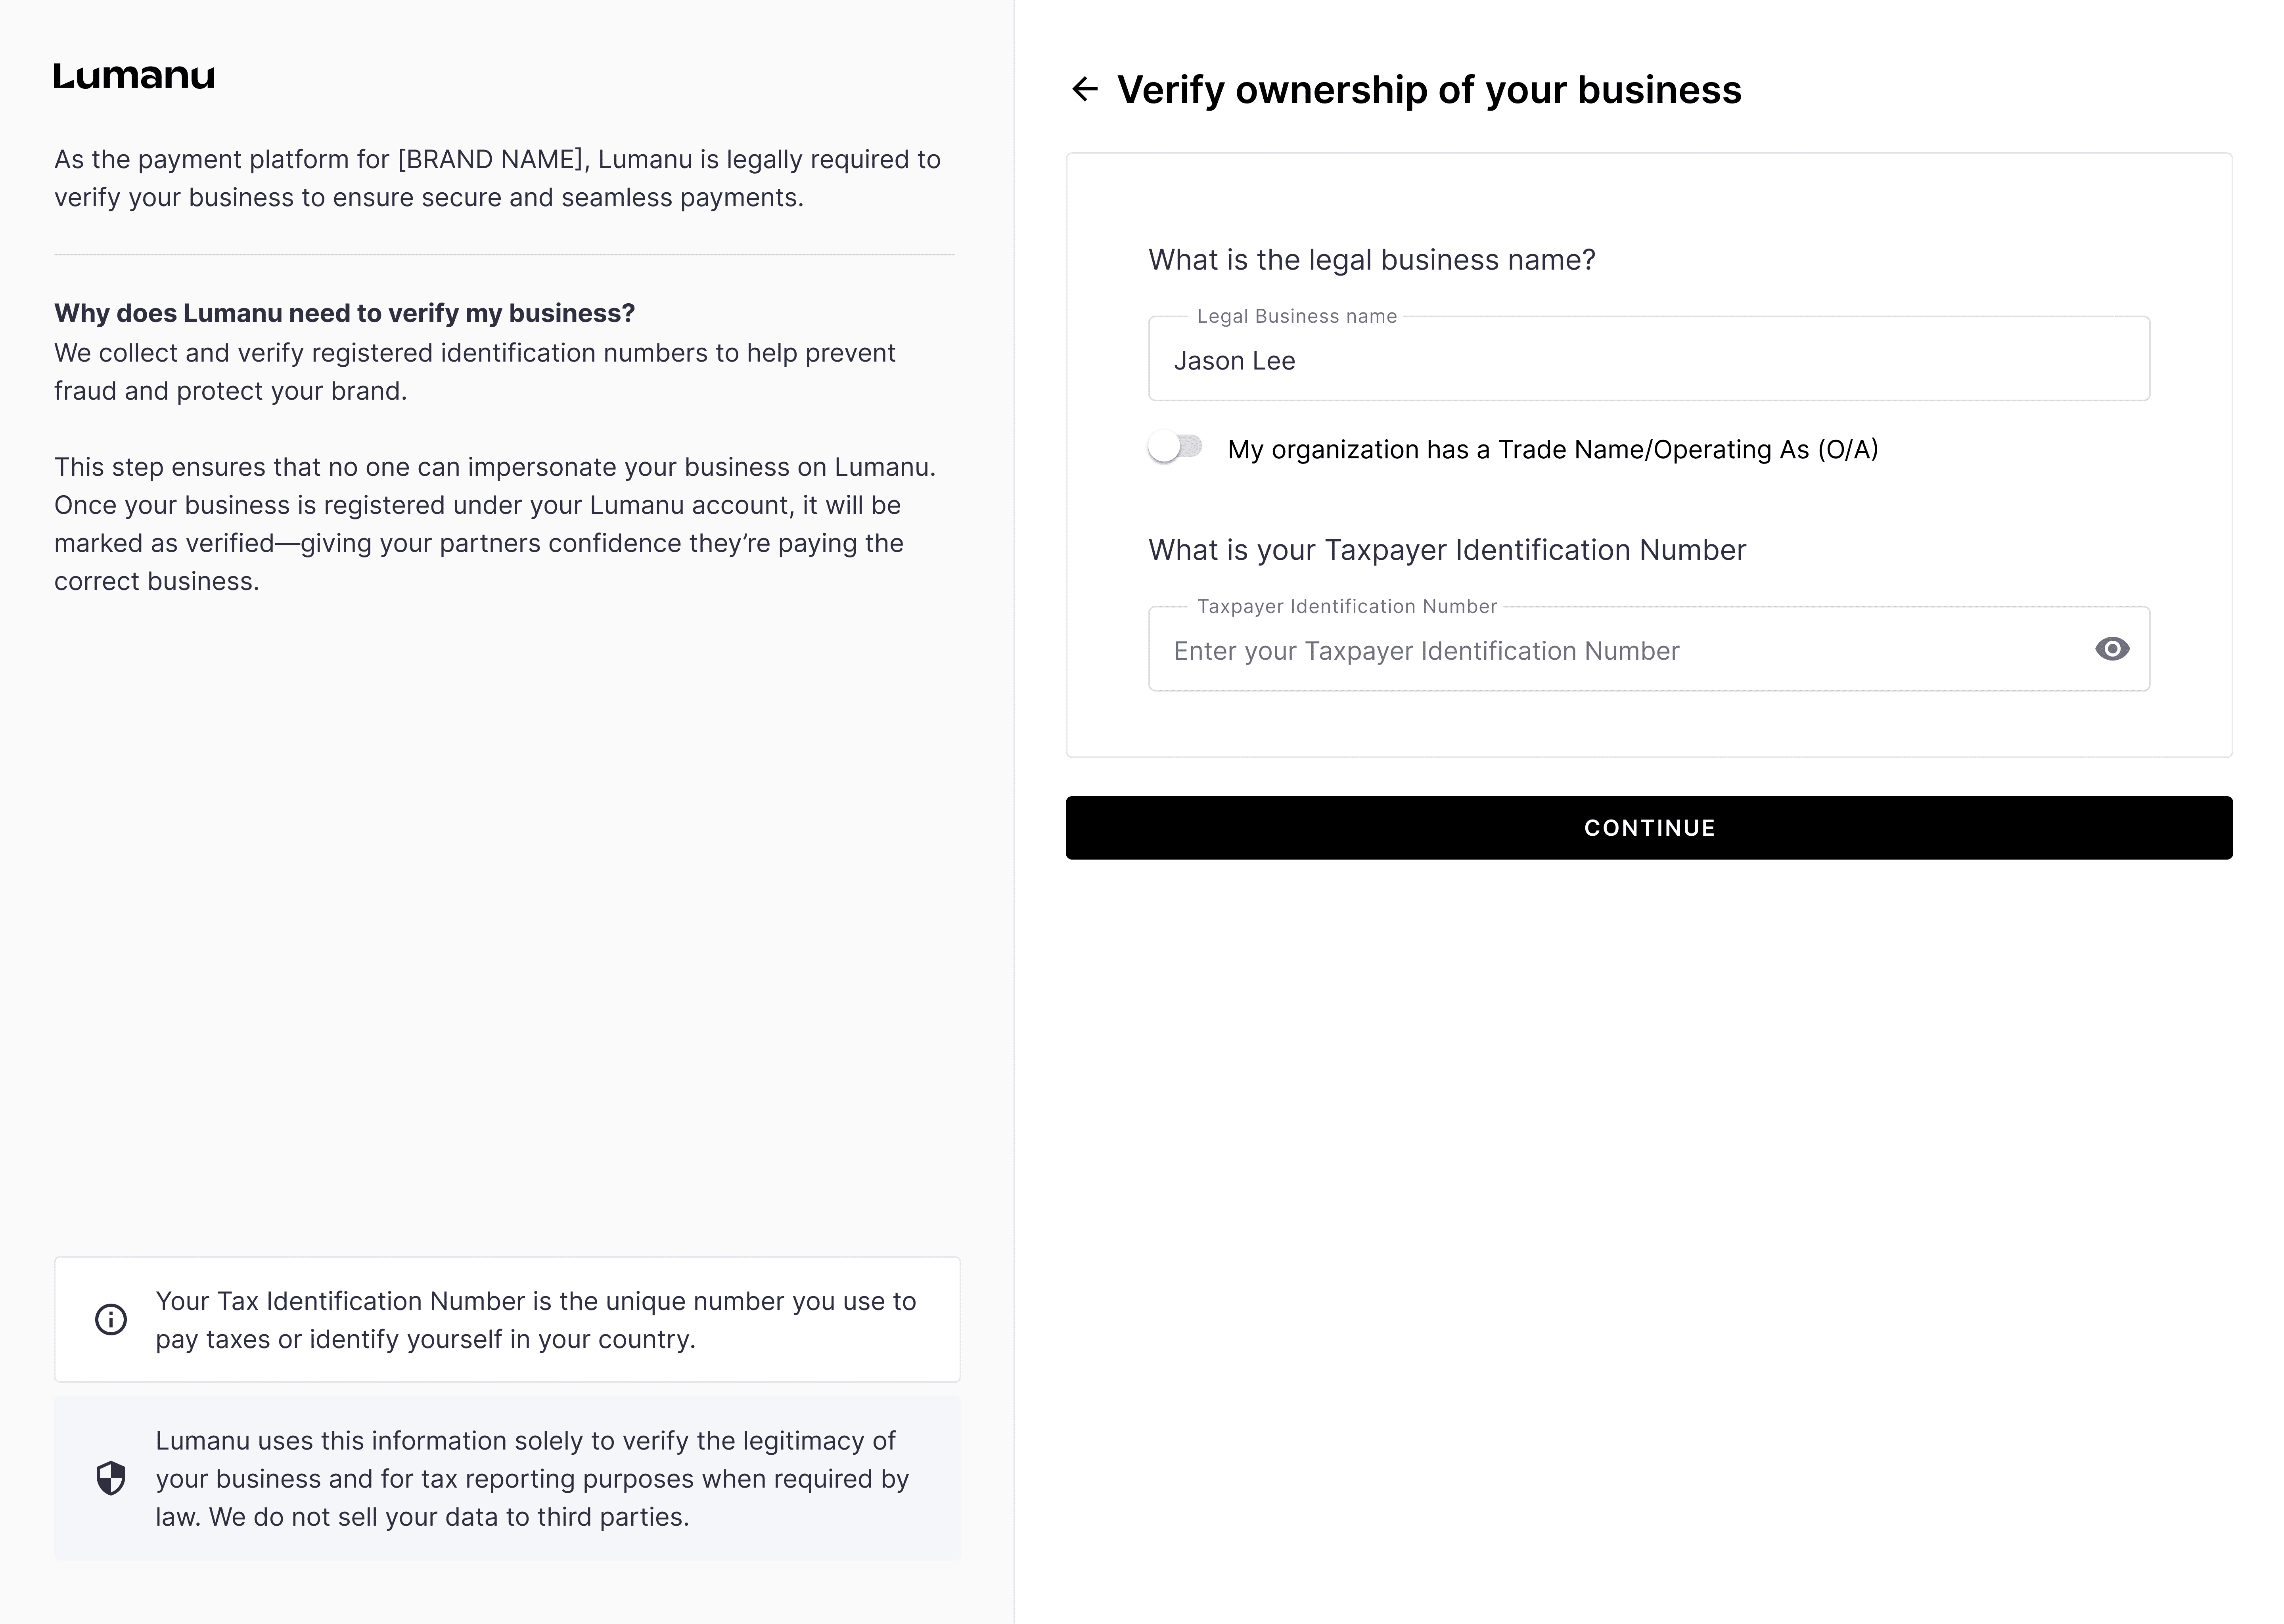
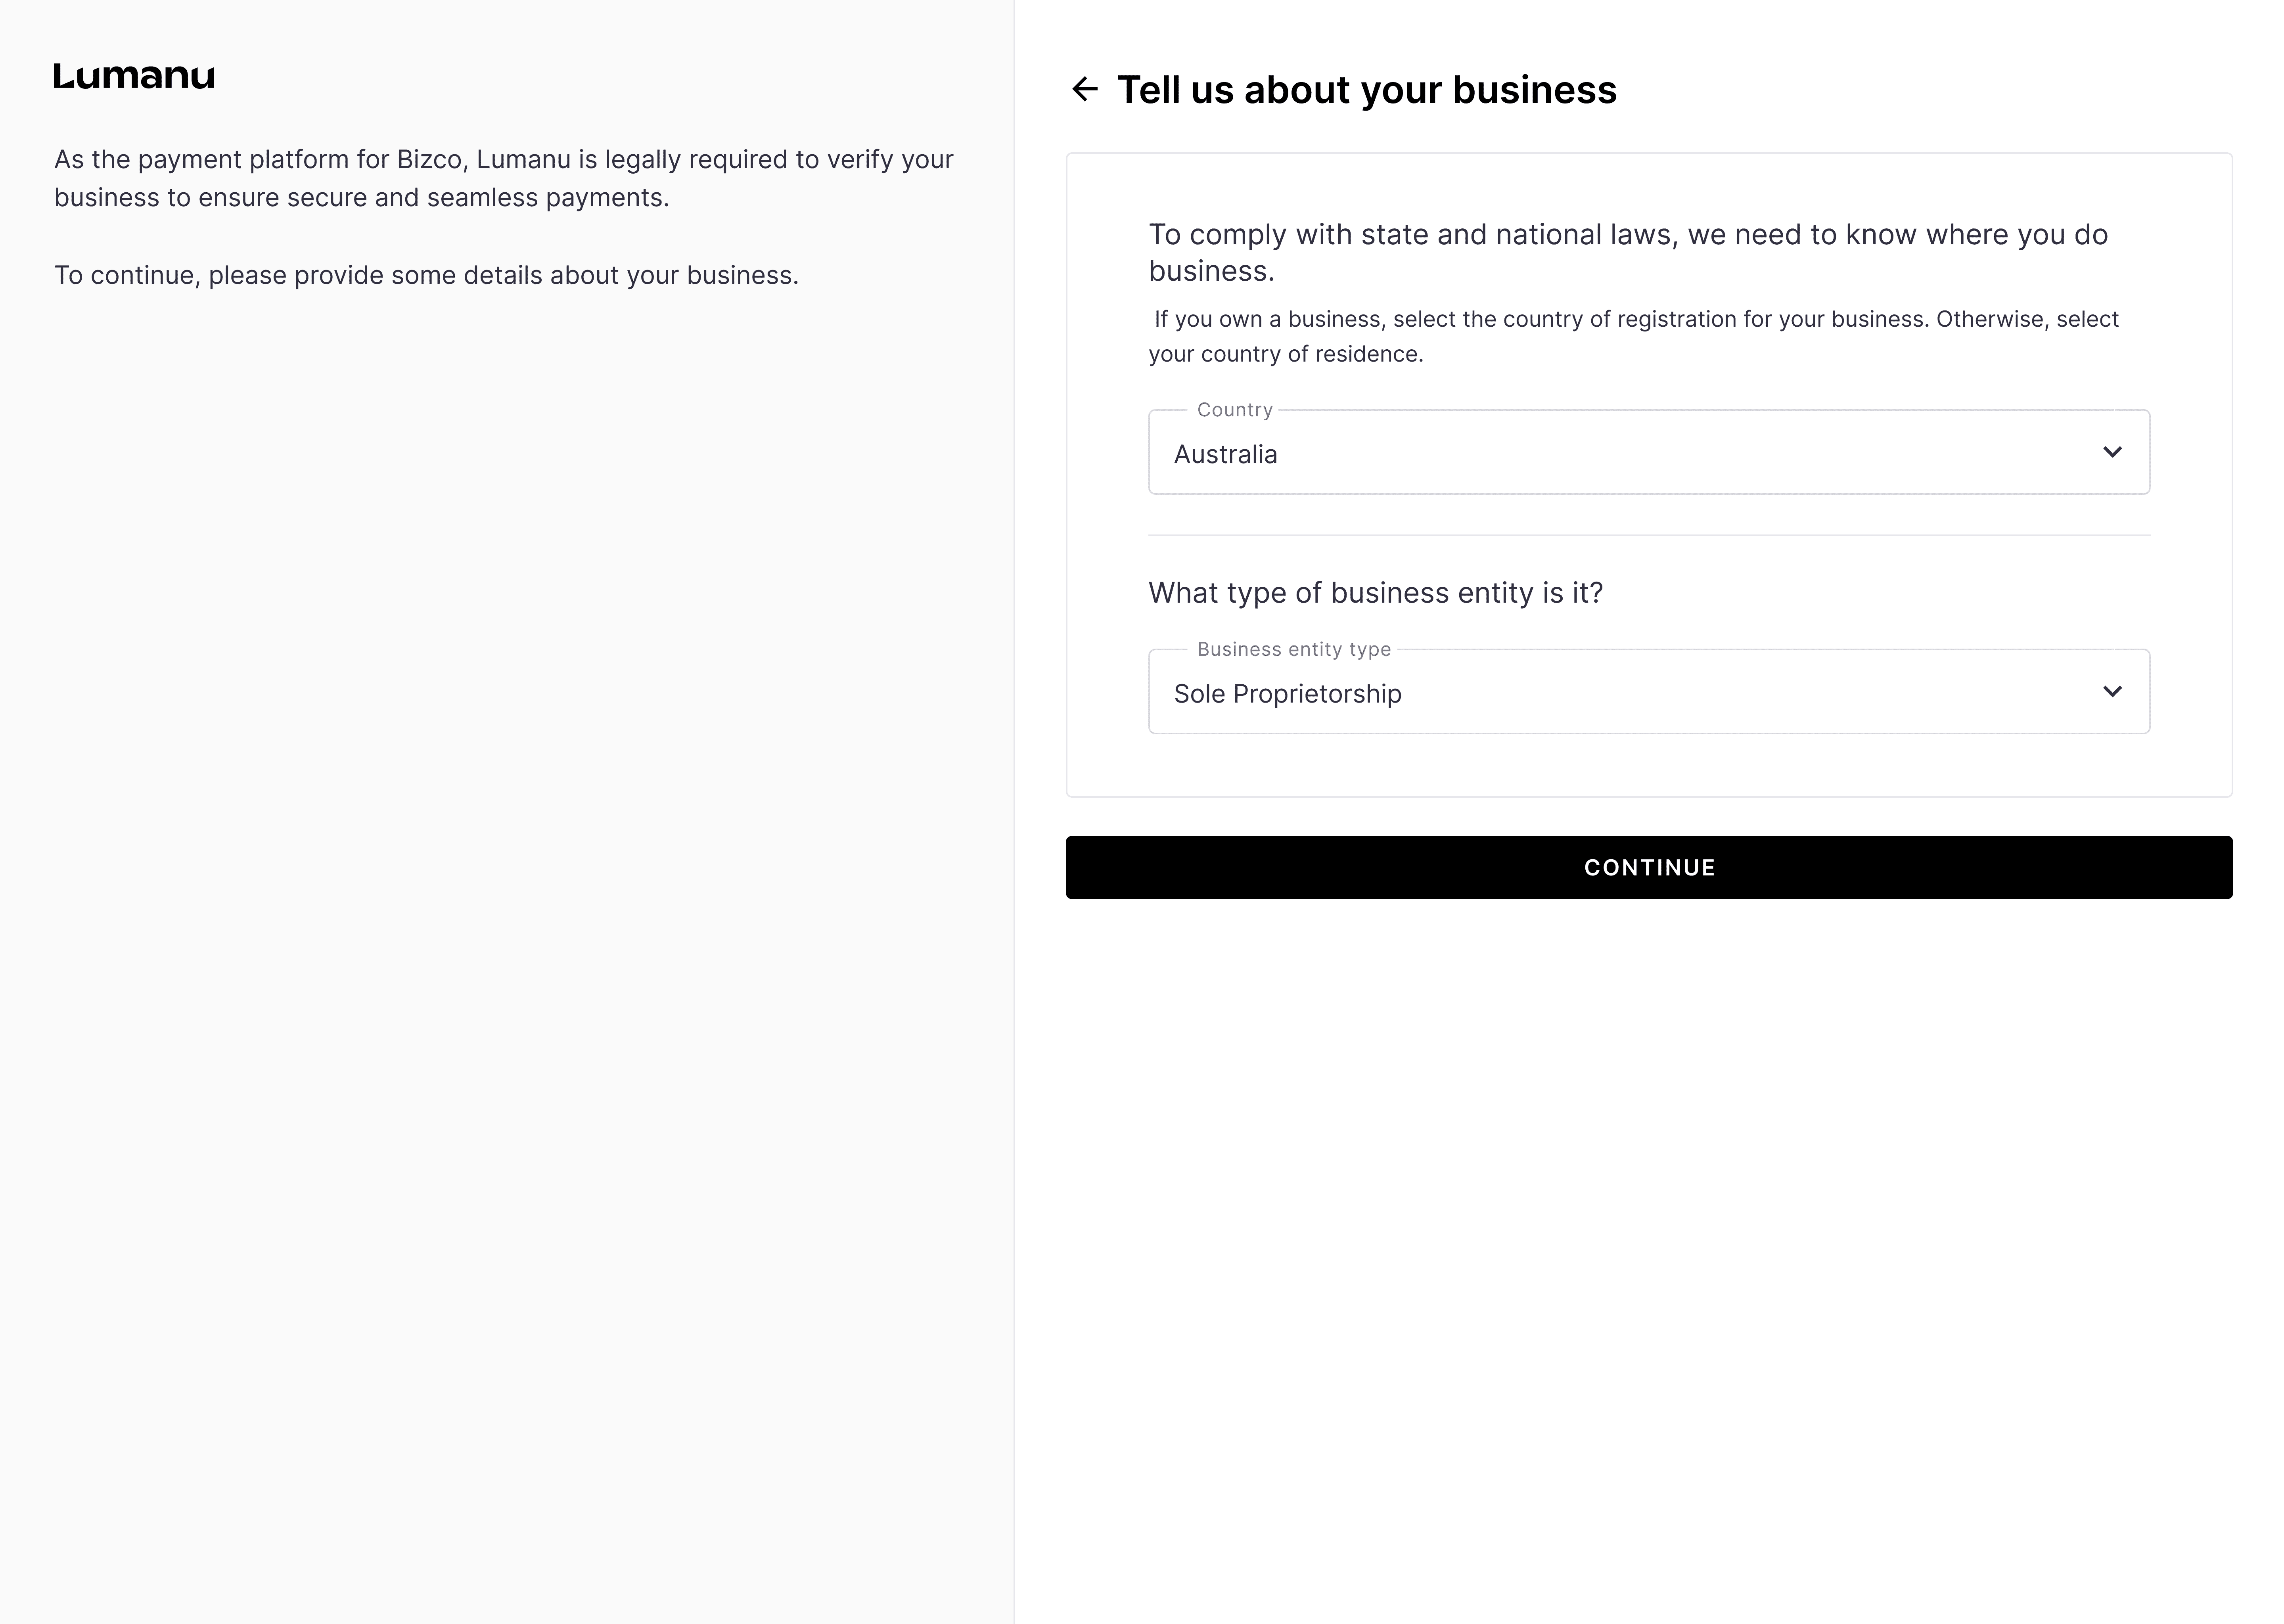
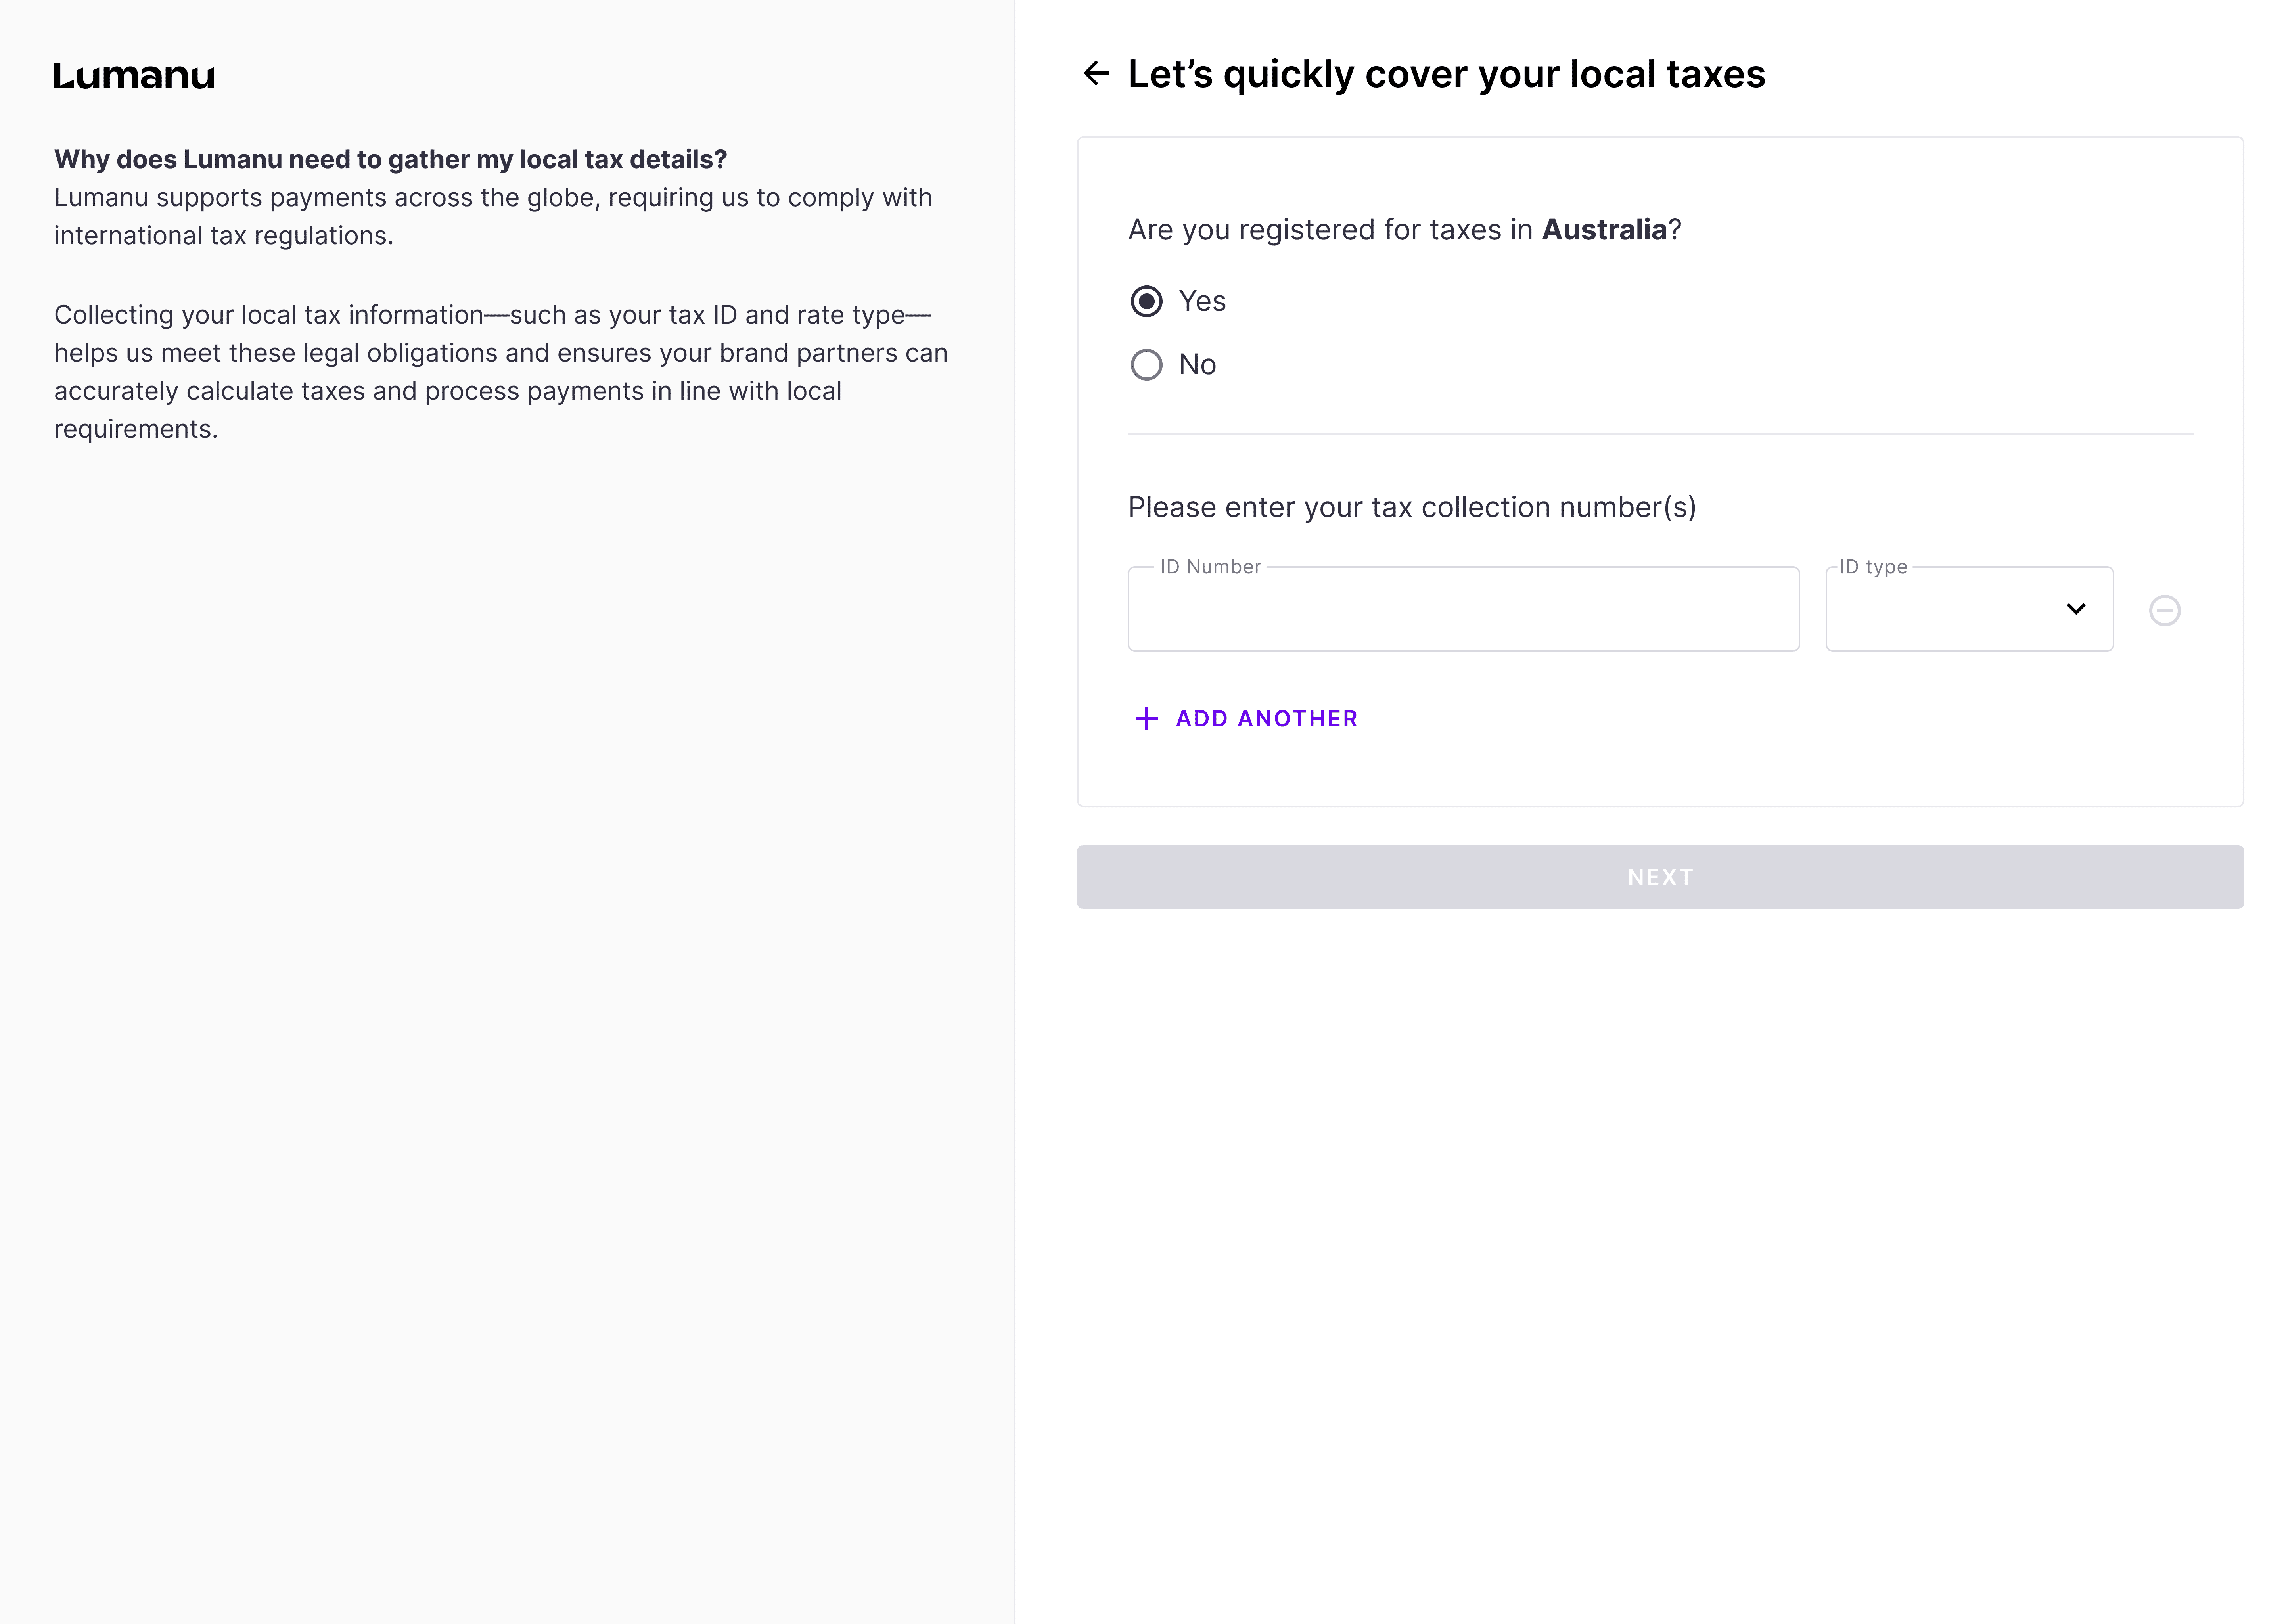
If your taxpayer identification number is new to the Lumanu system, you’ll be instructed to provide details surrounding your local tax obligations.
Once your tax details are received, you’ll be instructed to enter and verify your user login email.
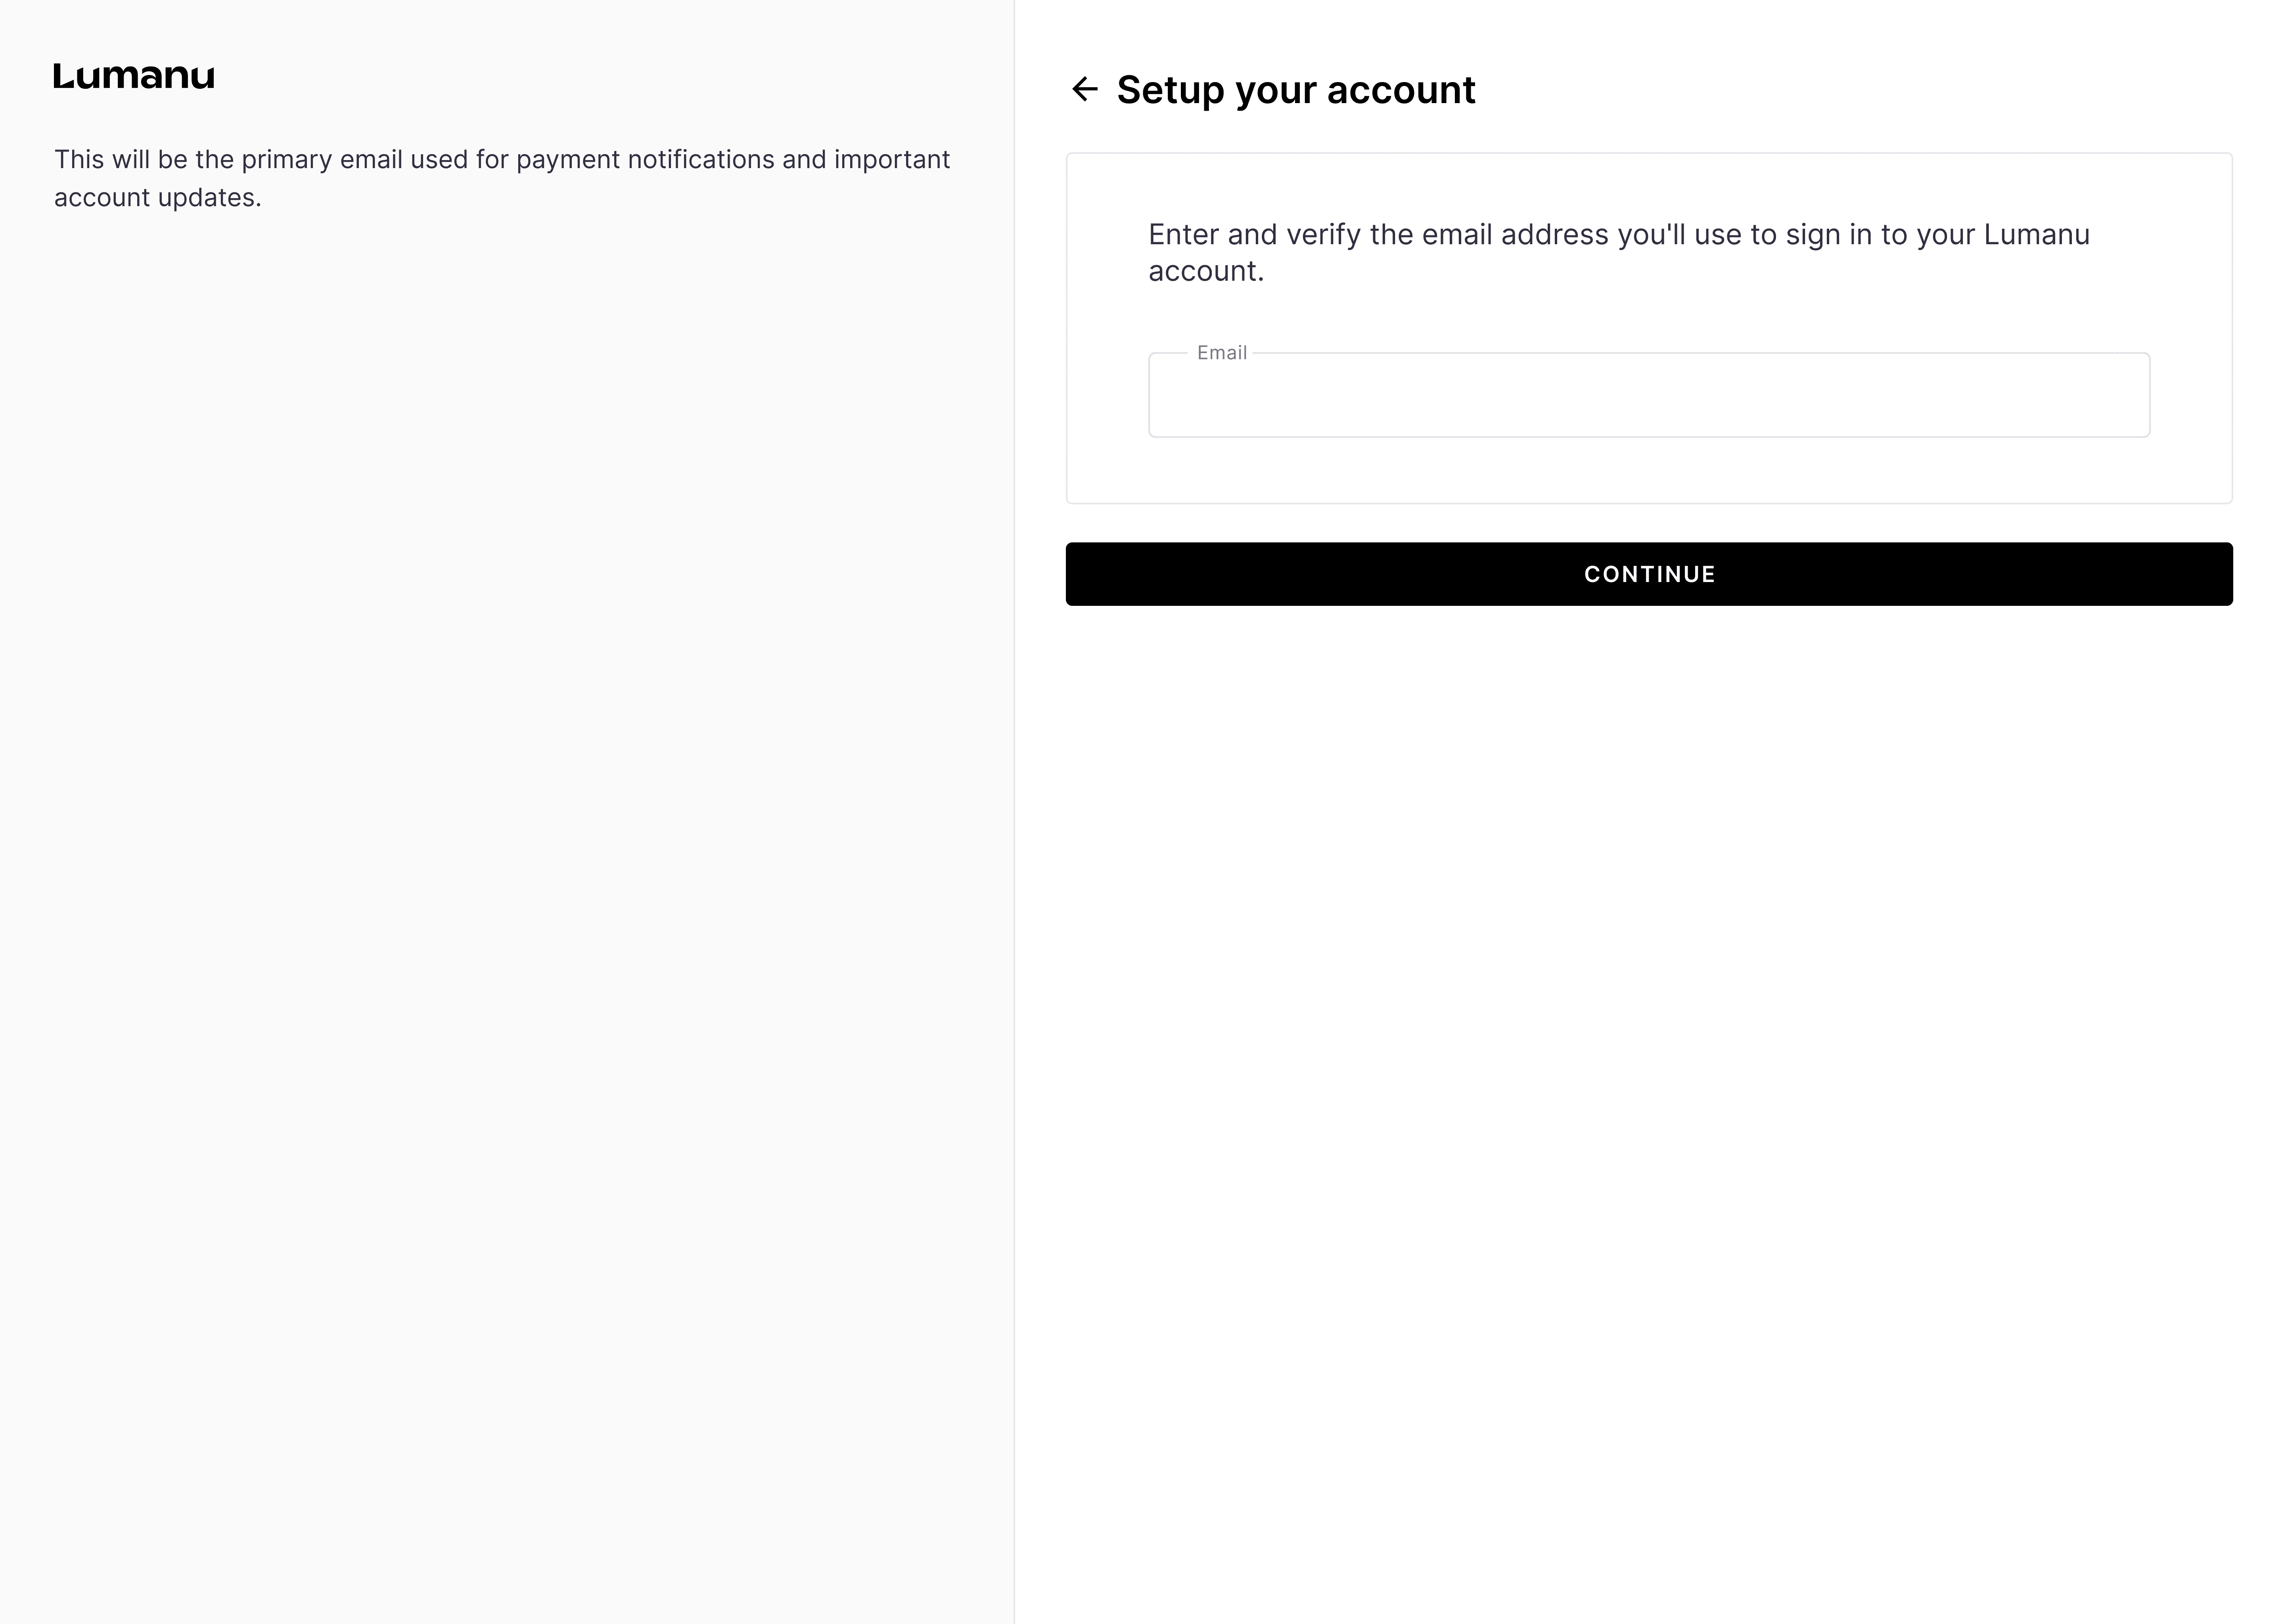
You’ll be sent an email to verify your email address. Click Accept Invite to set your login password.
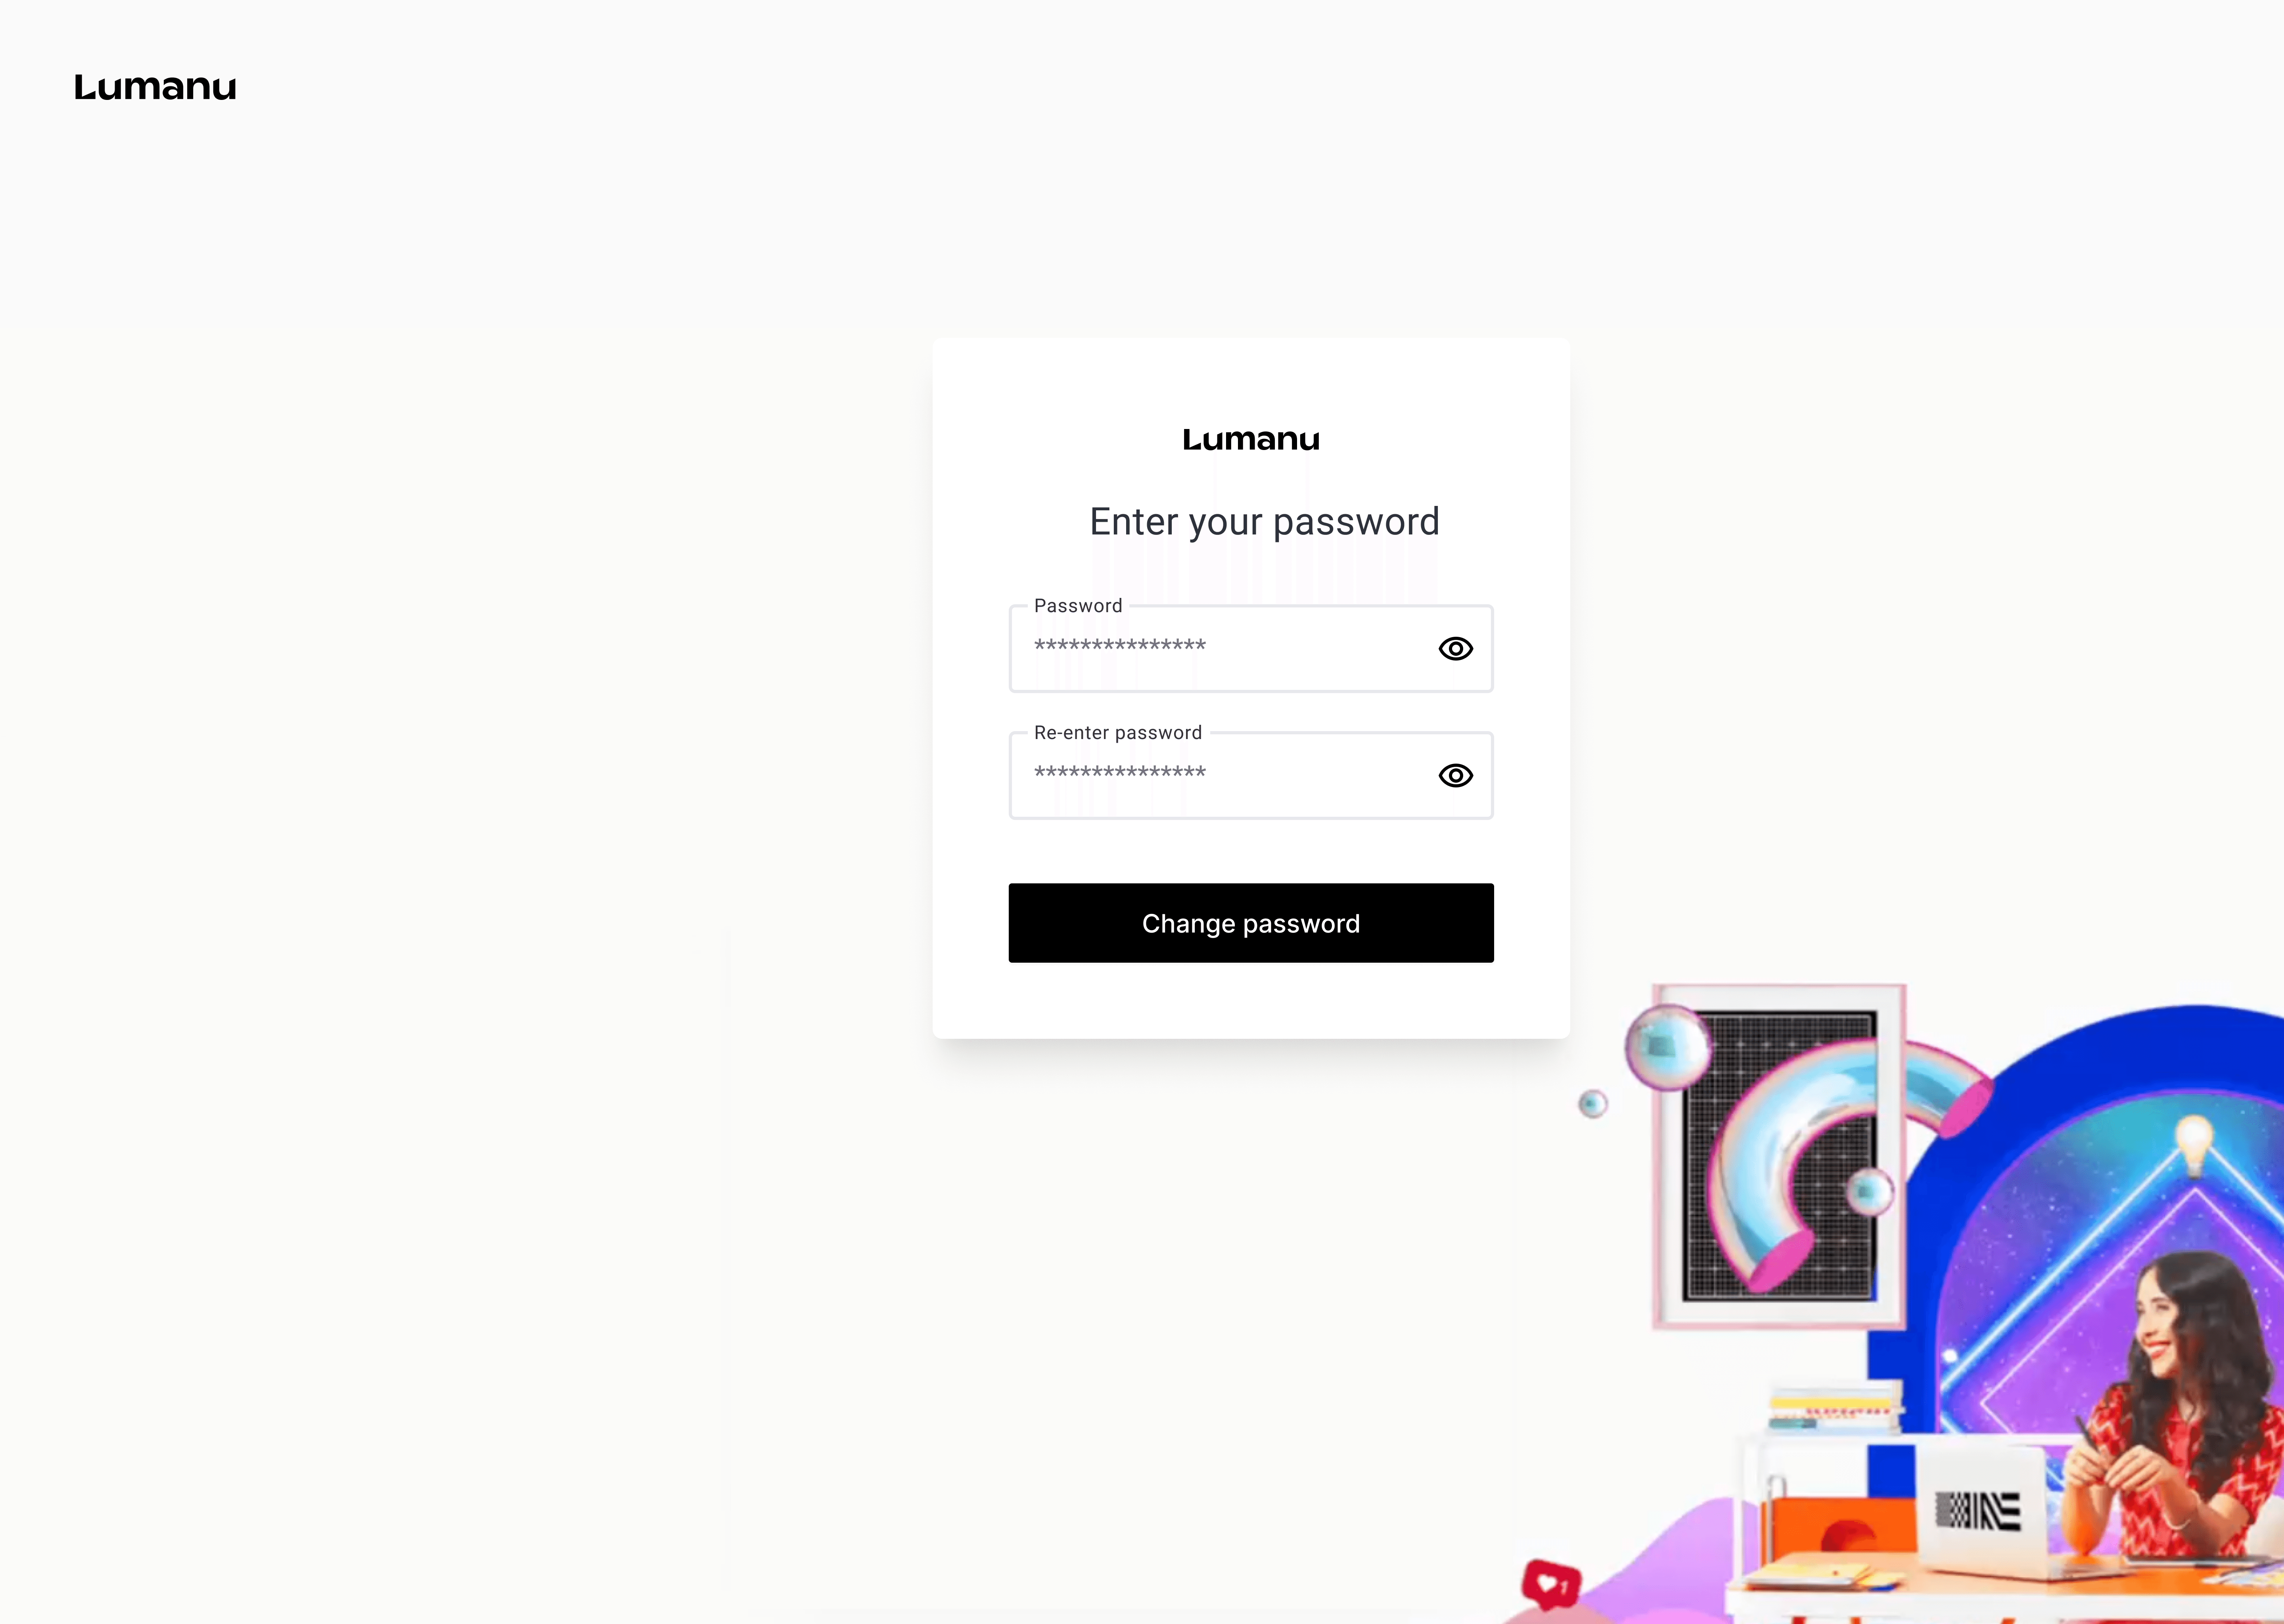
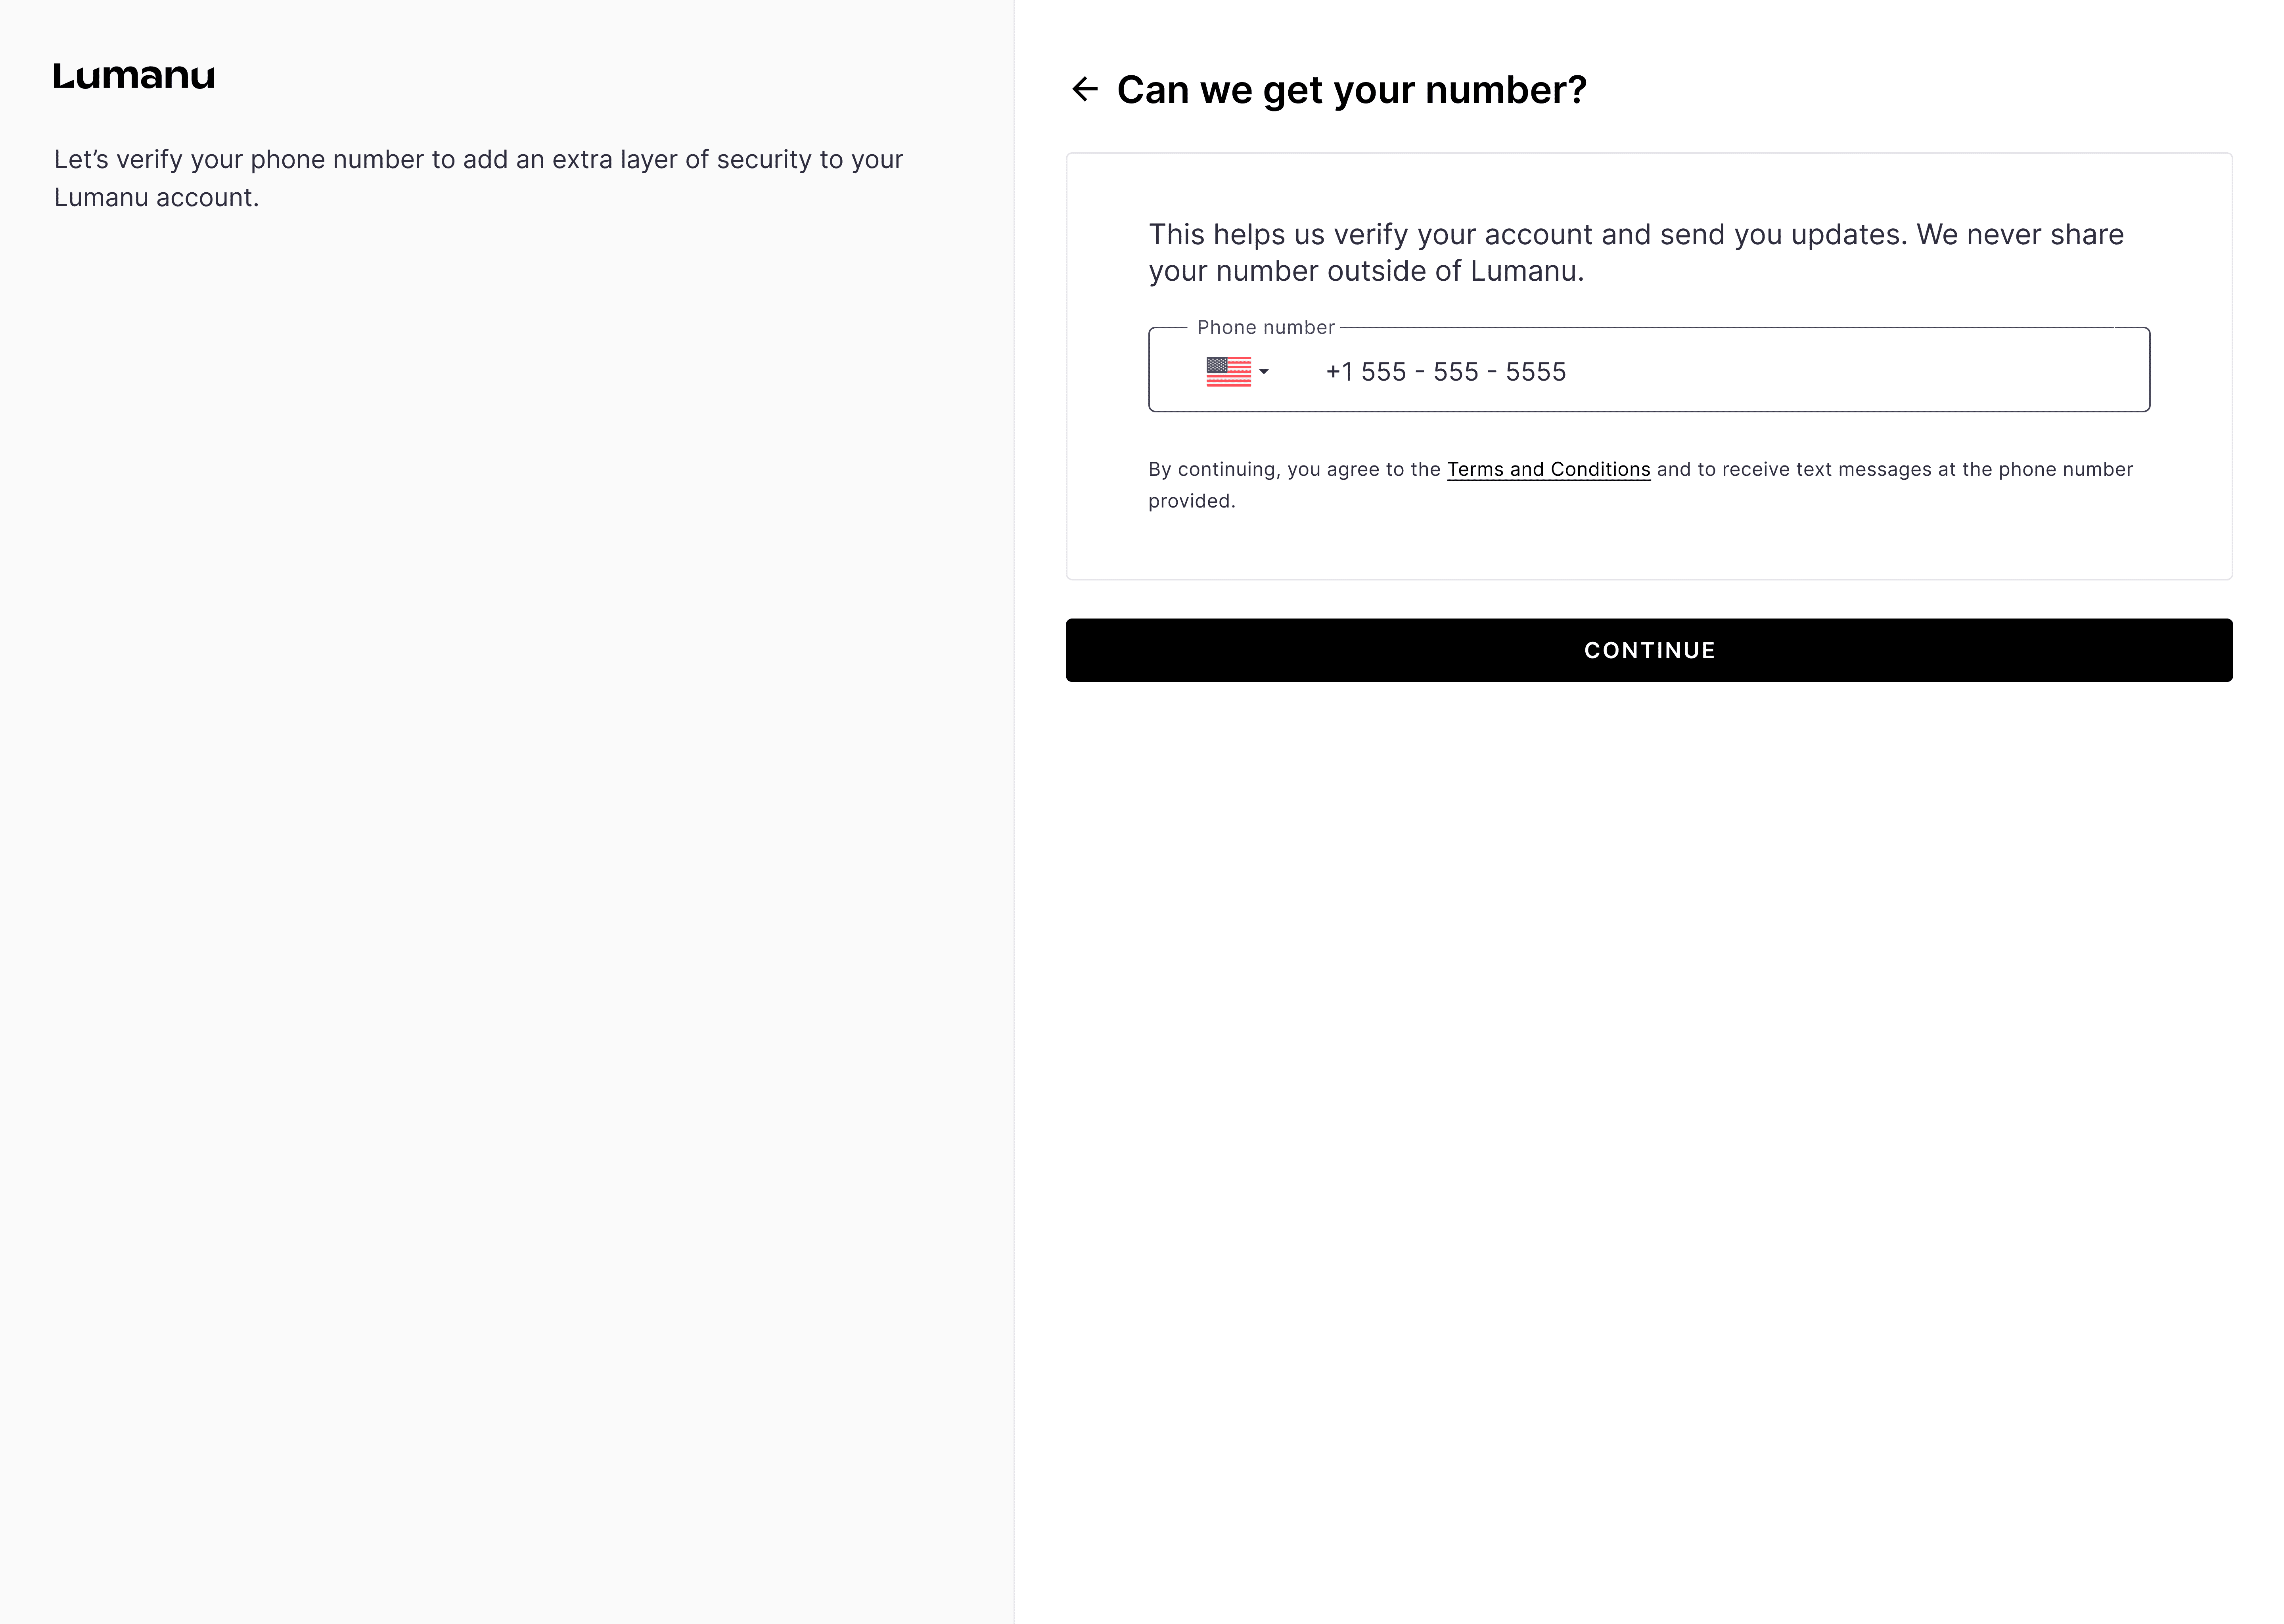
Verify your phone number for an extra layer of account security.
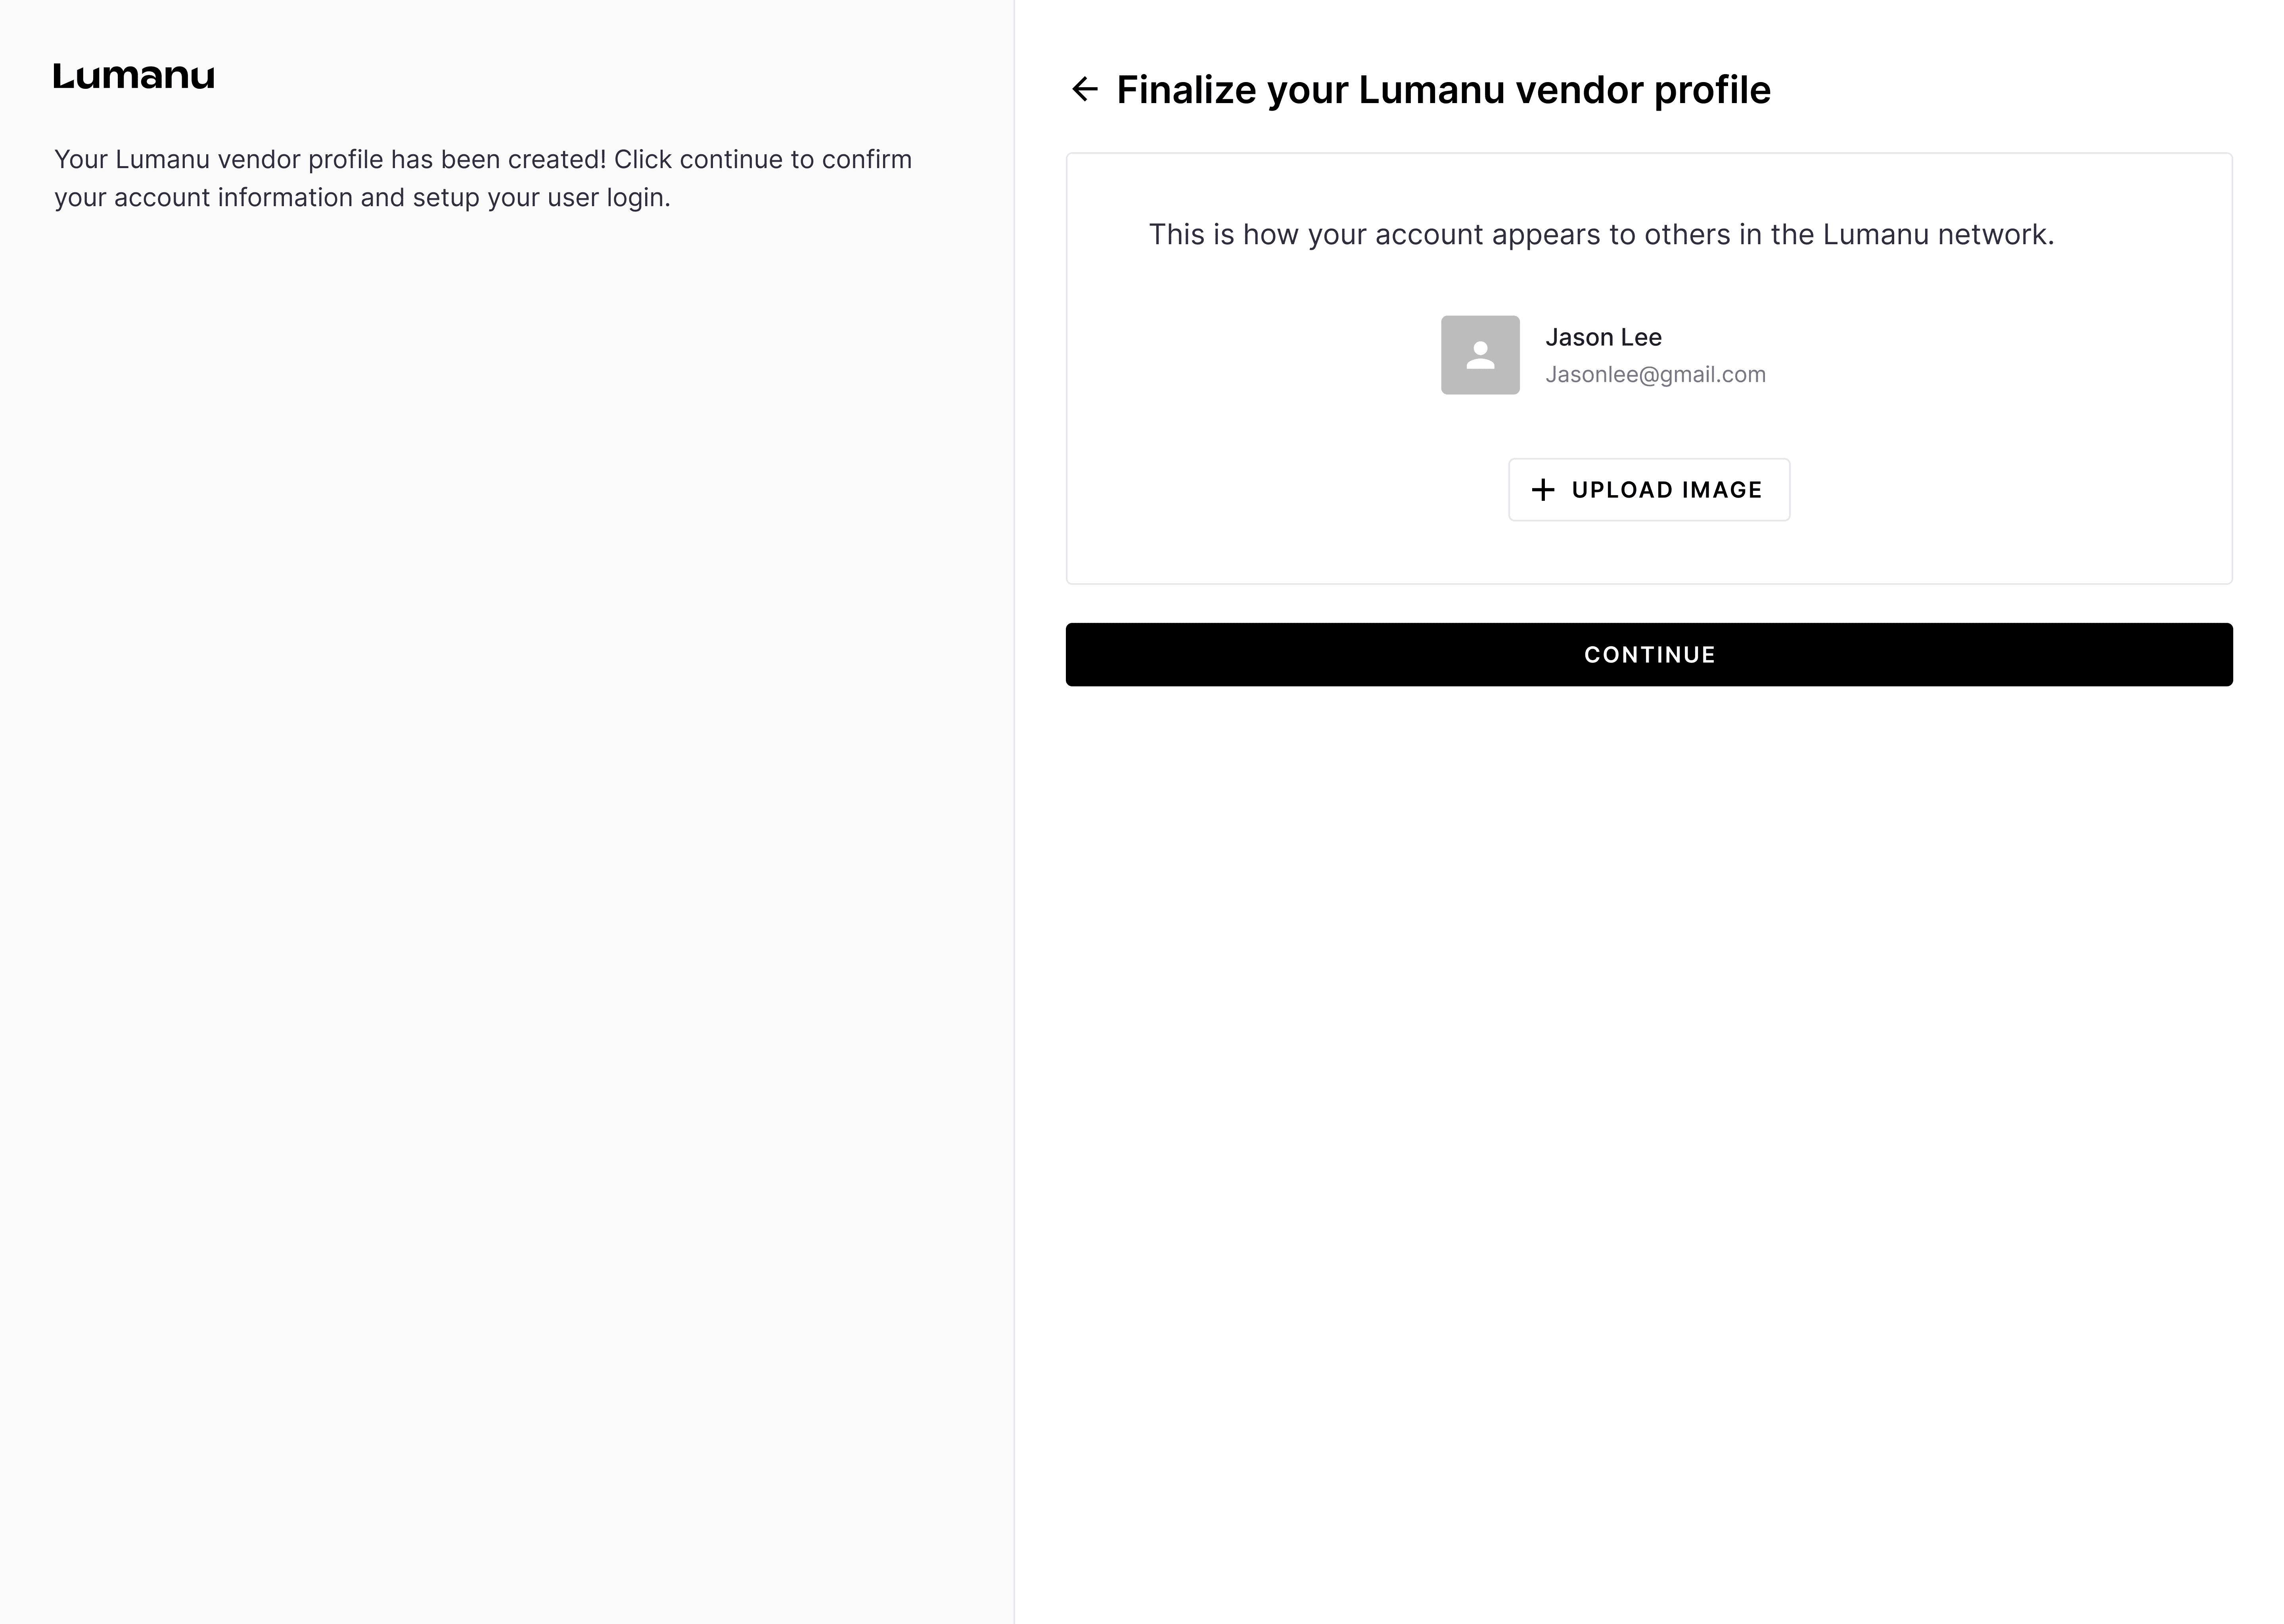
Next, you’ll finalize your Vendor Profile, which is what will be visible to other accounts in the Lumanu network. Confirm your Vendor Profile name and email are accurate.
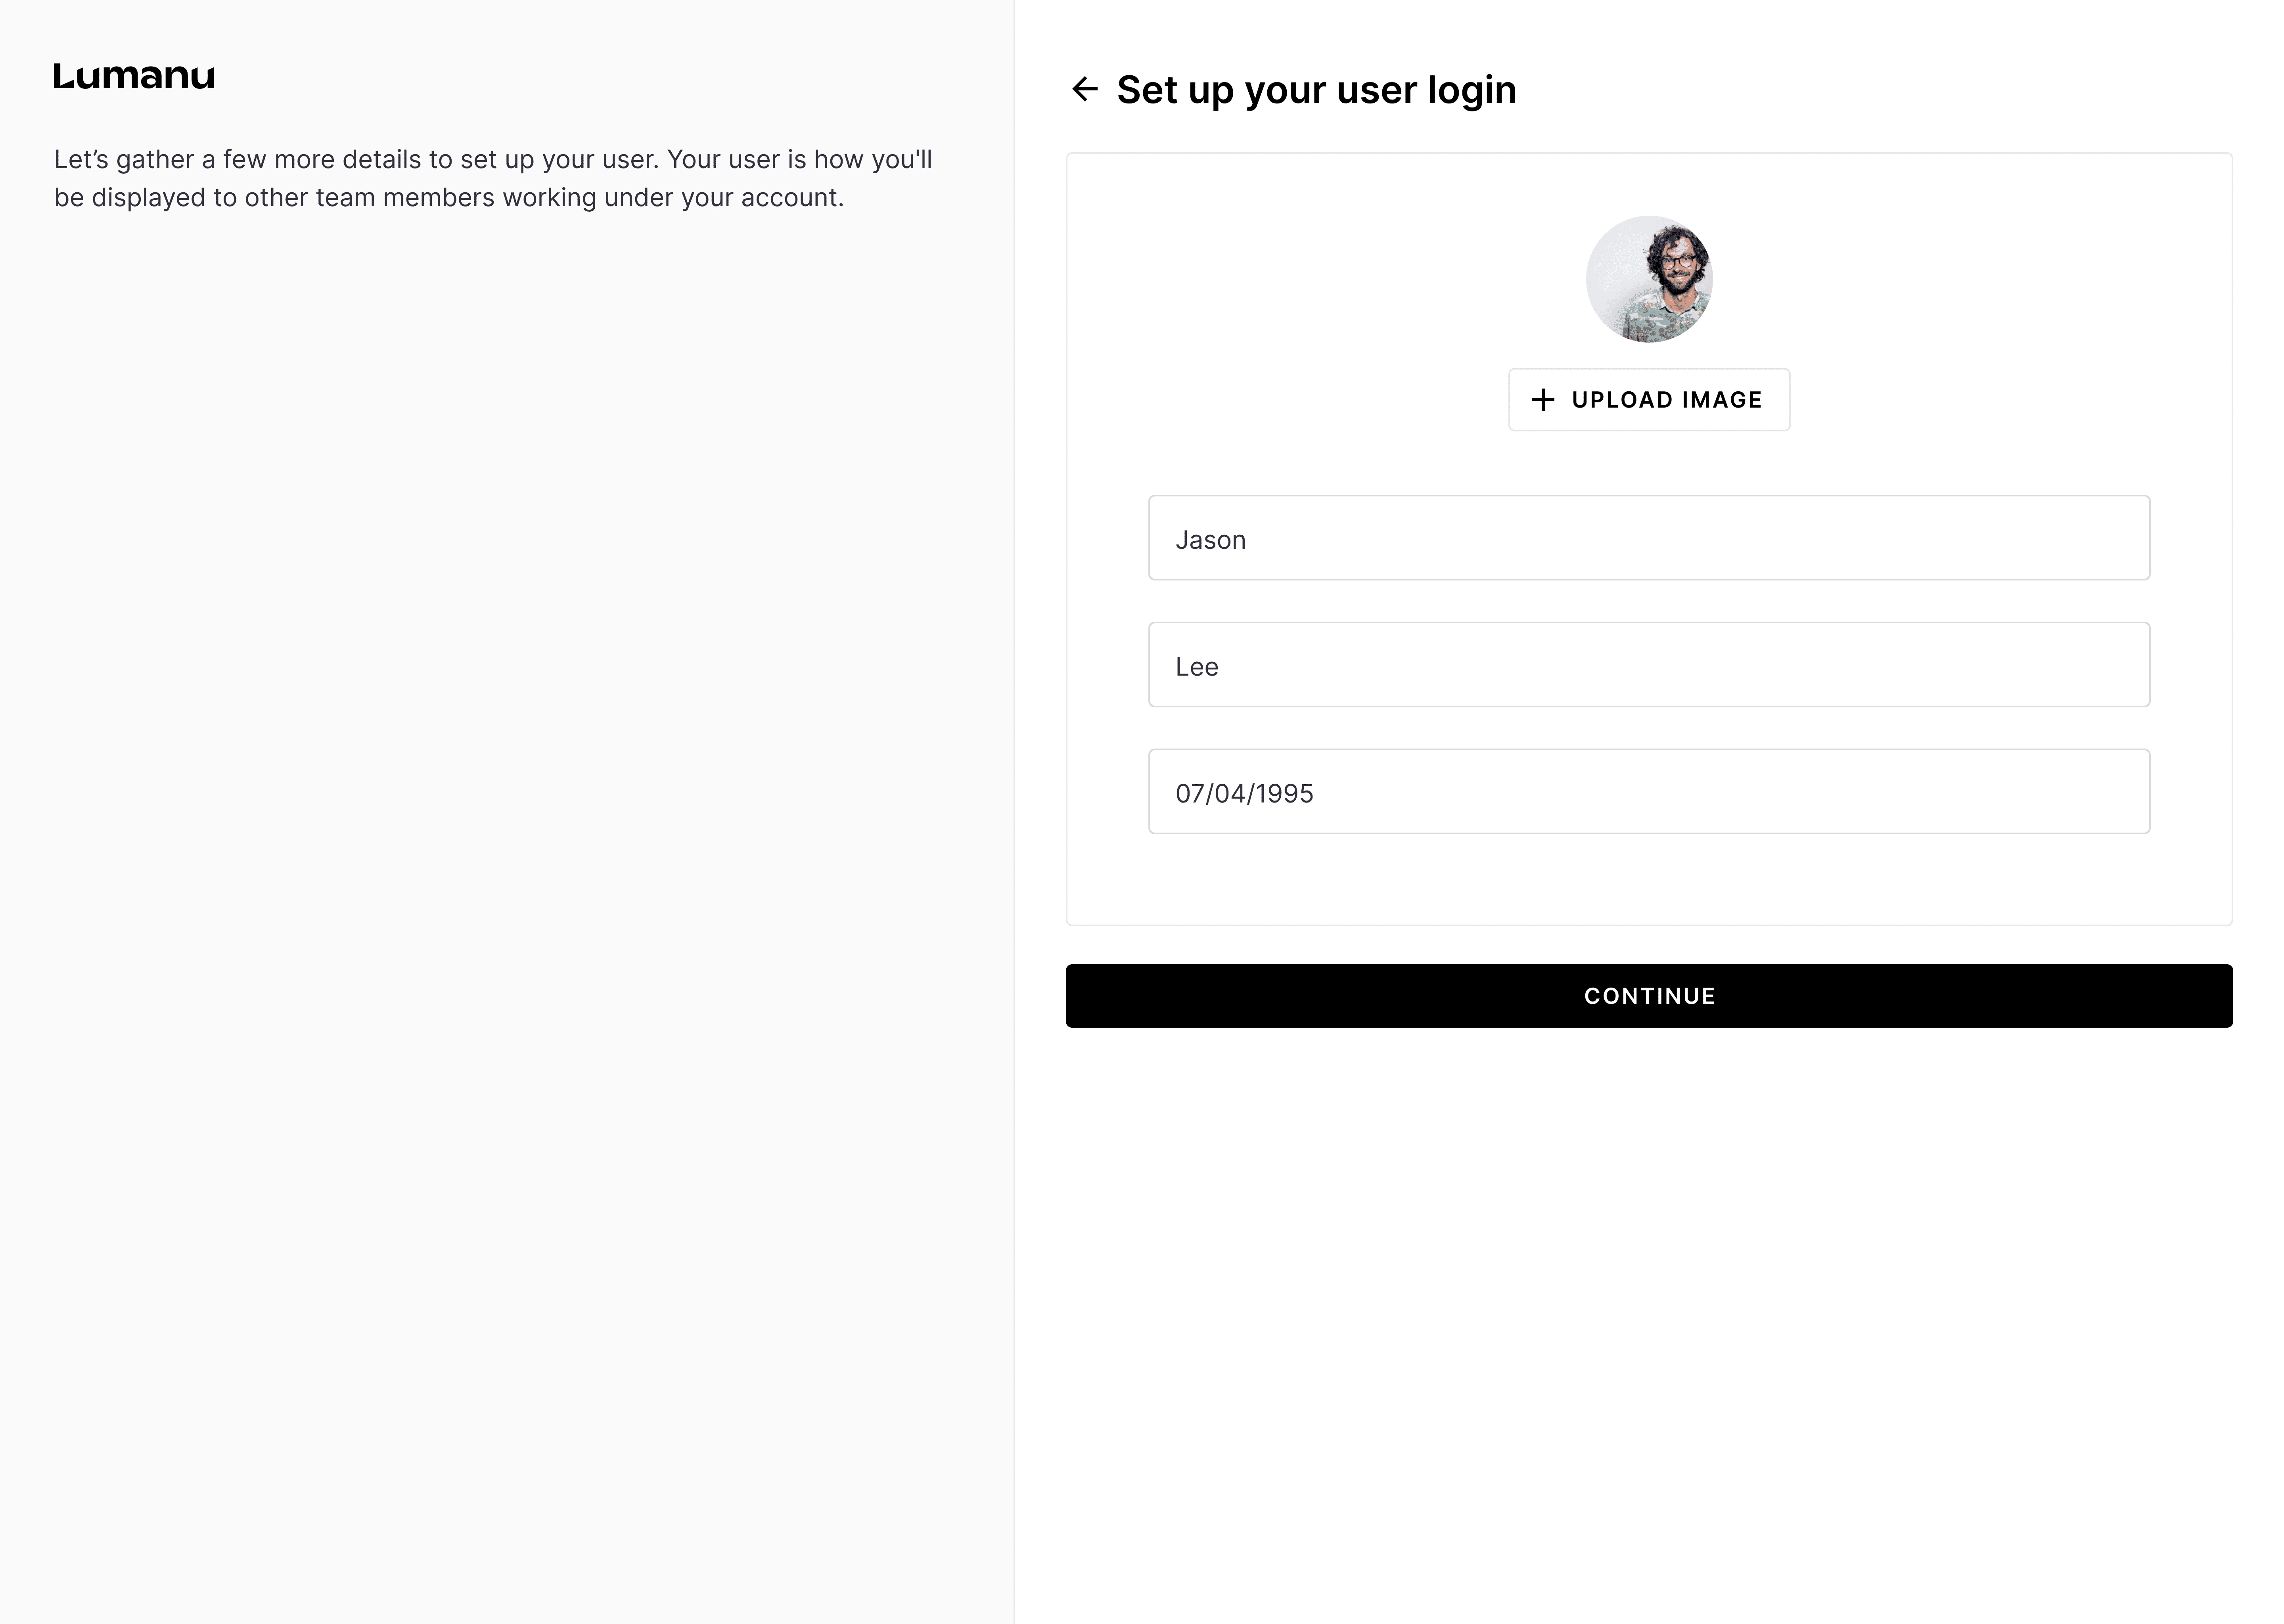
Continue to setup your user login. Your user is how you’ll be displayed to other users working under your vendor account.
After providing Lumanu with your general account info, you will be redirected to the app to complete your account setup. You can complete your account setup in 1 of 2 ways:
Select the Finish setup button on the banner pop-up on your account. Then select Complete tax forms.
Navigate under Settings, then Taxes. Click the Get Started button.


Lumanu will ask you several questions to determine the tax form, rates, and liabilities to apply to your account.
After you submit your tax information, you can follow THIS guide to link a bank or PayPal account.